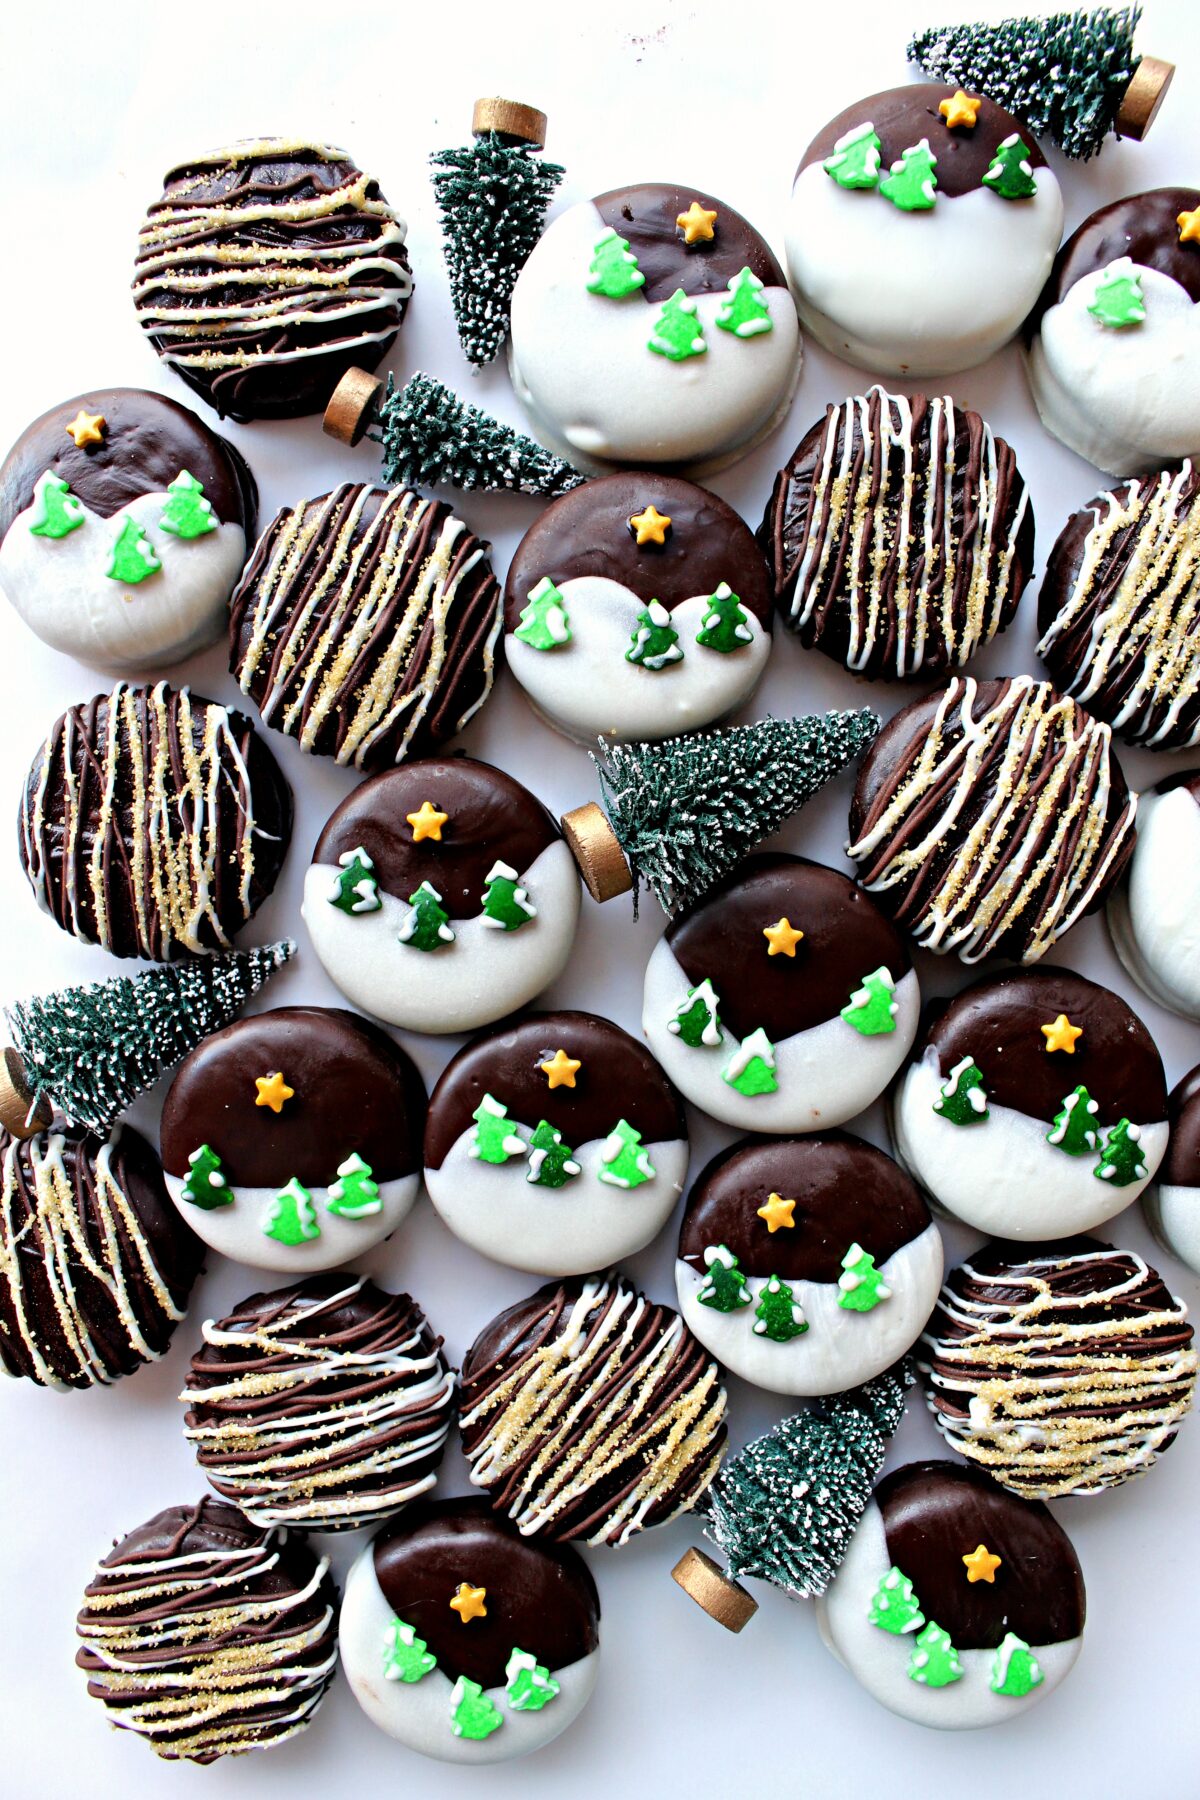
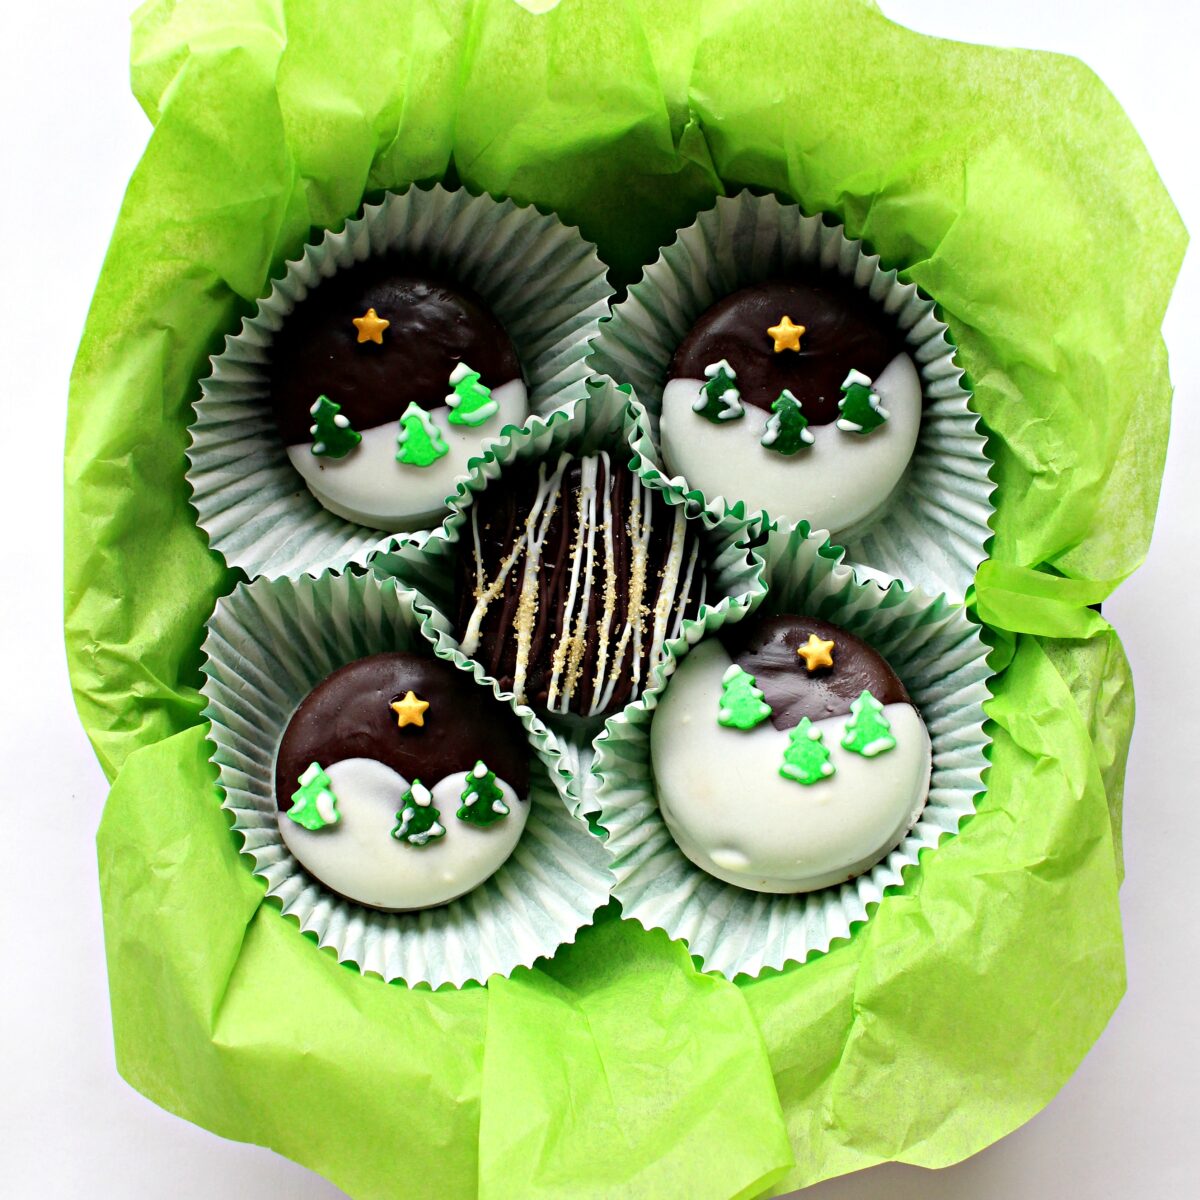
Winter Wonderland Chocolate Dipped Oreos turn simple chocolate sandwich cookies into exceptional treats. Decorating the cookies with a winter scene is quick and easy with shaped sprinkles. For holiday cookie trays, gifts, and care packages, these chocolate coated Oreos make a sweet impression.
Why you'll love this recipe
- Quick and easy with no artistic skill needed.
- No baking.
- Great for gifting and gorgeous on cookie trays.
- Even the chocolate dipping errors can be covered and turn out beautiful!
I've sent a lot of care packages containing a lot of different kinds of cookies and cakes. Without fail, the one item that creates the most excitement is chocolate covered sandwich cookies.
Even though they are easy to create, cookies dipped in chocolate seem fancy, probably because they are expensive to buy at bakeries and chocolate shops. Home made chocolate covered sandwich cookies are not expensive, just impressive and delicious.
These Winter Wonderland Chocolate Dipped Oreos, along with the glittery cookies, are the perfect addition to Christmas care packages .

Making Winter Wonderland Chocolate Dipped Oreos is more like a mini craft project than like a recipe. No baking is required.
The only heat involved is melting the chocolate. I do recommend using the best quality ingredients possible for the best tasting results. I use Newman's Own brand chocolate mint sandwich cookies. The ingredients used in Newman O's are all ethically sourced.
Instructions
This is an overview of the instructions. The full recipe is in the recipe card below.
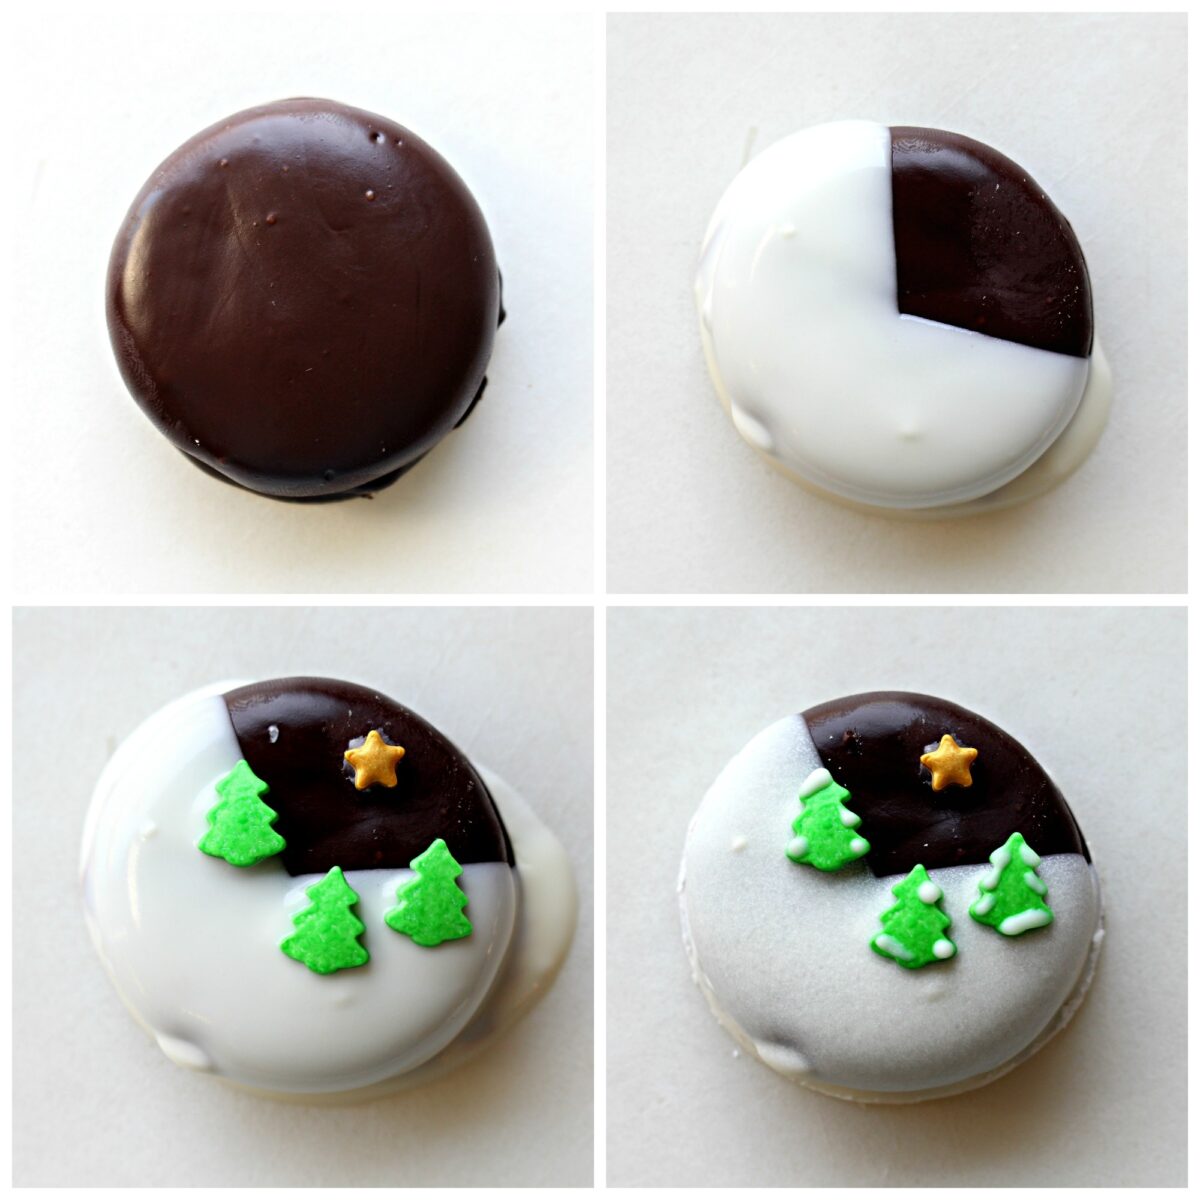
- Dip all of the cookies in dark or milk chocolate.
- Dip the bottom and/or side of a cookie into melted white chocolate to create snow covered hills. Place on a wax paper lined baking sheet. Immediately, add tree sprinkles to the white chocolate. Use a toothpick to dab a tiny bit of melted chocolate on the back of a star sprinkle, and "glue" it onto the cookie.
- Optional: Dip a toothpick in the melted white chocolate and add snowy details to the evergreen tree sprinkles.
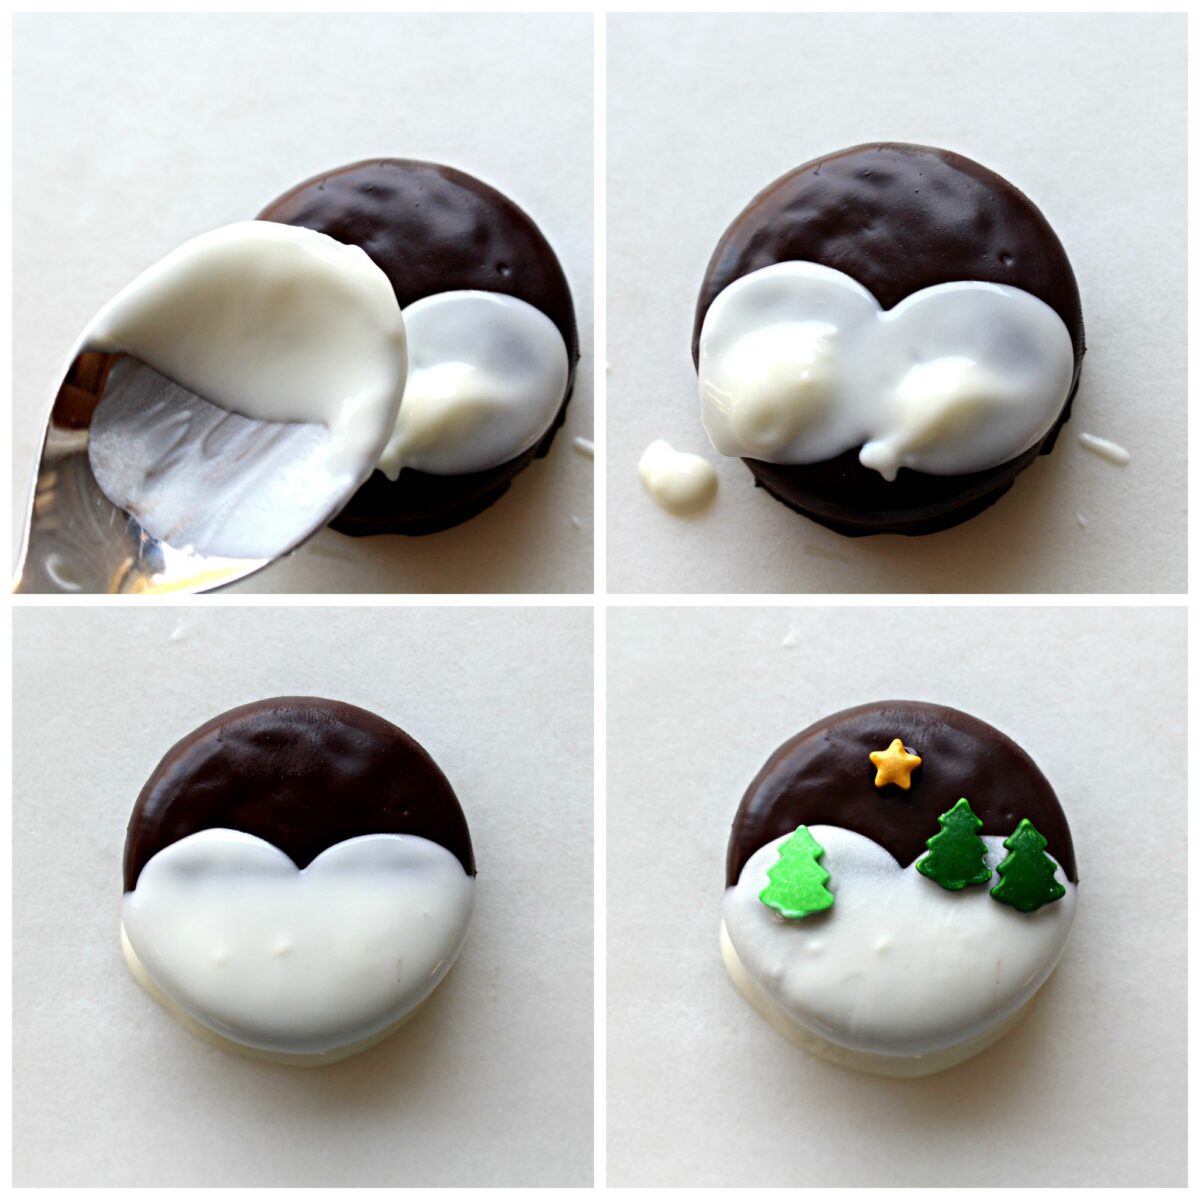
- Make rounded hills by dipping the back of a teaspoon in white chocolate and dabbing it onto the cookie before dunking the cookie into the chocolate.
Storage
Store Christmas Oreos in an airtight container at room temperature for up to 2 weeks.
Would you like to save this?
Tips
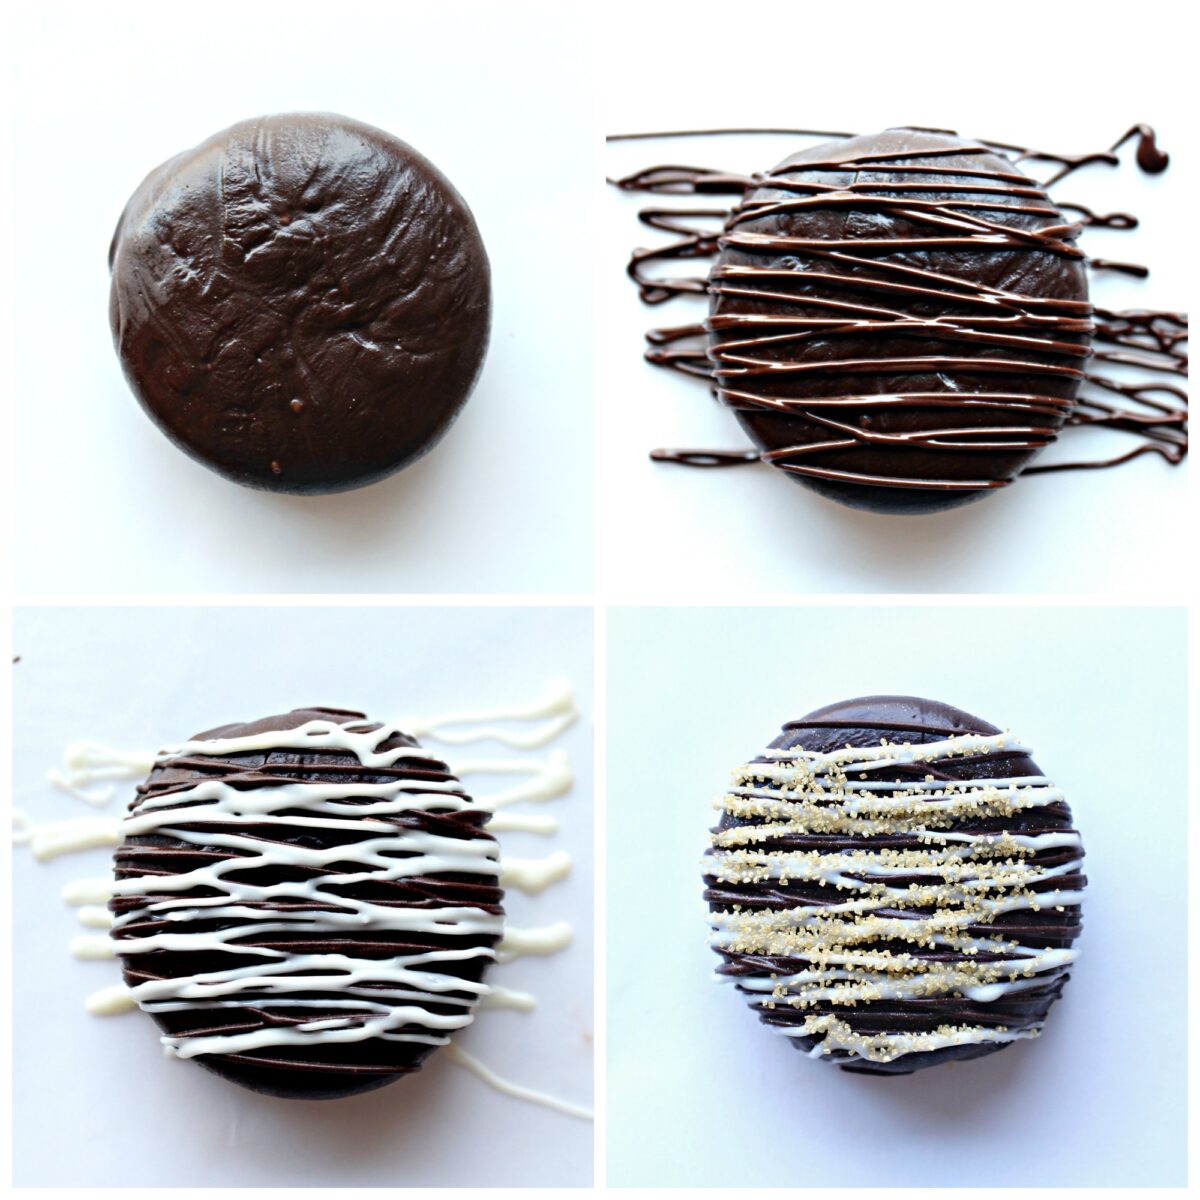
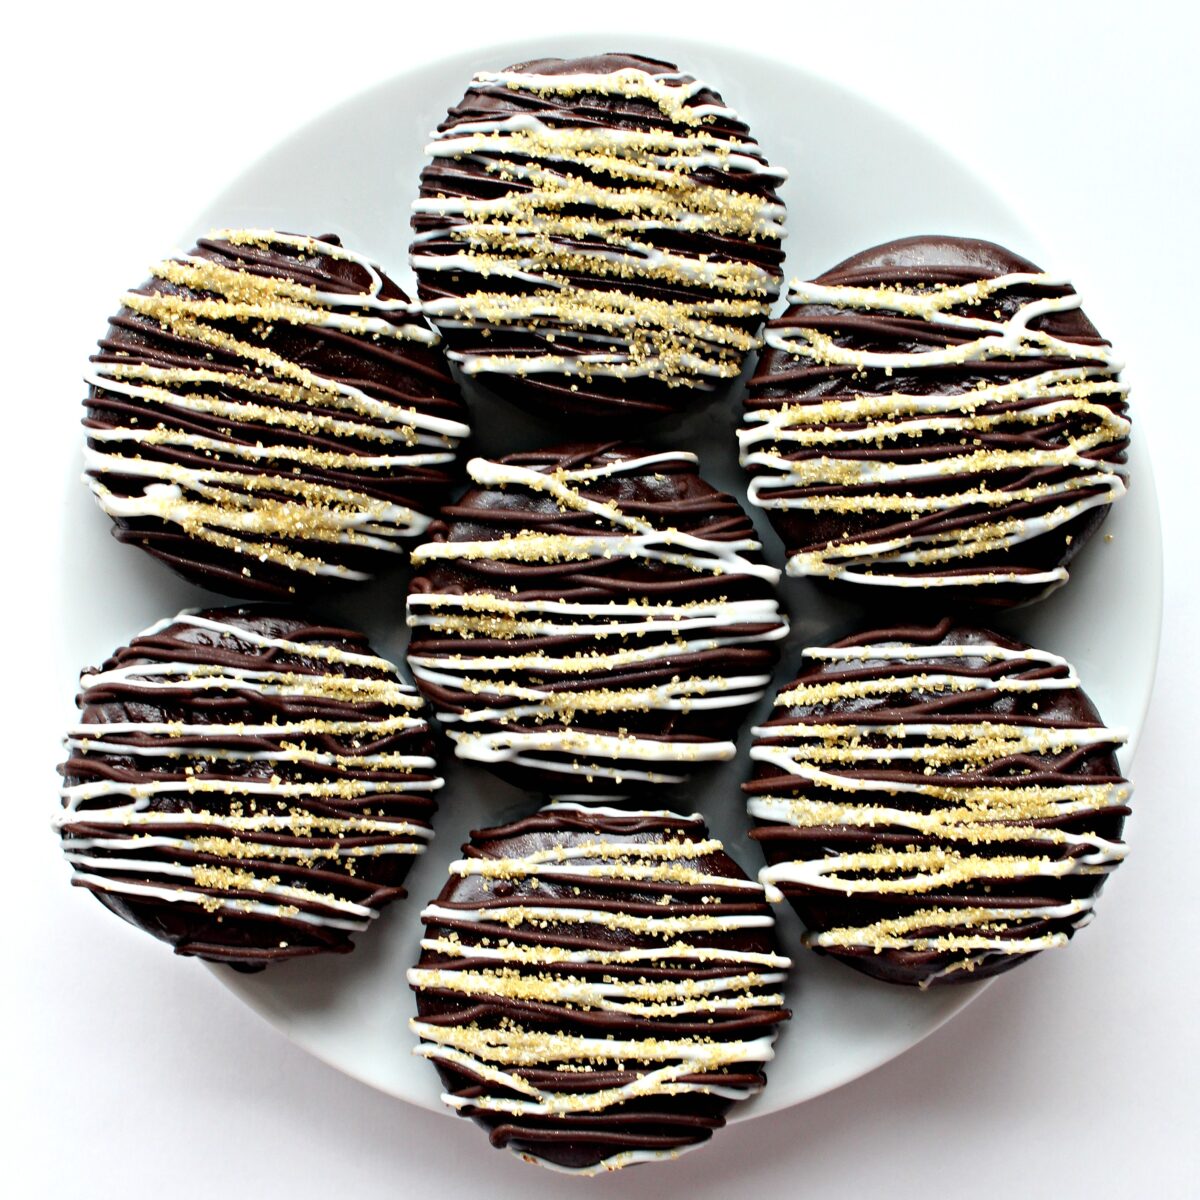
- If despite following directions, some of the cookies don't look as smooth and shiny as the others, use decorating camouflage. Put the left over dark and white chocolate into small ziplock bags with a tiny bit of a bottom corner cut off and cover imperfect cookies with zigzags of dark and white chocolate and some glittery golden sugar.
- For best results do not use chocolate chips for the coating.
- The easiest coating to use is almond bark or chocolate melting discs.
- If the melted chocolate is too thick, add a teaspoon of vegetable shortening or coconut oil to thin the chocolate.
Related recipes
Christmas Oreos Rudolph Cookies are SO cute. This simple, no-bake recipe is ideal for gifting, care packages, and cookie platters.
With a handful of ingredients, you can easily make these Chocolate Covered Oreos Christmas Tree Cookies.
Chocolate Marshmallow Cookies have a graham cracker base topped with a marshmallow and coated in chocolate. These cookies are like your childhood packaged cookie favorite but better!
Penguin and Polar Bear Oreos are chocolate coated adorable treats ready for winter snacking fun.

Ready to bake? Join the free membership group to get new recipes and a newsletter delivered to your inbox! You can also stay in touch on Facebook, Pinterest, and Instagram. I'd love to stay in touch!

Winter Wonderland Chocolate Dipped Oreos
Ingredients
- 1 package of chocolate sandwich cookies
- 2-3 cups dark or milk melting chocolate chocolate formulated for melting or tempered chocolate.
- 1 cup white melting chocolate chocolate formulated for melting or tempered chocolate.
- Sprinkles: evergreen tree sprinkles star sprinkles, gold sparkle sugar
Instructions
- Line a baking sheet (that will fit in the refrigerator) with wax paper.
- Melt the dark/milk chocolate and place in a small bowl.
- Submerge a cookie in the melted chocolate. Use a fork under the cookie to lift it out of the chocolate. Gently tap the fork to remove excess chocolate, then place the coated cookie on the prepared baking sheet.
- Repeat the process, coating up to 6 cookies. For a shiny finish, work in small batches so that the chocolate doesn't begin to firm on the cookies before the baking sheet goes into the refrigerator.
- Place the baking sheet in the refrigerator for about 5-10 minutes, or until the chocolate has set.
- Repeat until all of the cookies are coated in dark/milk chocolate. If the melted chocolate cools in between batches, reheat in the microwave at 50% power for 10-20 seconds.
- When all of the cookies are coated and the chocolate is firm, line another baking sheet with wax paper.
- Melt the white chocolate in a small bowl.
- Dip the bottom and/or side of a cookie into the white chocolate to create snow covered hills. Place on the prepared baking sheet. Immediately, add tree sprinkles to the white chocolate. Use a toothpick to dab a tiny bit of melted chocolate on the back of a star sprinkle, and "glue" it onto the cookie.
- After completing about 6 cookies, place the baking sheet in the refrigerator for a few minutes until the chocolate is set.
- Optional: Dip a toothpick in the melted white chocolate and add snowy details to the evergreen tree sprinkles.
- Store in an airtight container at room temperature for up to 2 weeks.
Notes
- Wrap each cookie in plastic wrap or a self-sealing cellophane cookie bag.
- Pack the individually wrapped cookies closely in a ziplock bag or plastic storage container.
- If using a storage container, add crumpled tissue paper between the cookies and the lid, if necessary, to prevent ANY movement while shipping.
Nutrition
First Published: November 30, 2017. Last Updated: December 20, 2023. Updated for additional information and better reader experience.


chris Scheuer
so pretty Wendy! And it's perfect at this time of year to use a shortcut like the Oreos. The adorable decorating totally makes up for it! 🙂
Shannon @loveatfirstbento
These are absolutely brilliant, on so many levels! The fact that you even added the little snow details to the evergreen tree sprinkles actually makes me so happy, I just love your creativity and attention to detail! And, since I'm sure my attempt at these cookied wouldn't look nearly as nice as yours, I really appreciate the "decorating camouflage" idea - those zigzag designs look just as professional as all the others, so no one would be able to tell at all! Just brilliant!
I am seriously loving your blog and posts so much, I love all the details and tips you provide, and you make it all seem so easy! Can't wait to check out more of your recipes!
Carlee
Dippes Oreos are always a favorite at our house as well, but ours never look this pretty! Now I'm inspired to do better this year!