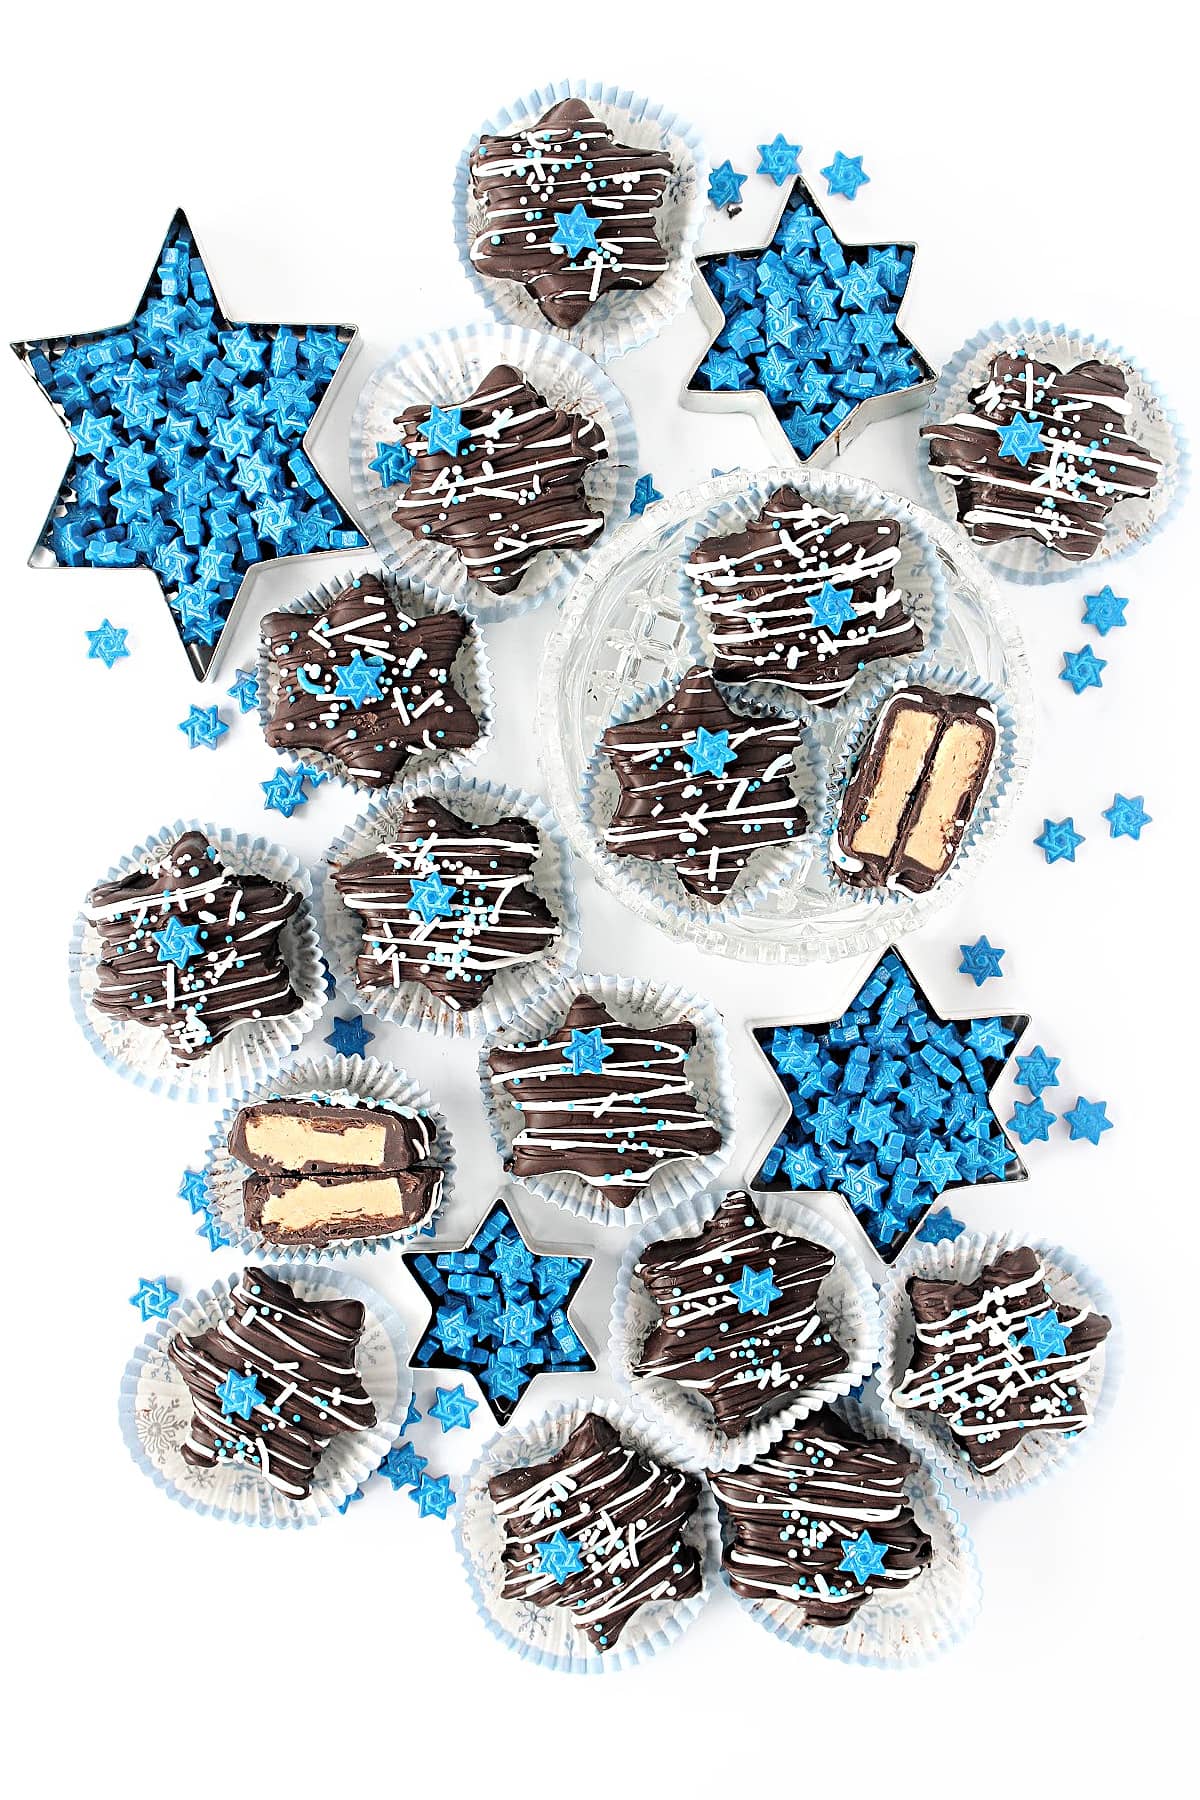
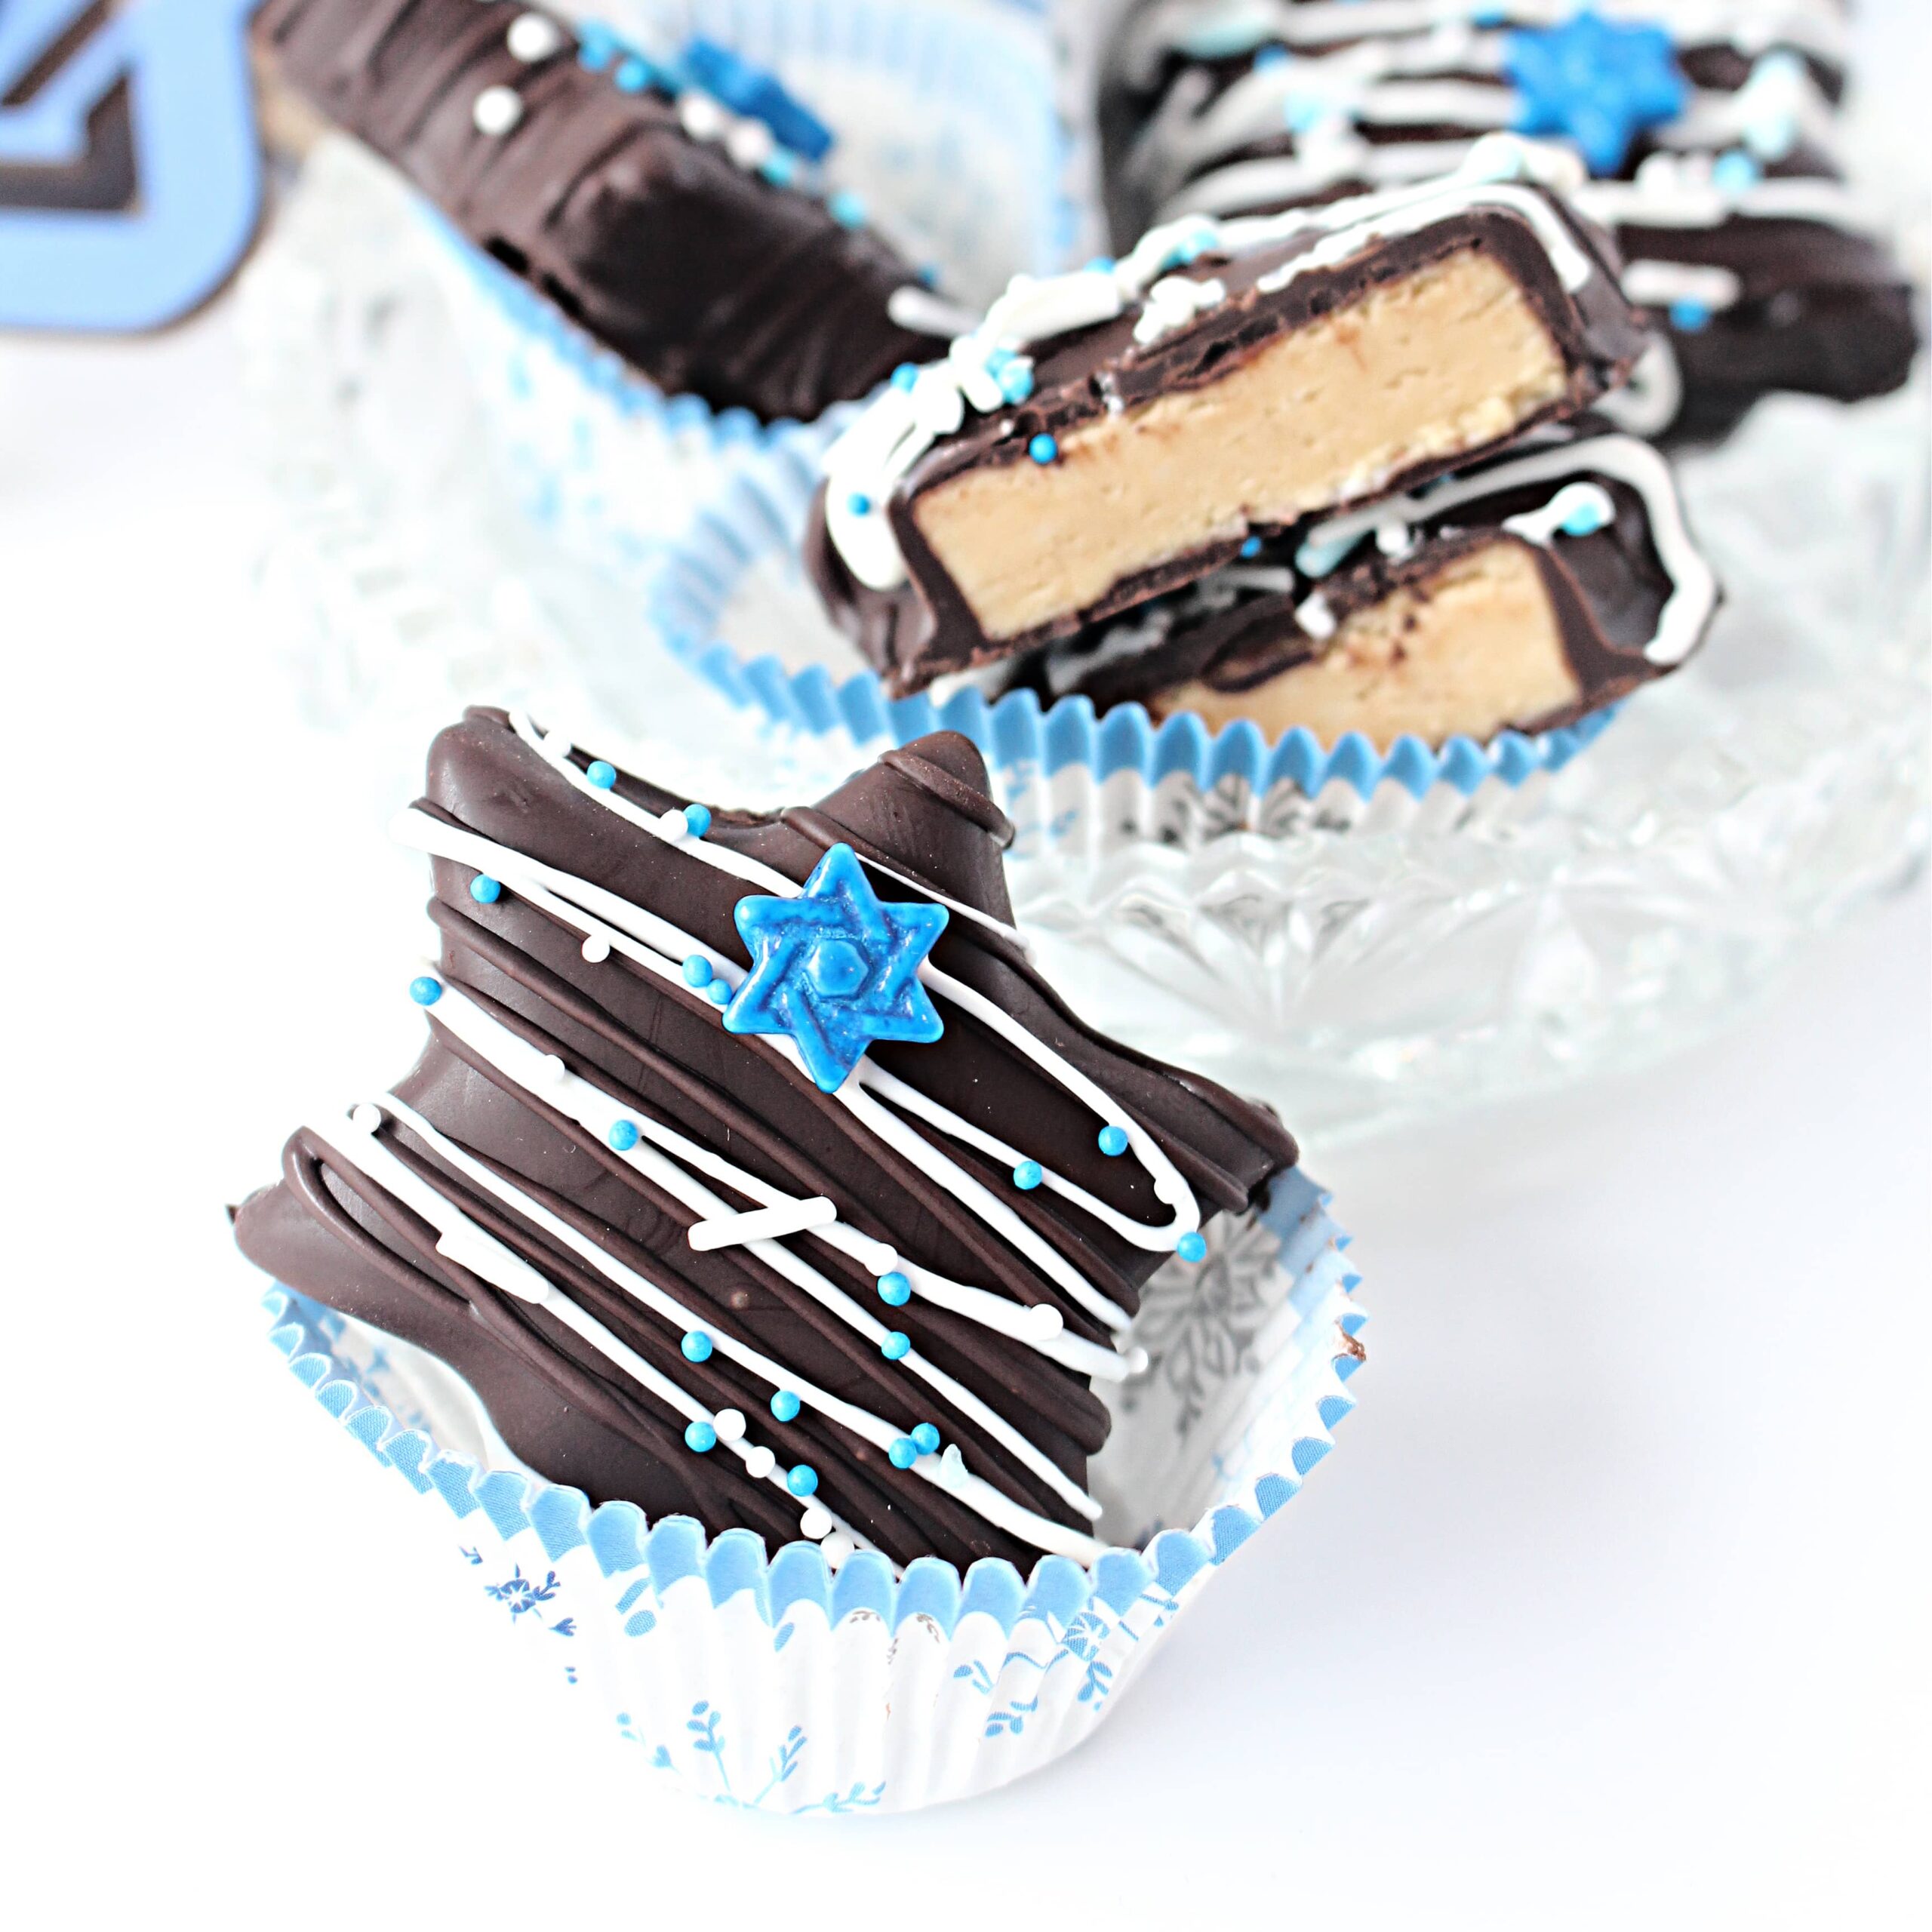
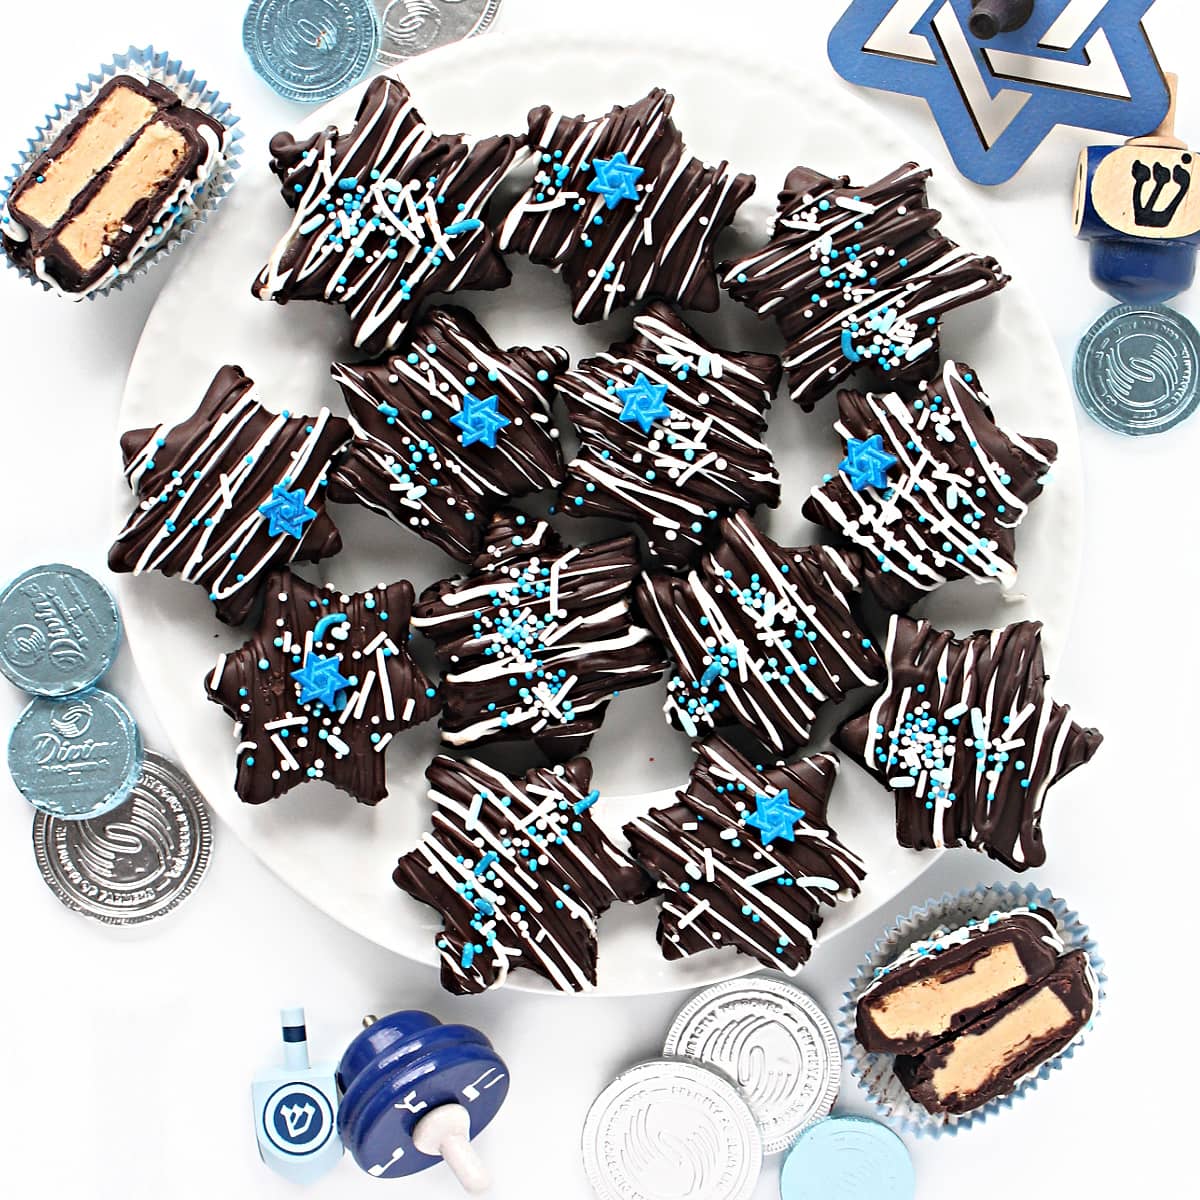
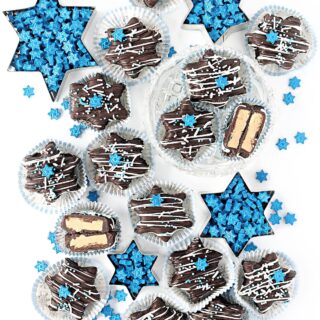
Chocolate Peanut Butter Hanukkah Candy are star shaped Hanukkah treats. The creamy peanut butter center is coated in chocolate and sprinkled in festive blue and white.
Why you'll love this recipe
This is a Hanukkah version of buckeyes, the chocolate coated peanut butter balls that's sold egg shaped at Easter and like Christmas trees for Christmas. These have a Star of David shape for Hanukkah!
These homemade chocolates have a soft, pliable peanut butter filling which is rolled flat then cut out with your choice of shapes. After a quick chill in the freezer, the shapes are ready to dip and decorate with festive sprinkles.
Candy makes a great homemade gift and is a special sweet treat for Hanukkah dessert!
Making your own Hanukkah chocolates gives you control over the ingredients. Adjust for food allergies using peanut butter alternatives such as soynut butter, another nut butter, or seed butter. Use coating that is ethically sourced and meets dietary requirements.
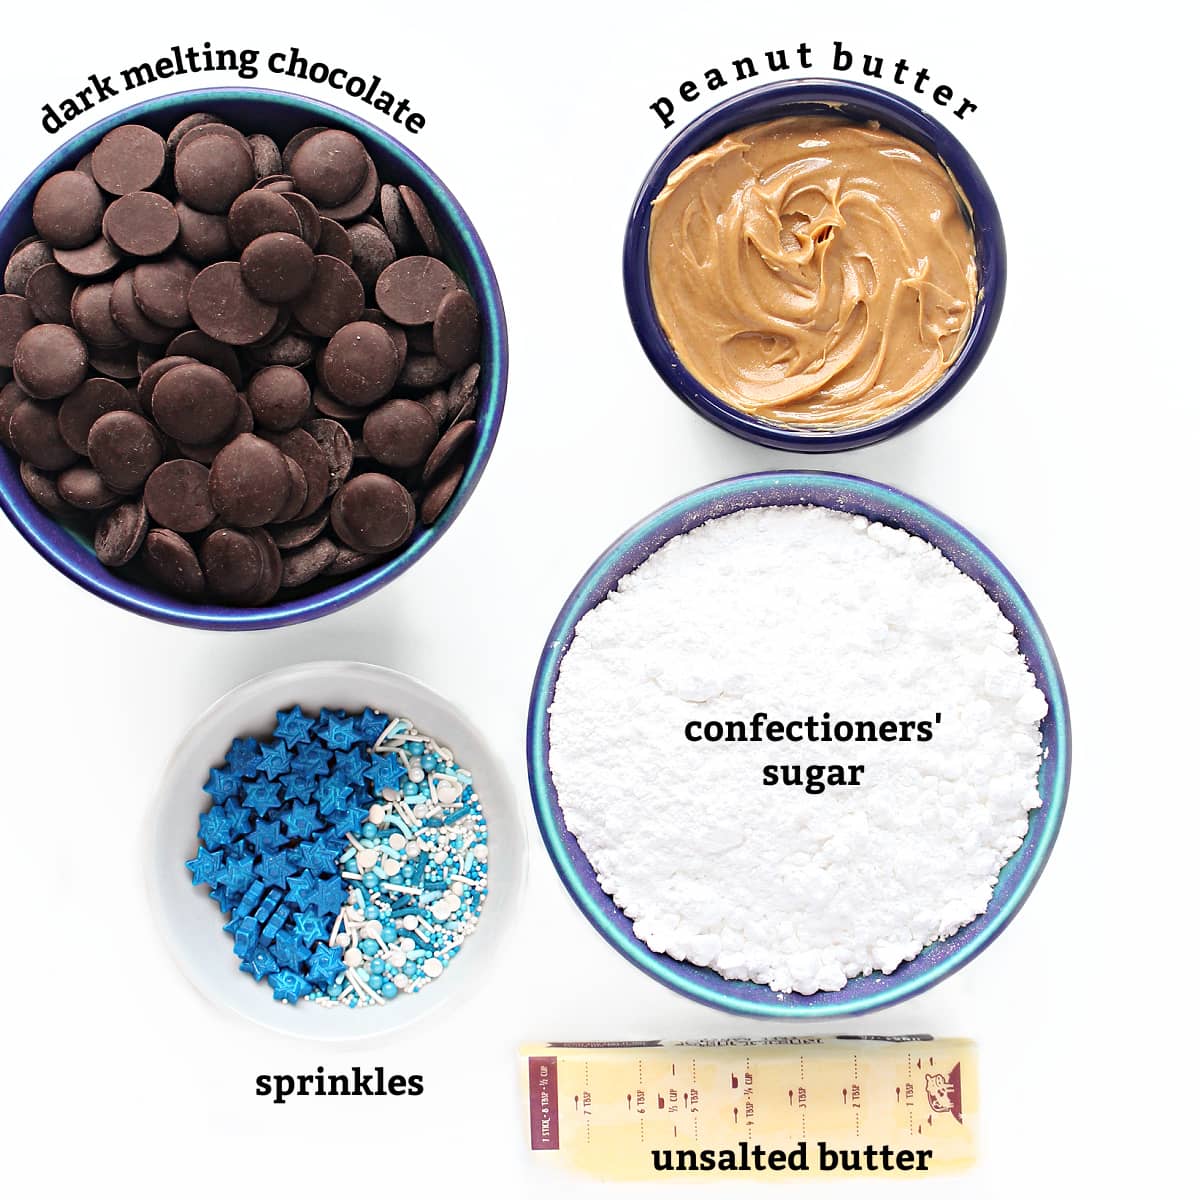
Ingredients
Instructions
This is an overview of the instructions. The full instructions are in the recipe card below.
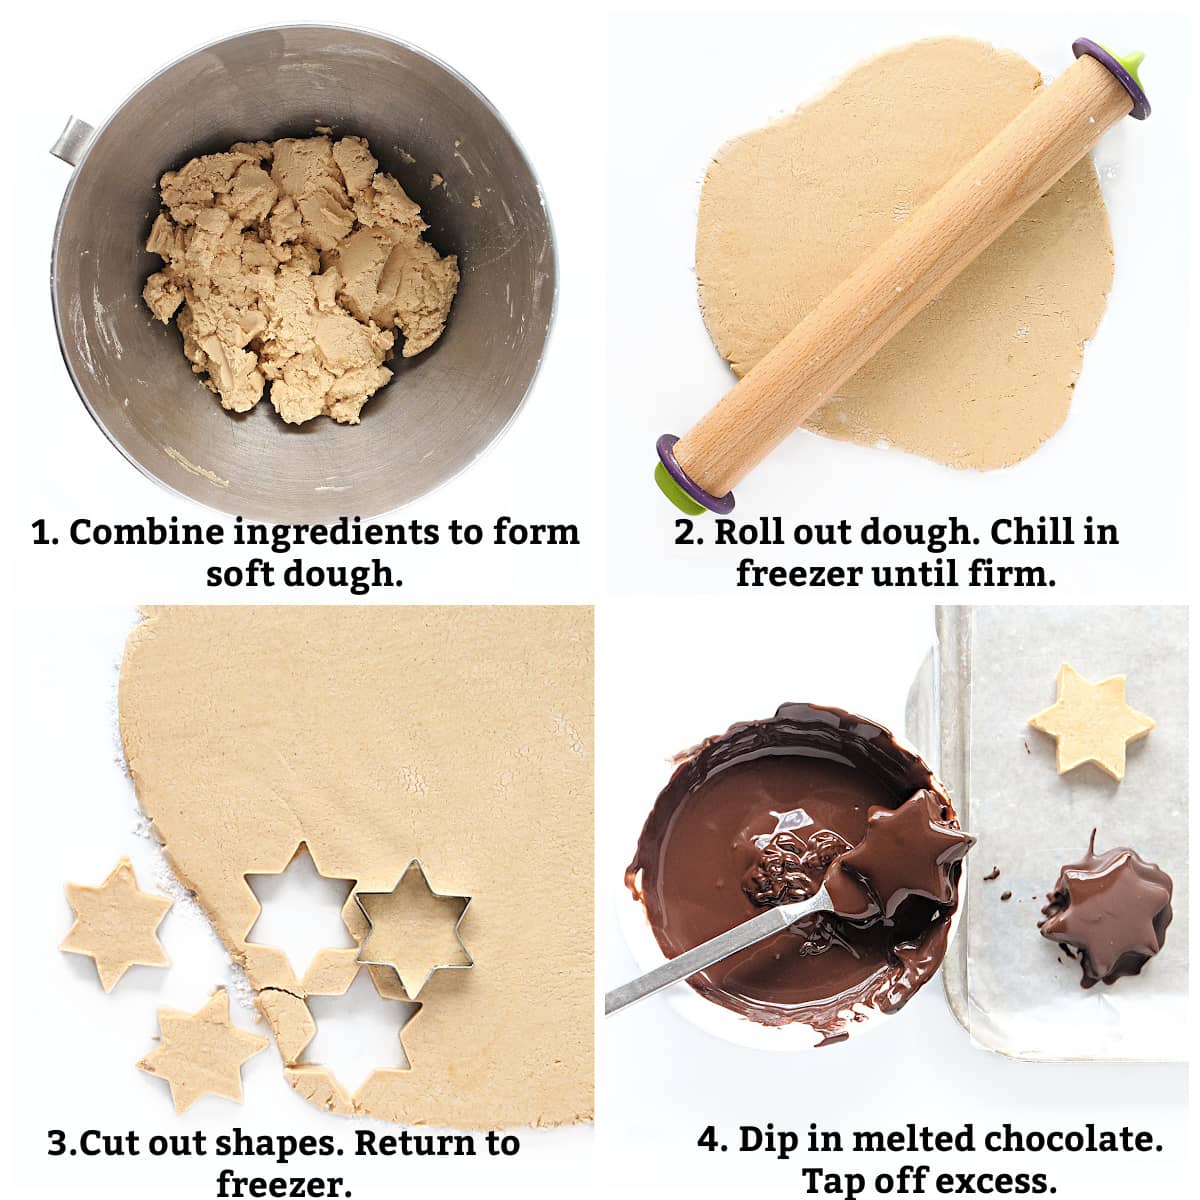
- In a medium bowl or in the bowl of an electric mixer, combine peanut butter, powdered sugar, and butter. Mix until a soft dough forms. The dough should be the consistency of playdoh.
- On a sheet of parchment paper dusted with confectioners sugar, press the peanut butter mixture into a disc shape, dust lightly with confectioners sugar and roll out the dough to a ½" thickness between two sheets of parchment. Freeze the dough until firm.
- When the dough is firm, remove the top parchment and cut out shapes. Scraps can be rolled out again and cut out. Return the cutout shapes to the freezer until ready to dip.
- Melt the dark chocolate in a small microwave-safe bowl or double boiler. Working in small batches, use a fork under a peanut butter cutout and dip into the warm chocolate to coat completely. Tap excess chocolate back into the bowl and place the coated shape onto a wax paper lined baking sheet. After dipping a few peanut butter shapes, refrigerate for about 5 minutes, until the chocolate coating is set. Repeat until all of the filling shapes have been coated.
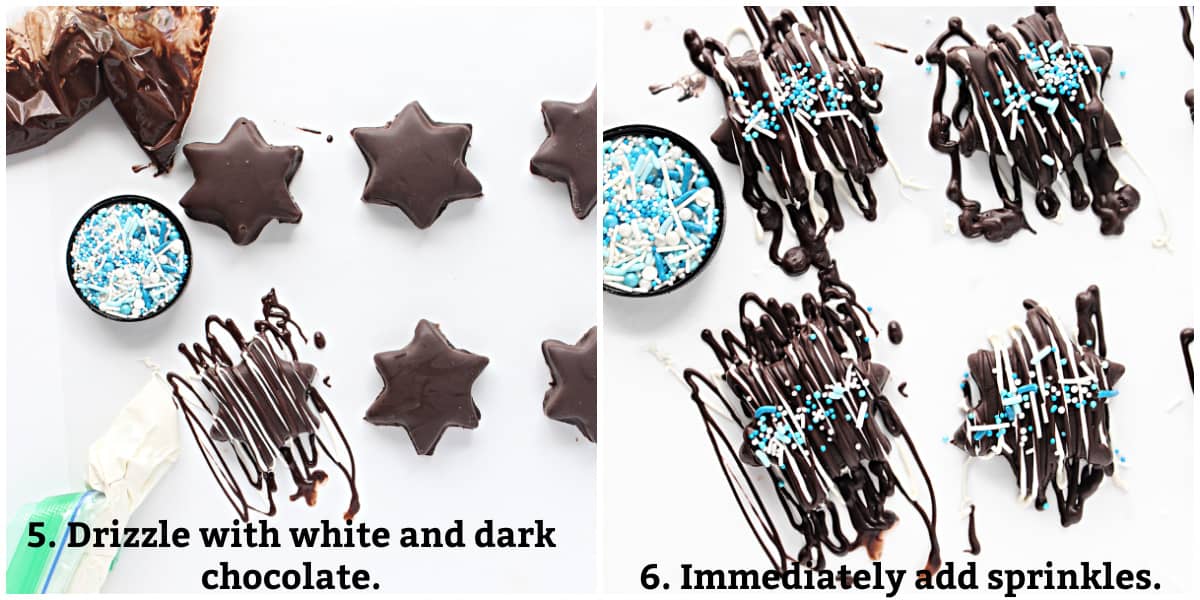
- Melt the remaining dark chocolate and place in a small zip lock bag. Melt the white chocolate and place in another small zip lock bag. Cut a tiny piece off a bottom corner on each bag. Drizzle the white chocolate, then the dark chocolate over one candy.
- Add sprinkles. Repeat with remaining candy.
Storage
Store at room temperature in an airtight container for 5 days, or refrigerated for several weeks.
Would you like to save this?
Tips
- The easiest way to coat cookies and candy is with melting chocolate(compound chocolate). The discs are formulated to be the right consistency for dipping and will remain smooth and shiny.
- Do not use chocolate chips or chocolate bars for coating unless you will be eating the candy immediately. Within a day or two coating made with chocolate chips will develop a white appearance (bloom) from the fat rising to the surface as it separates from the cocoa.
- Milk chocolate or white chocolate melts can be used. The finished candy will be sweeter.
- Peanut butter can be substituted with another nut, seed, soy bean butters.
- Use this recipe with any shape cookie cutter throughout the year.
- For holiday specific candy without a holiday shaped cookie cutter, use a basic geometric shape (circle, square, etc.) and use holiday colored sprinkles.
Frequently asked questions
Melting chocolate is a confectionary coating that may contain cocoa but not cacao butter. This formulation makes it ideal for melting without needing to temper the chocolate.
Chocolate chips are not formulated to be used as a coating. They will not firm to a shiny, crisp coating and will develop a white appearance(bloom) in a day or two.
Melting chocolate is formulated for easy melting and no bloom, whereas chocolate chip contain stabalizers to help the chips keep their shape and resist melting when heated. The fats in chocolate chips can separate and cause a white, fuzzy appearance.
Related Recipes
You'll find a complete listing of all of the candy recipes on The Monday Box, in the Recipe Index.
Chocolate gold coins are a Hanukkah tradition Make your own Hanukkah Gelt for a fun family project.
Chocolate Kisses are a sweet treat on their own or use them in cookies and brownies!
Marzipan Chocolates are fabulously delicious and make the best candy for impressive gifts, even though they only have 2 ingredients! Add some Christmas sprinkles for holiday flair.
When you make your own Peanut Butter Cups you can make them any color you want! This crowd favorite is enjoyed any time of year.
Share some love with Chocolate Marshmallow Hearts and make someone's sweet tooth very happy.
Honey Sesame Brittle can be made molded or free form. Either way, the toasty sesame flavor will impress.
Ready to bake? Join the free membership group to get new recipes and a newsletter delivered to your inbox! You can also stay in touch on Facebook, Pinterest, and Instagram. I'd love to stay in touch!
Chocolate Peanut Butter Hanukkah Candy
Equipment
- 1 Star of David cookie cutter, 2" (point to point) larger cookie cutters can be used but will reduce the number of candies per recipe
Ingredients
- 3 cups confectioners' sugar plus extra for dusting the surface when rolling out the dough
- 1 cup creamy peanut butter or other nut/seed butter
- 6 tablespoons unsalted butter room temperature
- 2 cups dark melting chocolate
- ¼ Cup white melting chocolate
- sprinkles
Instructions
- In a medium mixing bowl or in the bowl of an electric mixer, combine all of the ingredients and mix until a soft dough forms. The dough should be the consistency of playdoh. If it is sticky, add a bit more confectioners' sugar.
- On a sheet of parchment paper dusted with confectioners sugar, knead the dough a few times until smooth.
- Press the dough into a disc shape, dust lightly with confectioners sugar and roll out the dough to a ½" thickness between two sheets of parchment.
- Slide the parchment covered dough onto a baking sheet (that will fit in your freezer) and freeze for 10-15 minutes until firm.
- When the dough is firm, remove the top parchment and cut out shapes. Scraps can be rolled out again and cut out. Return the cutout shapes to the freezer until ready to dip.
- Line a baking sheet (that will fit in the refrigerator) with wax paper. Set aside.
- Melt the dark chocolate in a small bowl.
- Work in small batches to keep the peanut butter dough firm and to allow the chocolate to set in the fridge,not on the counter.
- Using a fork under a peanut butter cutout, dip into the melted chocolate to coat completely. Tap excess chocolate back into the bowl and place the coated shape onto the wax paper lined baking sheet.
- After dipping a few peanut butter shapes, refrigerate for about 5 minutes or until the chocolate is set. Repeat until all of the filling shapes have been coated.
- When ready to decorate, line a baking sheet with wax paper. Place about 12 candies on on the baking sheet about 2" apart.
- Melt the remaining dark chocolate and place in a small zip lock bag. Melt the white chocolate and place in another small zip lock bag. Cut a tiny piece off a bottom corner on each bag.
- Drizzle the white chocolate, then the dark chocolate over one candy. Add sprinkles. Repeat with remaining candy.
- Store at room temperature in an airtight container for 5 days, or refrigerated for several weeks. Separate layers of candy with wax paper.
Notes
- The easiest way to coat cookies and candy is with melting chocolate(compound chocolate). The discs are formulated to be the right consistency for dipping and will remain smooth and shiny.
- Do not use chocolate chips for coating unless you will be eating the candy immediately. Within a day or two coating made with chocolate chips will develop a white appearance (bloom) from the fat rising to the surface as it separates from the cocoa.
- Peanut butter can be substituted with another nut, seed, soy bean butters.
- Use this recipe with any shape cookie cutter throughout the year.
- For holiday specific candy without a holiday shaped cookie cutter, use a basic geometric shape (circle, square, etc.) and use holiday colored sprinkles.
- Only send chocolate to and from cool or cold weather locations.
- Place each of the Hanukkah chocolates into a candy paper or mini cupcake liner.
- Fit the candies snuggly in a lidded tray.
- Fill any space between the balls and the lid with crinkles tissue paper or wax paper to ensure that there is no movement during transit.
Nutrition
First Published: December 17, 2022. Last Updated: October 4, 2023. Updated for better reader experience.


Leave a Reply