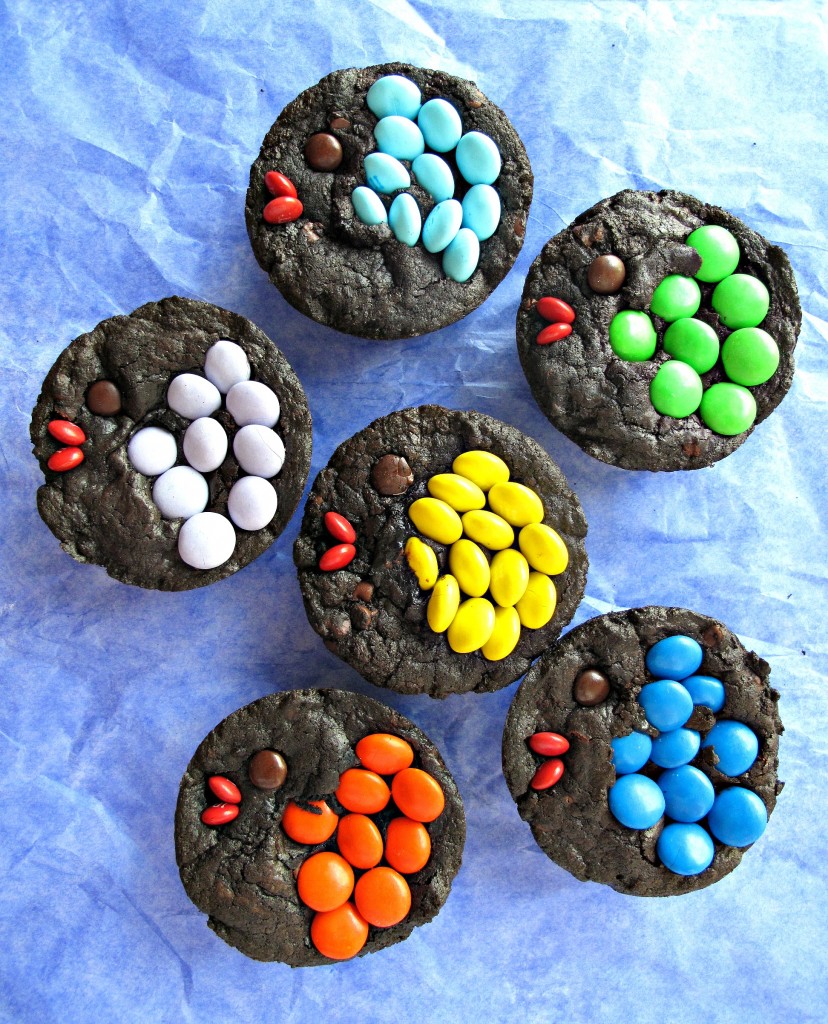
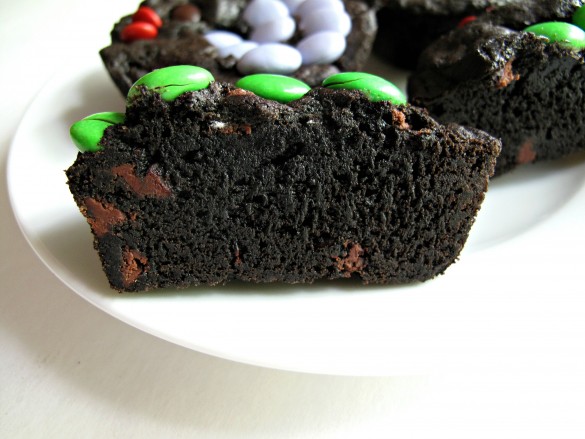
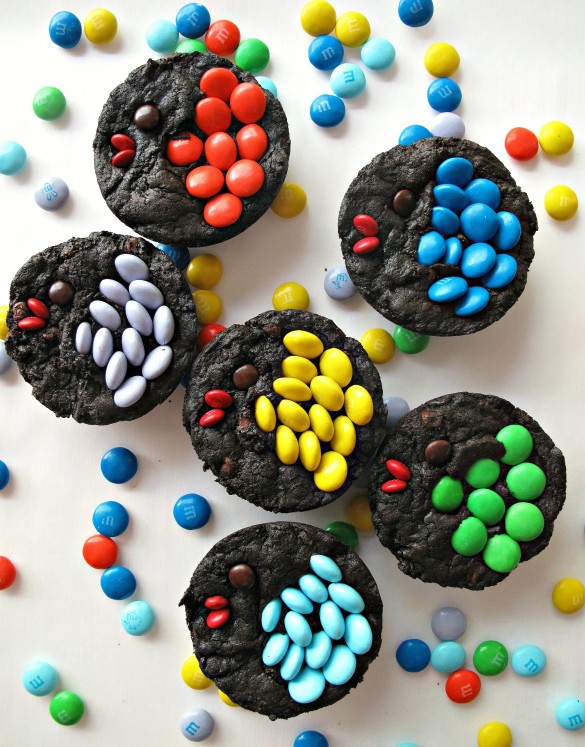
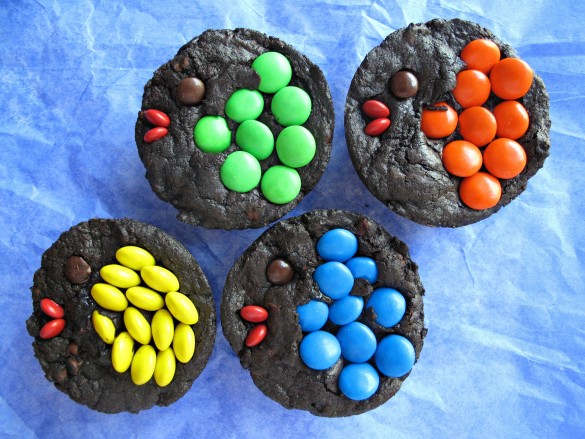
A little imagination may be required to see what are supposed to be M&M fish on top of these Decorated Fudge Brownies. However, blissfully enjoying the rich, fudgy flavor of these brownies takes no effort at all. The fish decorated brownies are for a "Gone Fishing" themed military care package I am sending out this week. Maybe if you knew ahead of time that the brownies were part of the theme, it wouldn't take quite as much imagination to figure them out. Just in case, for the care package I marked each bag clearly with, "M&M Fish on Fudge Brownies".
 It is HOT season in Afghanistan which calls for some care package baking ingenuity. This Decorated Fudge Brownies recipe is the very best way I have found to get chocolate to the desert this time of year. The original desert-safe recipe was developed by Nestle's especially for deployed military. Nestle's created a fabulous brownie that can be savored at home, or shipped with less worries about spoilage. Monday Box treats adapted from this recipe (Hugs and Kisses Brownies and Chocolate Mint Truffle Brownie Bites) have received two thumbs up from local and distant taste testers. That doesn't surprise me. This recipe creates chewy, fudge-like brownies that are hard to resist. Amazingly, Decorated Fudge Brownies stay fresh and chewy for up to 2 weeks.
Decorating is the biggest baking dilemma from the heat this time of year. Whether shipping to the next state or across the world, temperature has to be considered. Both frosting and drizzled chocolate do not ship well in warm weather. Decorating sugar and sprinkles aren't as prone to melting if you can get them to stay on the baked items without using frosting or a glaze. For these Decorated Fudge Brownies, I tried using M&M's which were invented to "melt in your mouth, not in your hand". Hopefully, Soldier B. will let me know that the M&M's are desert worthy, as advertised.
Did you know that M&M's were developed in 1941 and were originally not available to civilians? Cardboard tubes of M&M's were distributed exclusively as part of American army rations during World War II. The candy coating kept the chocolate from melting during transport. The challenge, when baking with M&M's, is to keep the candy coating from cracking, which would allow melted chocolate to leak out.
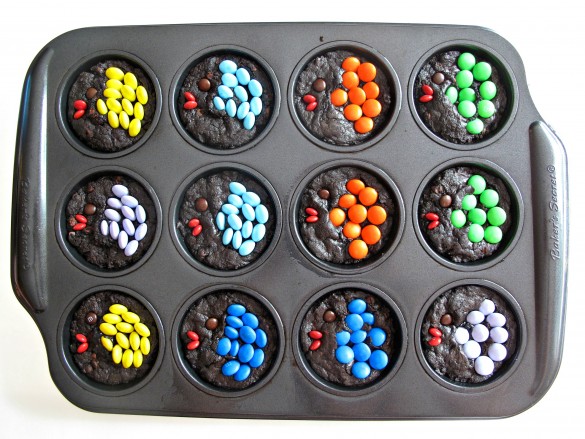
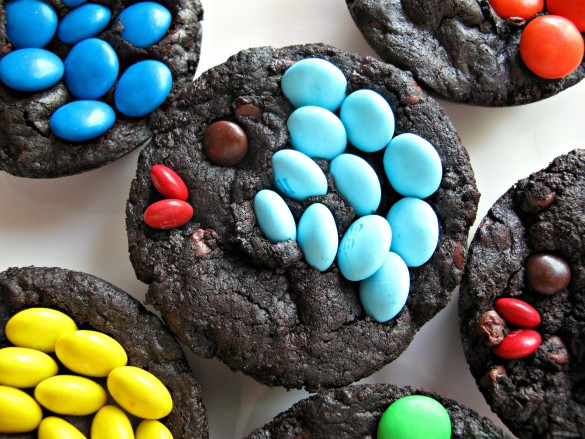
I tried numerous anti-cracking tactics with equally numerous failures. Any time at all in the oven is going to cause cracks. Even if the M&M's are frozen, they will either crack in the oven or crack when they come out of the oven. The only solution I found, that works most of the time, is pressing the M&M's onto the top of the brownies IMMEDIATELY after baking. If the brownies are allowed to cool before decorating, the M&M's won't stick. I highly recommend baking only 6 brownies at a time, unless you have decorating helpers. I baked 12 and had trouble with the final 6. At first, I could gently press the M&M's onto the surface and the heat of the brownie would melt the candy coating just enough for the M&M's to stick. By the final 6, I had to gently press the M&M edge into the brownie. Two different looks. Let's pretend I created the two looks on purpose to offer you variety and choice.
Would you like to save this?
You can read more about desert safe ingredients and find an index of all of the desert safe recipes on The Monday Box by clicking here.
Decorated Fudge Brownies
Ingredients
- 1 ½ all-purpose flour
- 1 cup baking cocoa
- ½ teaspoon baking powder
- ½ teaspoon salt
- 1 tablespoon espresso powder
- ⅔ cup butter-flavored vegetable shortening
- 2 cups granulated sugar
- 4 large eggs
- 1 cup mini chocolate chips
- 1 bag regular m&m’s separated by color
- 1 bag mini m&m’s 2 red, 1 brown/brownie
Instructions
- Preheat oven to 325 degrees F. Use non-stick cooking spray to lightly grease 6 cup in a cupcake pan. (Decorating with m&m’s must take place while the brownies are still hot. If there are more than 6 brownies in a batch, some brownies will cool before they can be decorated and the m&m’s won’t stick.)
- In a medium bowl, whisk together the flour, cocoa, baking powder, salt and espresso powder. Set aside.
- In the bowl of an electric mixer, combine the shortening, sugar, and eggs. Beat until light in color and fluffy (about 3 minutes).
- Gradually add in the flour mixture, until combined.
- Stir in the mini chips.
- Scoop ¼ cups of batter into the prepared pan (it will be thick), use your fingers to even out the batter into the entire pan and smooth the surface.
- Bake for 11-13 minutes. The toothpick test doesn’t work. If the top is firm, take it out. (Mine baked for 12 minutes).
- Decorate with m&m’s immediately after removing from the oven. Press the m&m’s gently into the brownie. Try to avoid cracking the shell. As the brownies cool, the m&m’s will not stick to the surface and may need to be pushed edge down into the brownie.
- Allow the brownies to cool completely in the pan. To remove from the pan, slide a sharp knife gently around the edge of the brownie, then lift out.
- Store brownies at room temperature in an airtight container or zip lock bag for up to 2 weeks.
Notes
Nutrition


shannon
okay so first of all, i had no idea the history of M&M's: surprising, considering my penchant for googling everything i love (and i LOVE M&M's.) Secondly, your decorations make me SO happy because they're adorable, and always so well done. Love these, wendy. those brownies...that photo of the one cut in half so you can see how amazing the texture is? YUM.
The Monday Box
Thanks, Shannon! I didn't know the history of M&M's either until very recently! As soon as I learned about the origins I began planning how to use them in a military care package! I've used this brownie recipe before with different shapes and flavorings. I love how it stays chewy and fudgy for such a long time!