I offer the disclaimer that I am not a chocolate lover. I am a chocolate liker without a discerning chocolate palate. Except for Fanny May vanilla creams (an addiction started in college by my roommate, a native Chicagoan), I prefer my chocolate dark and plain. No nuts (allergies). No caramel (too sticky). No fruity goo (yuck).
I have mentioned before that I was allergic to chocolate as a child and was therefore drawn to it like a magnet. There was rarely chocolate candy in my parents’ house but my maternal grandmother always had boxes of assorted chocolates for company. Assorted chocolates are a crap shoot. You never know what you can be biting into. Some chocolate boxes come with a map/key on the inside lid. Certain shapes of candy or squiggles on top are supposed to be clues to what is inside. But once some of the candy is eaten and the rest of the candy moved around, the map doesn’t always work.
My childhood method for previewing the fillings before I took a bite was to very carefully cut a circular hole in the bottom of a chocolate with my fingernail. I would pry out the circle of chocolate and check out what was inside. If it was appealing, I would eat the candy and no one would know. If it was gross, I carefully replaced the circle of chocolate, put the candy back in the box, and hoped no one would notice. No one ever said anything, so maybe I got away with it.
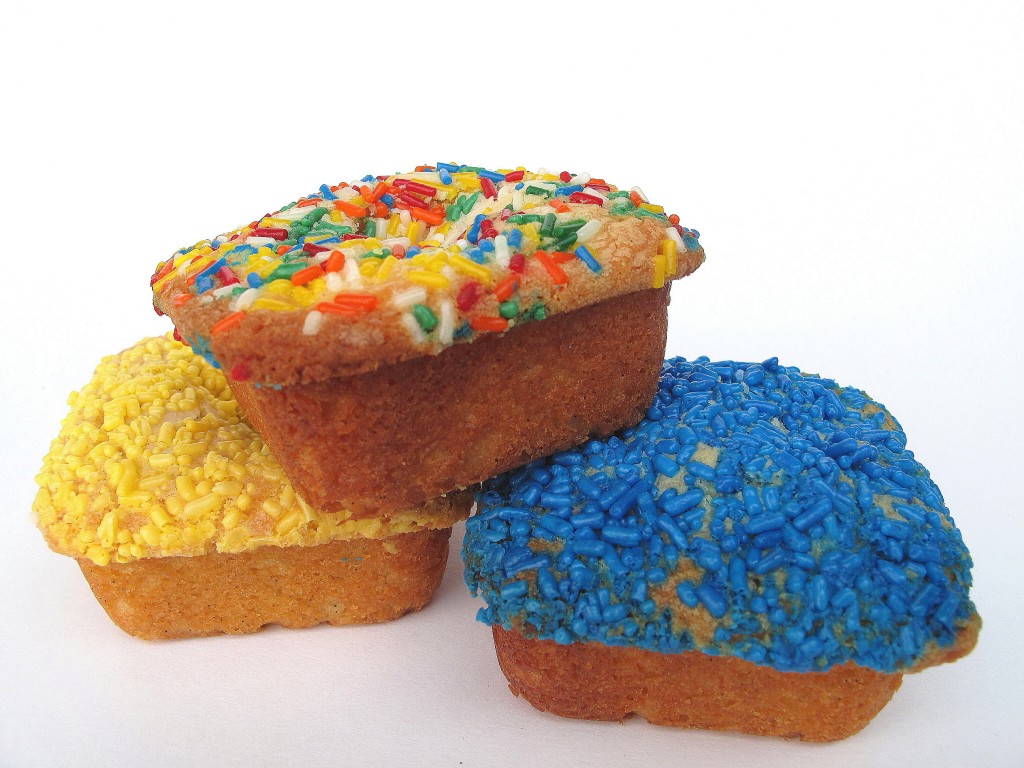
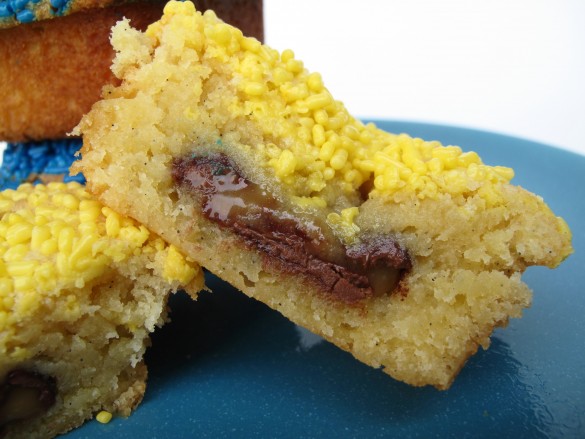
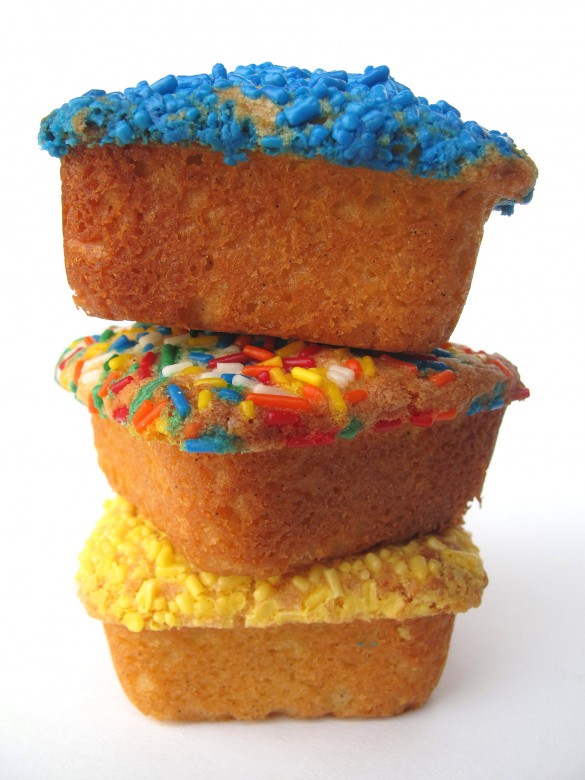
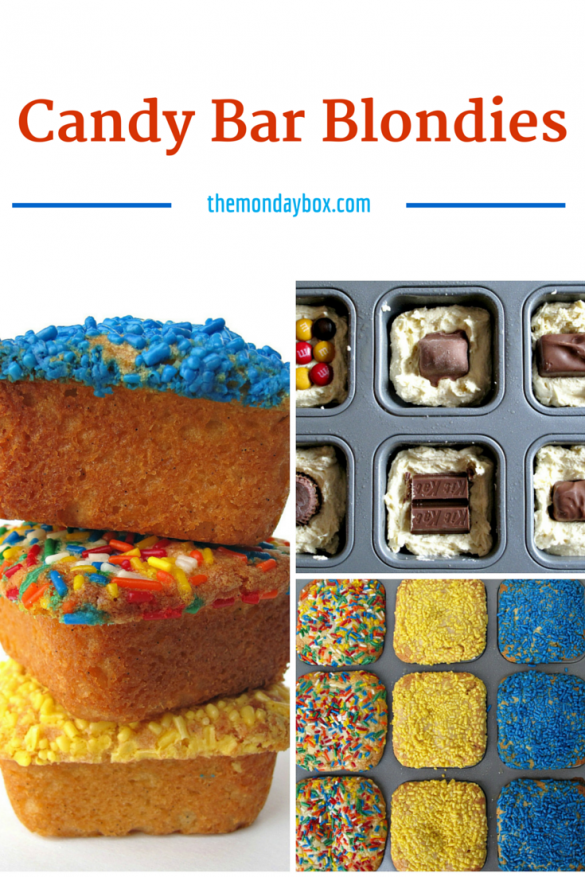
Baking these filled blondies reminded me of those chocolate sampler boxes with their varied secret centers. When I bake, I am often left with a handful of mini candy bars. To use the numerous different handfuls I have accumulated, I decided to bake blondies in an individual brownie pan with each blondie having its own candy bar filling. I ended up with a candy bar filled blondie sampler.
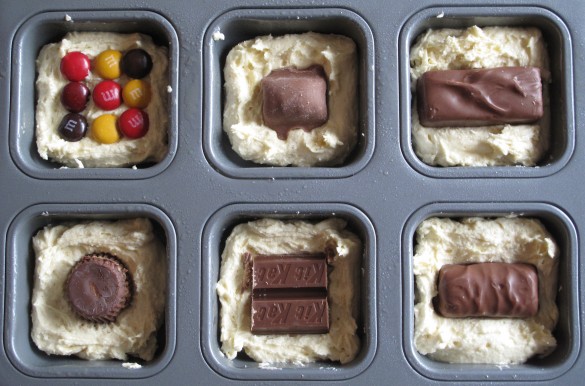
You can provide a map/key to the blondie fillings or leave it a mystery. If you go the mystery route, watch out for little holes poked into the bottom of your blondies.
Would you like to save this?
The blondie part of this recipe comes from the wrapper of a Ghiradelli white chocolate baking bar. I tweaked a few things to make the recipe “dessert-safe” for military care packages. I replaced butter with vegetable shortening. Vegetable shortening stands up to high heat without the risk of going rancid. I also used vanilla paste instead of vanilla extract. Vanilla paste is made without alcohol and as a bonus adds little black vanilla bean dots to your cooking. I have read that you aren’t supposed to use extracts made with alcohol in baked goods going to military deployed in Muslim countries where alcohol is prohibited. I’m not sure how anyone would know if you had vanilla extract baked into something, but just to be sure I used vanilla paste. I think the original recipe tastes exactly the same as my tweaked recipe. If you aren’t mailing these treats to a hot place where spoilage is a concern, go with whichever version appeals to you.
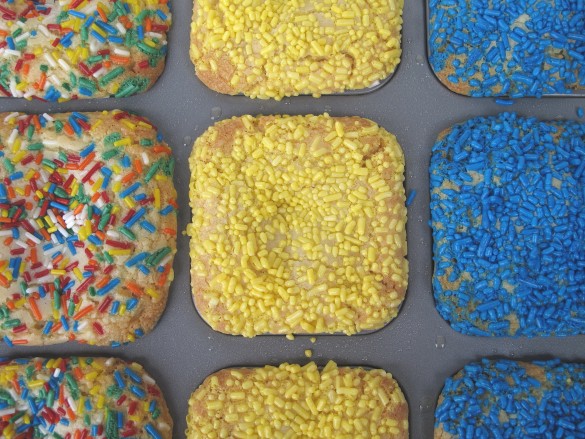
You can use any candy fillings you want. One baking oddity of note was that some of my blondies ended up with sunken centers and others didn’t. I think this is caused when some candy bars melt into the blondie more than others. Being sure to pack the top layer of dough around the candy bar, with no air pockets, can help minimize this.
I used an individual brownie pan but the original recipe calls for a 9 inch square baking pan, lined with parchment and greased. Stored air-tight at room temperature, the individual blondies are good for at least 2 weeks. For longer mailing times, I recommend baking in a 9 inch square and not cutting into individual servings.
You can read more about desert safe ingredients and find an index of all of the desert safe recipes on The Monday Box by clicking here.
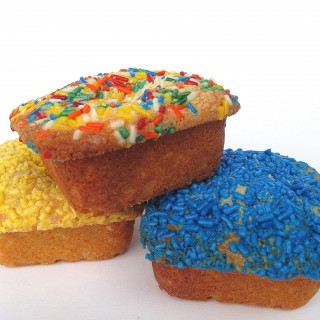
Candy Bar Blondies
Ingredients
- 8 ounces white chocolate broken into chunks
- ½ cup vegetable shortening
- 2 large eggs
- ⅓ cup granulated sugar
- 1 tablespoon vanilla bean paste or extract
- 1 ¼ cup all-purpose flour
- ½ teaspoon salt
- 9 mini candy bars or larger candy bars cut to fit
- 9 tablespoons sprinkles
Instructions
- Preheat oven to 350 degrees F. Butter or spray cooking oil onto individual brownie pan.
- Place chocolate and shortening in medium sized microwave safe bowl. Heat in microwave 1 minute. Stir. If not completely melted, return to microwave for 10 second intervals, stirring between heating, until completely melted and combined.
- In bowl of electric mixer, beat eggs until foamy (about 3 minutes).
- Mix in sugar, vanilla, and melted chocolate.
- Add flour and salt and stir until incorporated.
- Spoon 1 heaping tablespoon of batter into 9 sections of the pan. Using finger tips spread dough evenly to cover bottom of each section. Add more dough if needed.
- Gently press candy onto the dough. (If you want to remember what is inside each blondie, now is the time to make a map/key for the baking pan.)
- Add about 2 tablespoons of dough to each section on top of candy. Use fingertips to press dough around candy and even across the top.
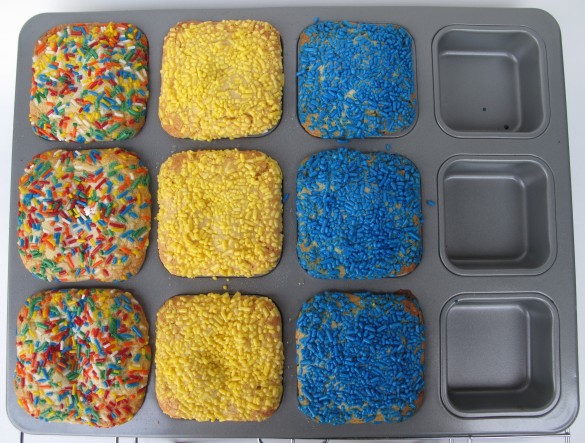
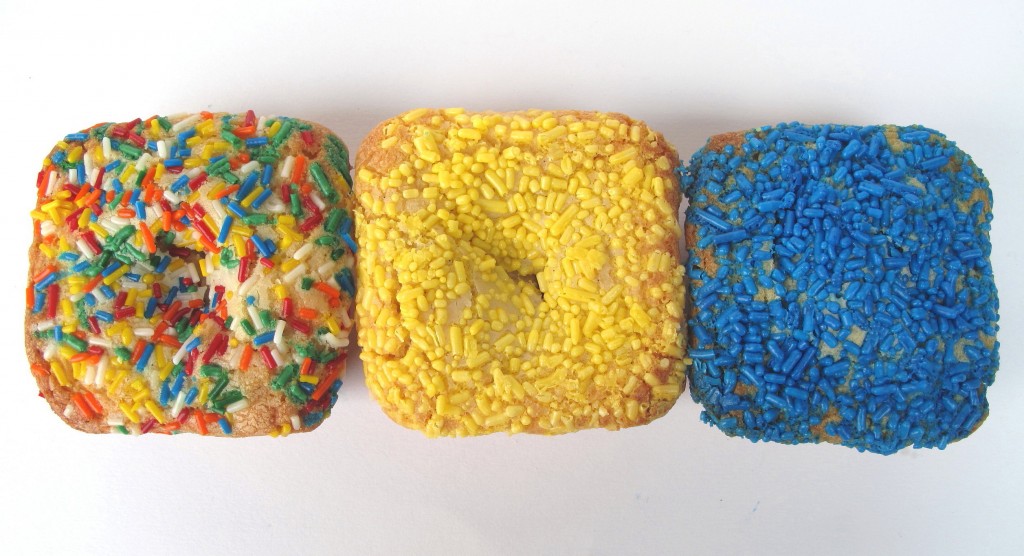
- Spread 1 tablespoon of sprinkles over each section. Press gently to make sure sprinkles are attached to dough. They will melt slightly during baking.
- Bake for 12- 15 minutes, or until golden and toothpick inserted in center comes out clean. ( 25 minutes for 9”x 9” pan). If mailing internationally, undercook by about 1 minute. (The extra moisture from undercooking will help keep the blondies soft while shipping)
- Cool for 15-20 minutes in pan, then remove from pan to complete cooling on a wire rack. ( If you want to remember what is inside each blondie, place the blondies carefully on the wire rack in the same order as your map/key.)
- Blondies can be stored in airtight container at room temperature for at least 2 weeks.
Notes
Nutrition



Erlene Amat
These look so fun to make and I would totally not label or identify what's in them for fun 🙂 Thanks for sharing your recipe on Merry Monday!
Miz Helen
Our family will just love your Candy Filled Blondies and thanks so much for sharing them with us. Hope you will come back to see us at Full Plate Thursday real soon and have a great week!
Miz Helen
Kathy
My husband is over seas and I've been trying to figure out how I could send him his favorite candy bars without them arriving as a melted mess, so this is perfect! With Halloween on the way soon I'll make these with his favorite trick or treat candy and use Halloween sprinkles on top! I'm so excited to make these with the kids, thank you so much!
themondaybox
Kathy, your comment and kind words totally made my day (week, month)!! I try so hard to create desert safe goodies for overseas care packages, and it means a lot to me knowing that you found this recipe useful! I hope you and the kids have fun hiding your husband's favorite candy inside these blondies! (Halloween fun size is perfect for these.)Your husband can't help but taste the love you put into creating them! I would love to know how it goes. 🙂
BruCrew Life
Those are way too cute and too fun!! I love how you topped them with all different sprinkles too. That little brownie pan is so fun...I'm going to keep an eye out for one.
themondaybox
I thought of you and your closet of baking goodies when I made these, Jocelyn! I was being taken over by baggies of candy bars in my baking pantry. The cabinet was getting dangerous to open. 🙂 The individual brownie pan is especially good for people who like the outside edge on brownies/blondies!
Reeni
This is so, so, sooo clever! A blondie candy sampling. So original - I love it! I thought of Halloween too when I'm left with an assortment of candy. I like the idea of it being a surprise but love that you made a key for yours.
themondaybox
Thanks, Reeni! The key is for control freaks. 🙂 Those free spirits with a sense of adventure can just take their chances and bite! The blondies themselves are really yummy, so they could be made plain or filled with anything.
Kiran
I bet this would be perfect for Halloween too. Or now, for that matter 😉
themondaybox
You can make them with any of your favorite candy or whatever odds and ends you have around, Kiran. The blondie itself is so chewy and moist that anything goes with it!
Suzie
Oh my these look so tempting. Like I could eat 3 or 4 right now! I love the little surprise in the middle. Great for all ages! I hope you got my email, if not you may want to check your junk/spam email 🙂
themondaybox
Thanks, Suzie! The blondies are pretty big so 1 will probably be enough. 🙂 I did get your email. Thank you! I am checking into the resources you suggested and will incorporate your "voice of experience" into future posts! Also, I have a cake-in-a-jar recipe on the blog. It is a great military care package idea! i plan to add more in the future. 🙂
Aimee @ ShugarySweets
What a fun gift, love the sprinkles too!!!
themondaybox
Thanks, Aimee! Sprinkles make life better. 🙂
noyomoco
These sound so awesome! I love stuffing yummy things inside of other yummy things 😉
themondaybox
Thanks, Jennifer! 2 yummies has to equal extra yummy. 🙂
crazyforcrust
Those are awesome!
themondaybox
Thanks, Dorothy! They taste good too. 🙂
shannon
what a fun idea! and i love your way to tell what was inside chocolates as a kid; brilliant. i was picky about them too, and i wish i had thought to use that strategy. 🙂
themondaybox
Believe me, Shannon, I am not so sure everyone else was thrilled with my brilliant investigative methods! 🙂 At least with these blondies you can stack the deck by only filling them with good stuff! 🙂
Jess @ On Sugar Mountain
Wendy these are like those sampler boxes but INCREDIBLY MORE FUN because none of them have icky fillings heehee. What an awesome way to create a blondie! 😀
themondaybox
Thanks, Jess! My husband brought the extras into work and everyone had a great time with the mystery of what would be inside their blondie! Hopefully, no one thought they got an icky filling! 🙂
New sweets on the blog
Ouaou! My kids will love them!!
themondaybox
I hope so, Ada! You can fill the blondies with your kids' favorite candies. 🙂