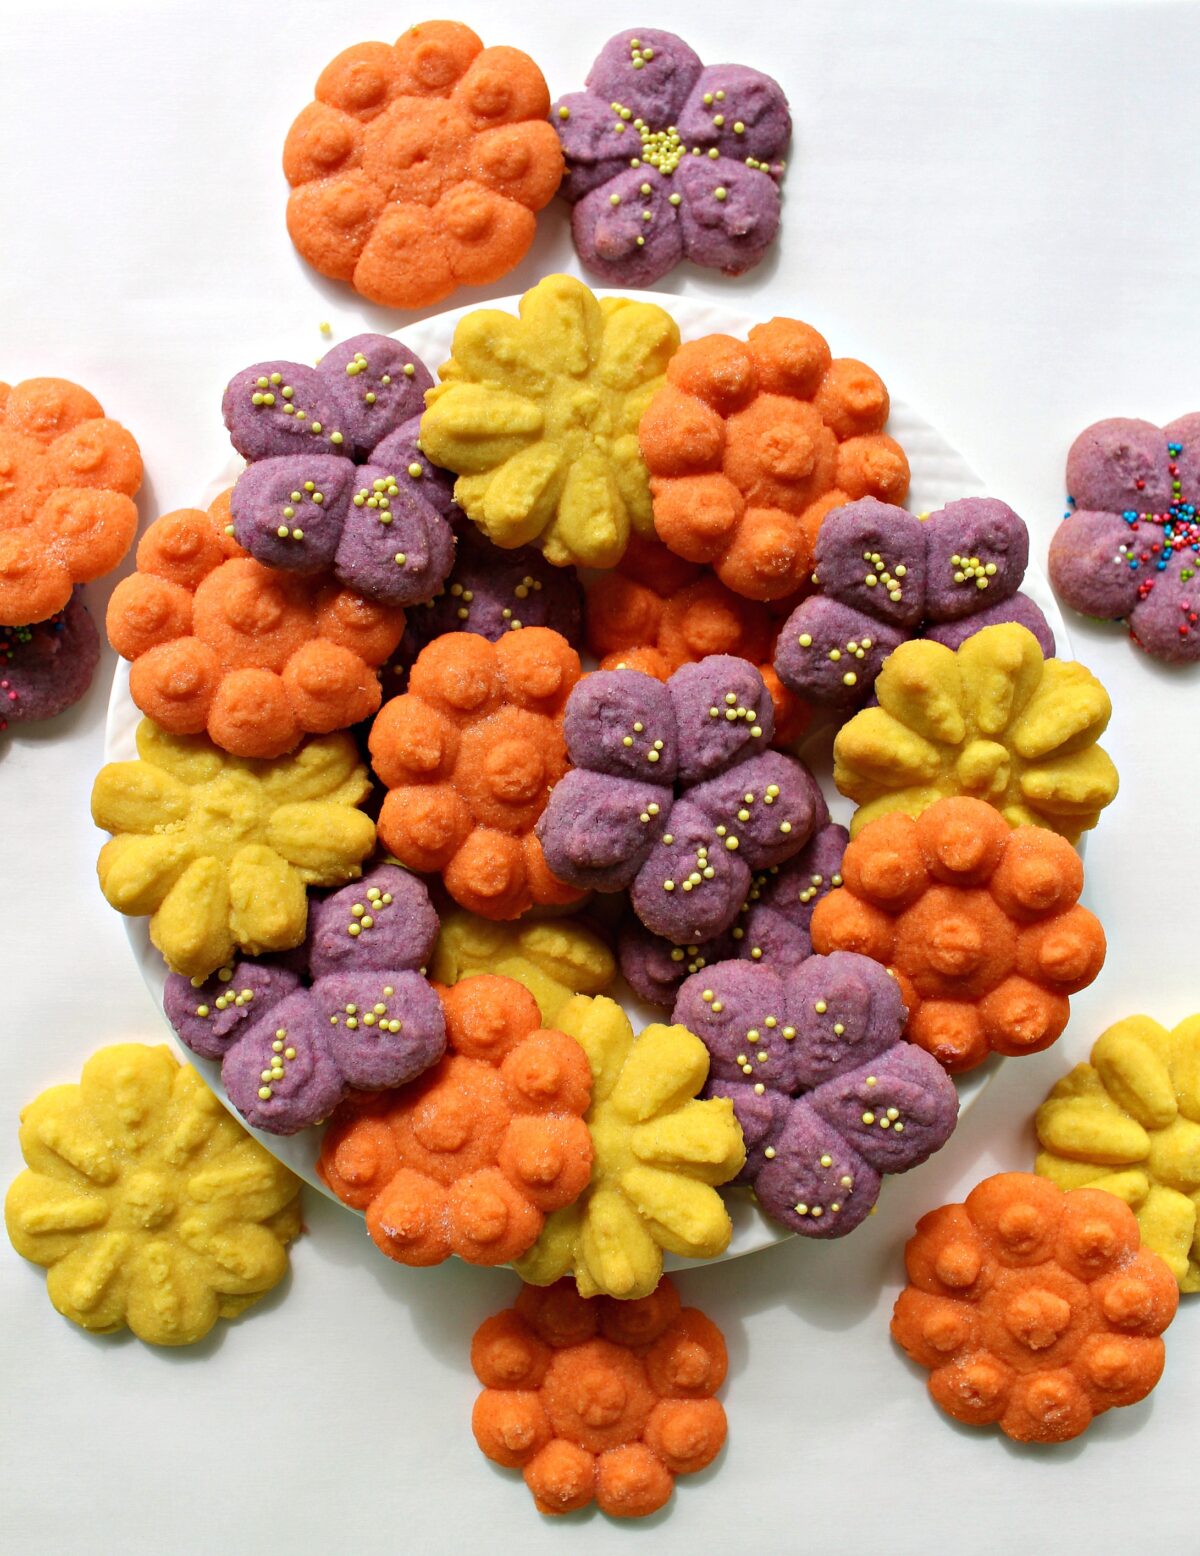
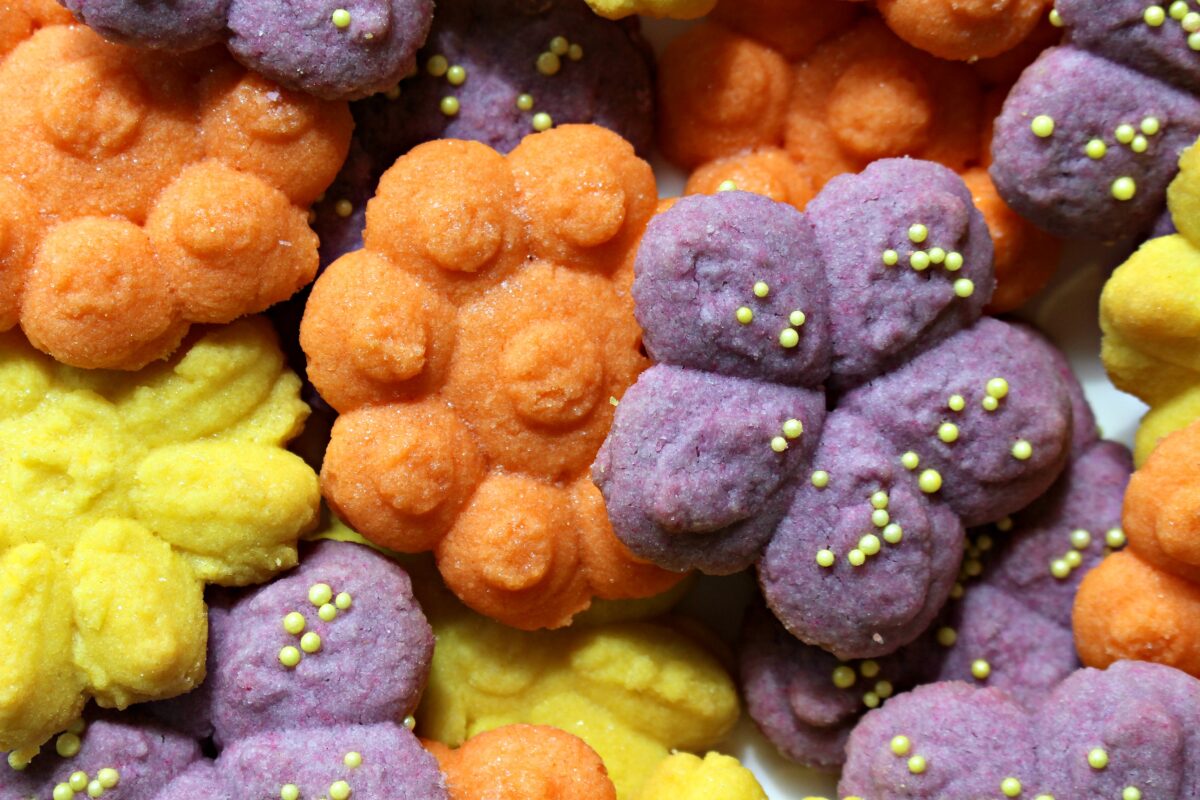
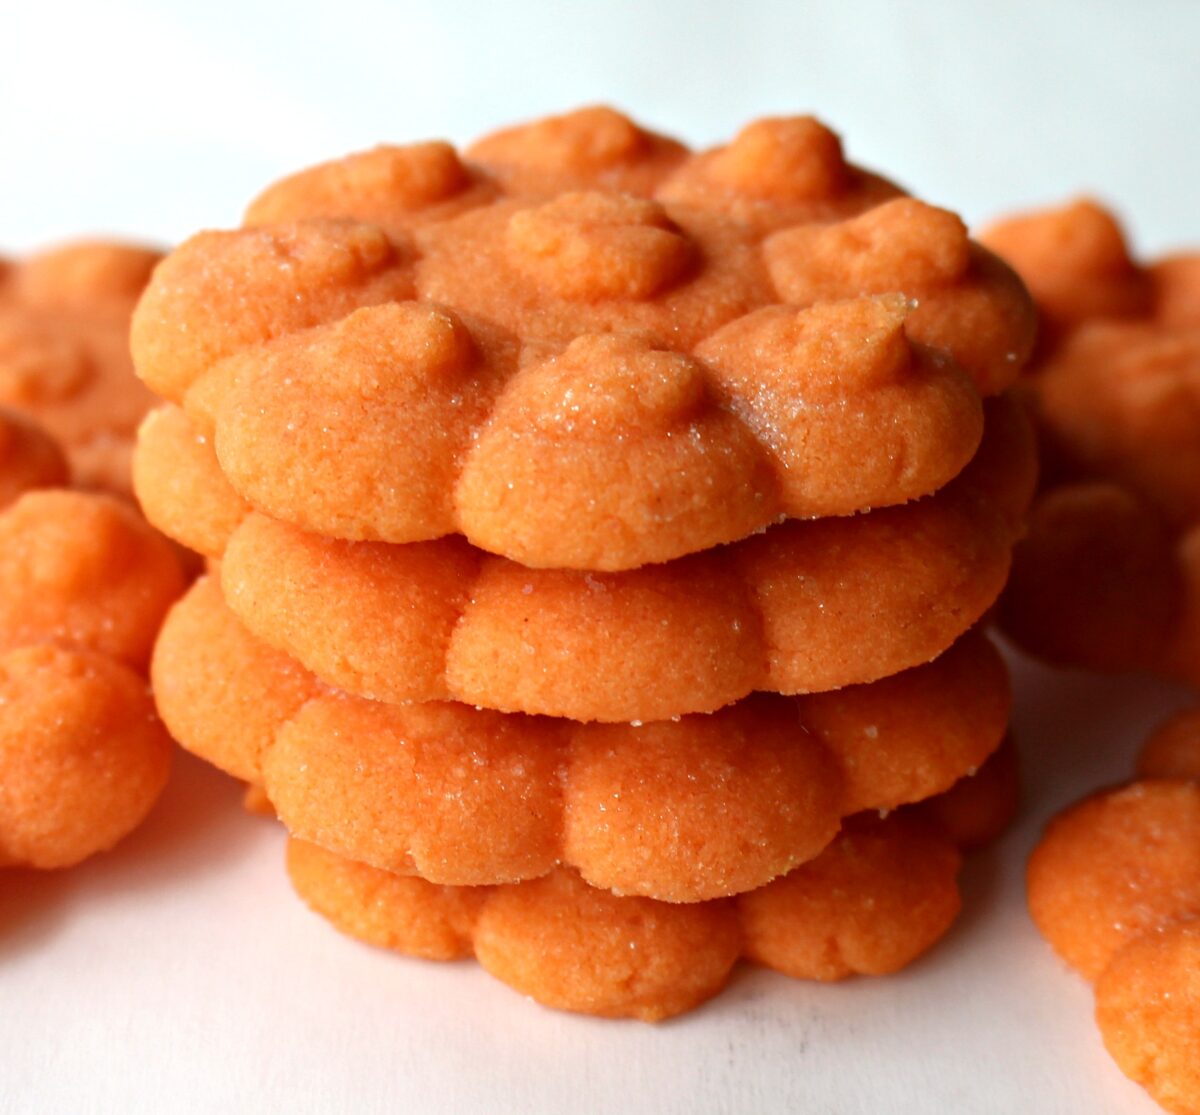
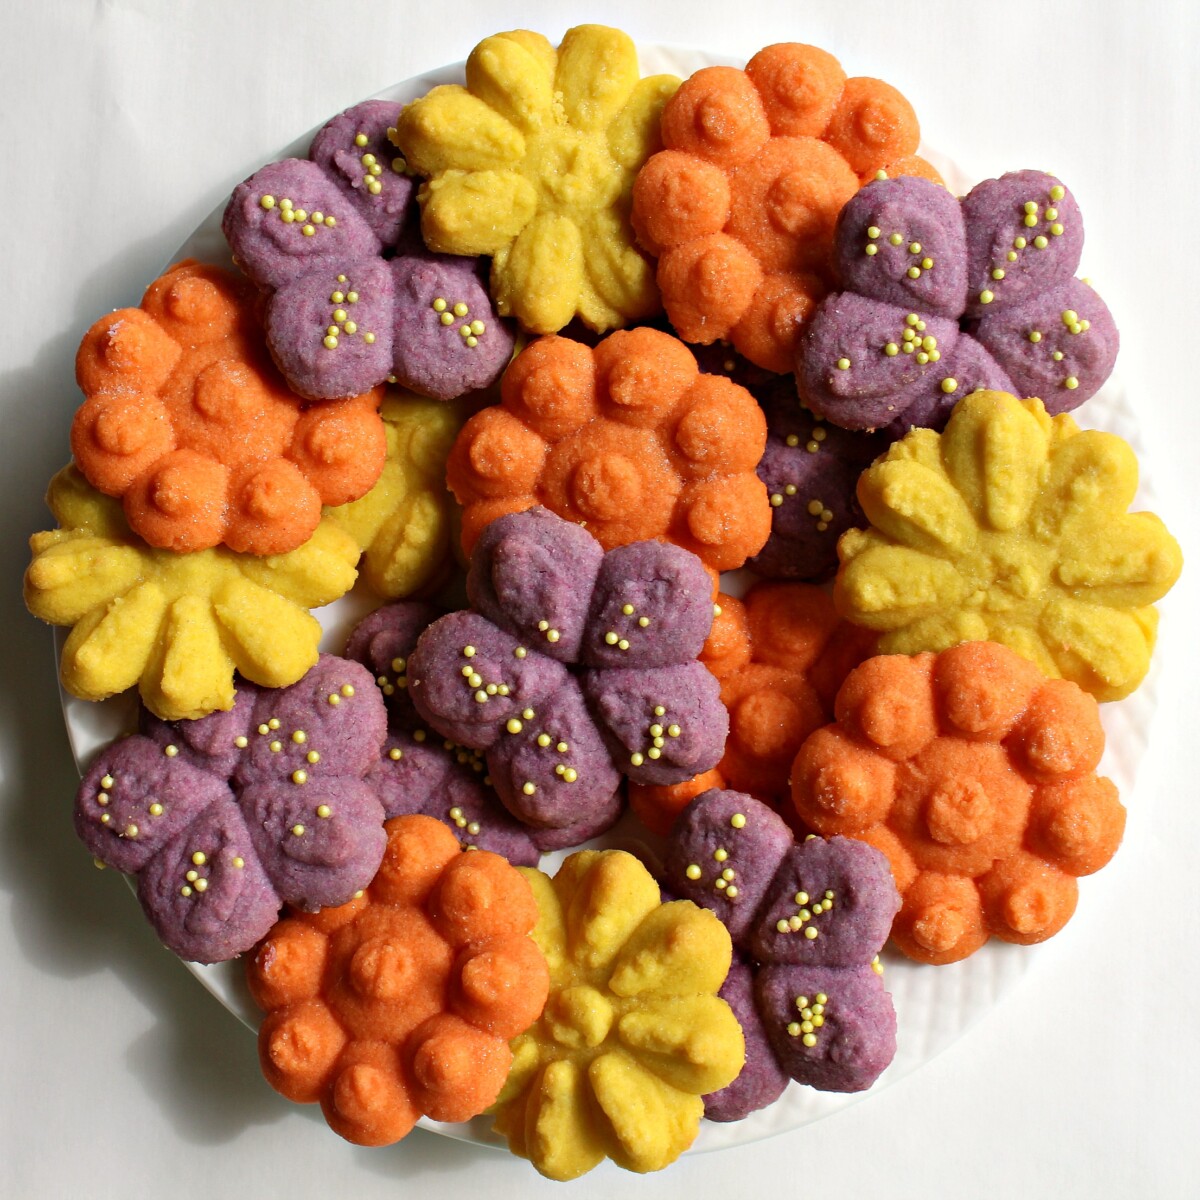
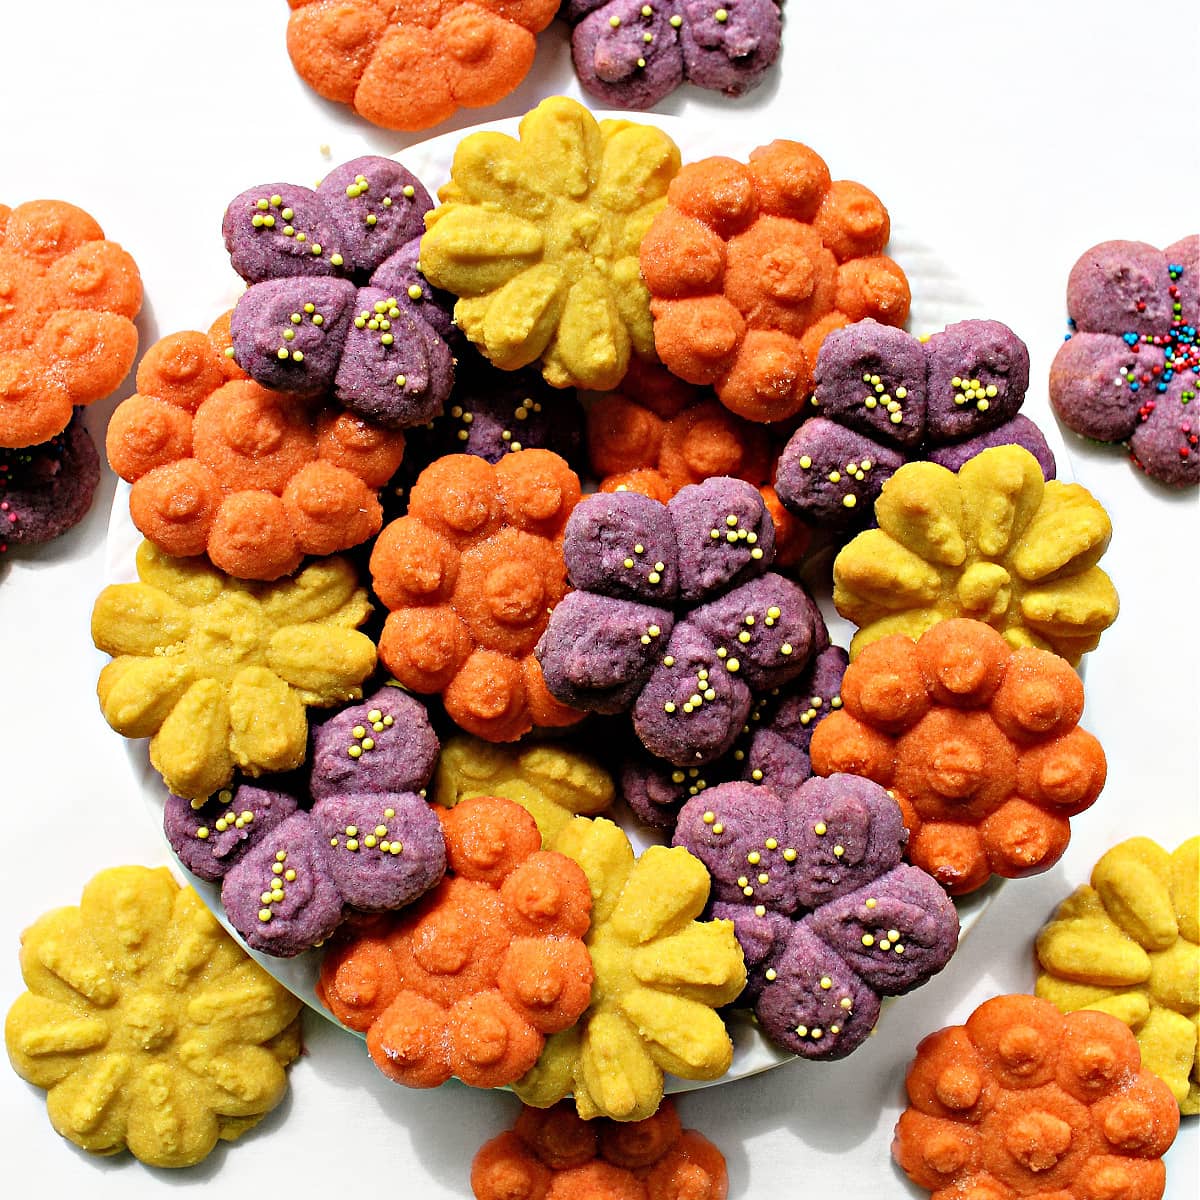
Cookie Press Butter Cookies are flower shaped cookies that make an edible bouquet! These melt-in-your-mouth morsels are super quick and easy to make with just 4 ingredients.
Why you'll love this recipe
- Make dozens of beautiful cookies in minutes with no extra decorating needed.
- This spritz cookie press recipe starts with a boxed cake mix which not only simplifies the preparation, but lends flavor and longer shelf life to the cookies.
- The longer shelf life makes these cookies awesome for care packages. Cookie Press Butter Cookies keep their melt-in-your-mouth texture for up to 2 weeks and the flavor gets even better with time.
- This easy recipe can be made in any color and in dozens different shapes. No cookie cutters needed!
- Flower shape cookies make a delicious gift for Mother's Day or spring care packages.
If you have a cookie press that you only use for holiday season baking (or have never used) dig it out for some delicious baking any time of year.
Cookie presses come with discs to produce a variety of shapes that can be used year round. The color choices and flavorings are up to you.
This extra simple recipe starts with a cake mix and makes dozens of beautiful, buttery cookies in 30 minutes!
Ingredients
Instructions
This is an overview of the instructions. The full instructions are in the recipe card below.
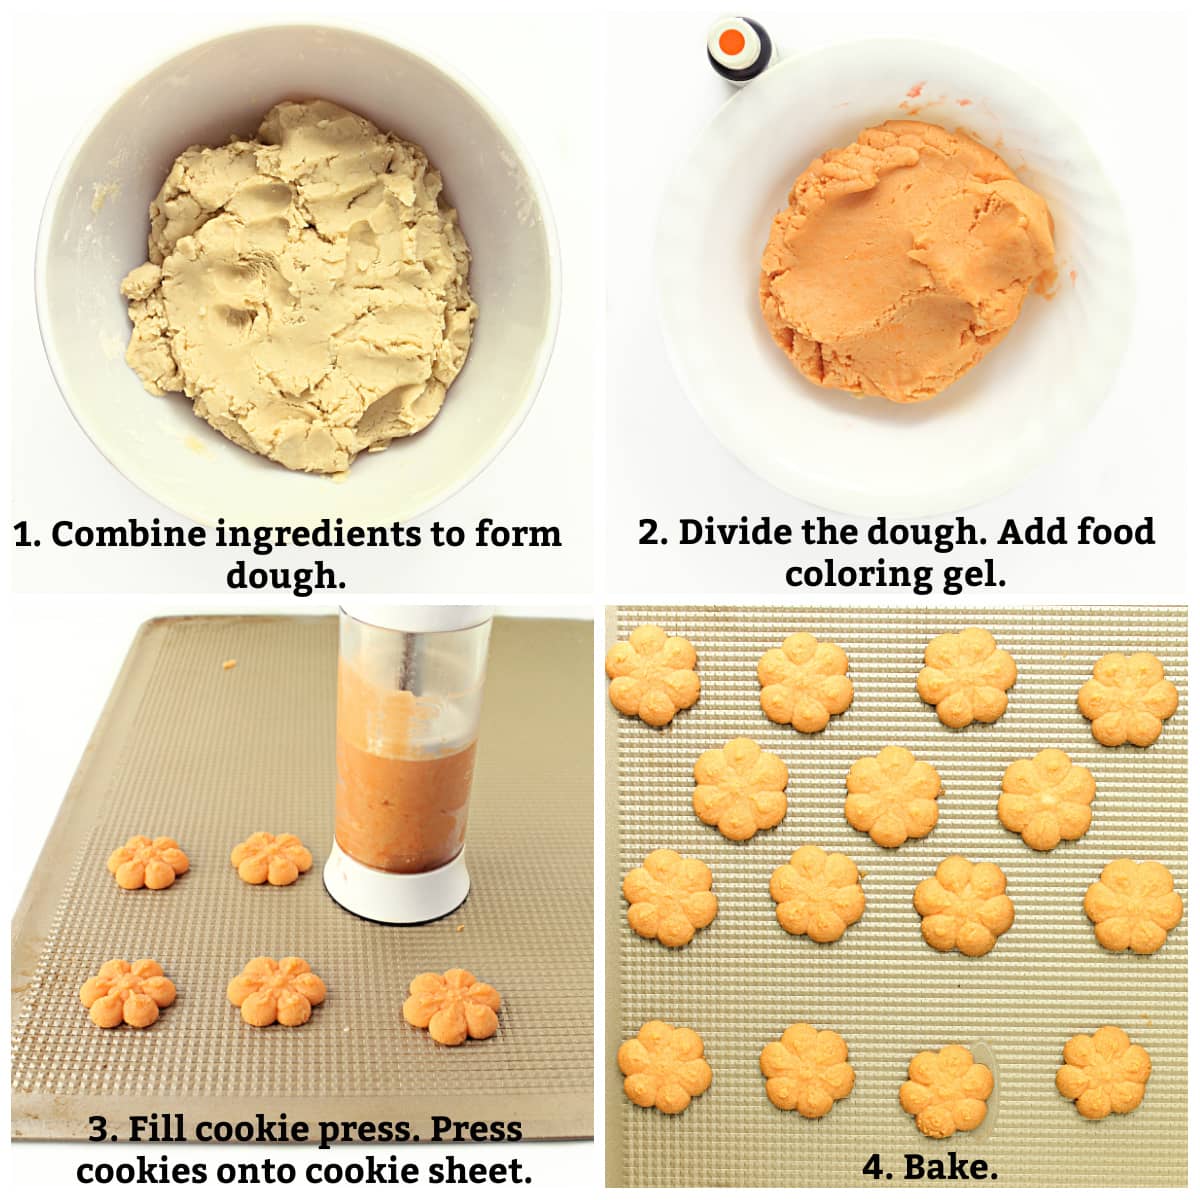
- In a large mixing bowl, whisk together cake mix, flour, and melted butter to form a smooth dough.
- For three colors of cookies, divide the dough into three pieces and place in separate bowls. Add 1-3 drops of gel food coloring onto each piece of dough. Knead the coloring into the dough.
- Fill the cookie press with one color of dough and press cookies onto an ungreased cookie sheet about 1" apart.
- Bake cookies for 12-15 minutes or until edges just begin to turn golden brown. Remove from oven and allow to cool on the baking sheet for 5 minutes before placing on a wire rack to cool completely.
Storage
Store in an airtight container at room temperature for up to 2 weeks.
Tips for using a cookie press
- For best results, don't line or grease the baking pan. The dough will stick to the pan while pressing, but won't stick after baking.
- Baking pans should be room temperature or cold (refrigerated).
- Click the handle a few times to compress the dough inside the cylinder and bring it evenly to the disc openings.
- Hold the cookie press vertically on the cookie sheet.
- Pause before lifting the cookie press off the cookie sheet.
- The first few cookies may not form properly or stick properly. Just remove and reuse that dough.
- Leave space between the cookies for spreading.
- Allow the cookies to cool on the baking sheet before transferring them.
Would you like to save this?
Variations
- Use white cake mix and add flavoring such as peppermint, citrus, or almond extract.
- This recipe works with other flavors of cake mix as well. Try chocolate, spice, or lemon.
- Sandwich spritz cookies with frosting or melted chocolate.
Frequently asked questions
Using a cookie press may take a little practice. The most important tips are to use a recipe written for use with a cookie press and to bake on an unlined, ungreased room, temperature pan.
Yes. Freeze spritz cookies wrapped airtight for up to two months.
Cookies made in shapes with a cookie press are pretty without additional decorating, however, sprinkles or colored sugar can be added before baking. To attach sprinkles after baking, drizzle the cookies with a glaze or melted chocolate, then sprinkle.
Related recipes
Italian Butter Cookies are a bakery favorite that can be made with a cookie press or use a piping bag and an open star tip.
Strawberry Spritz Cookies are both adorable and delicious!
Chocolate Espresso Spritz Cookies are gorgeous Christmas spritz cookies sandwiched with melted chocolate.
This Spritz Cookies Recipe with shortening is ideal for hot weather care packages and summer picnics. Try the easy instructions for a colorful tie dye look.
Crunchy, buttery Dragon Cookies are a pressed squiggle in the form of a dragon that's a festive Chinese New Year tradition.
The Monday Box recipe index makes it easy to find all of our cookie press recipes in one place.
Ready to bake? Join the free membership group to get new recipes and a newsletter delivered to your inbox! You can also stay in touch on Facebook, Pinterest, and Instagram. I'd love to stay in touch!
Cookie Press Butter Cookies
Equipment
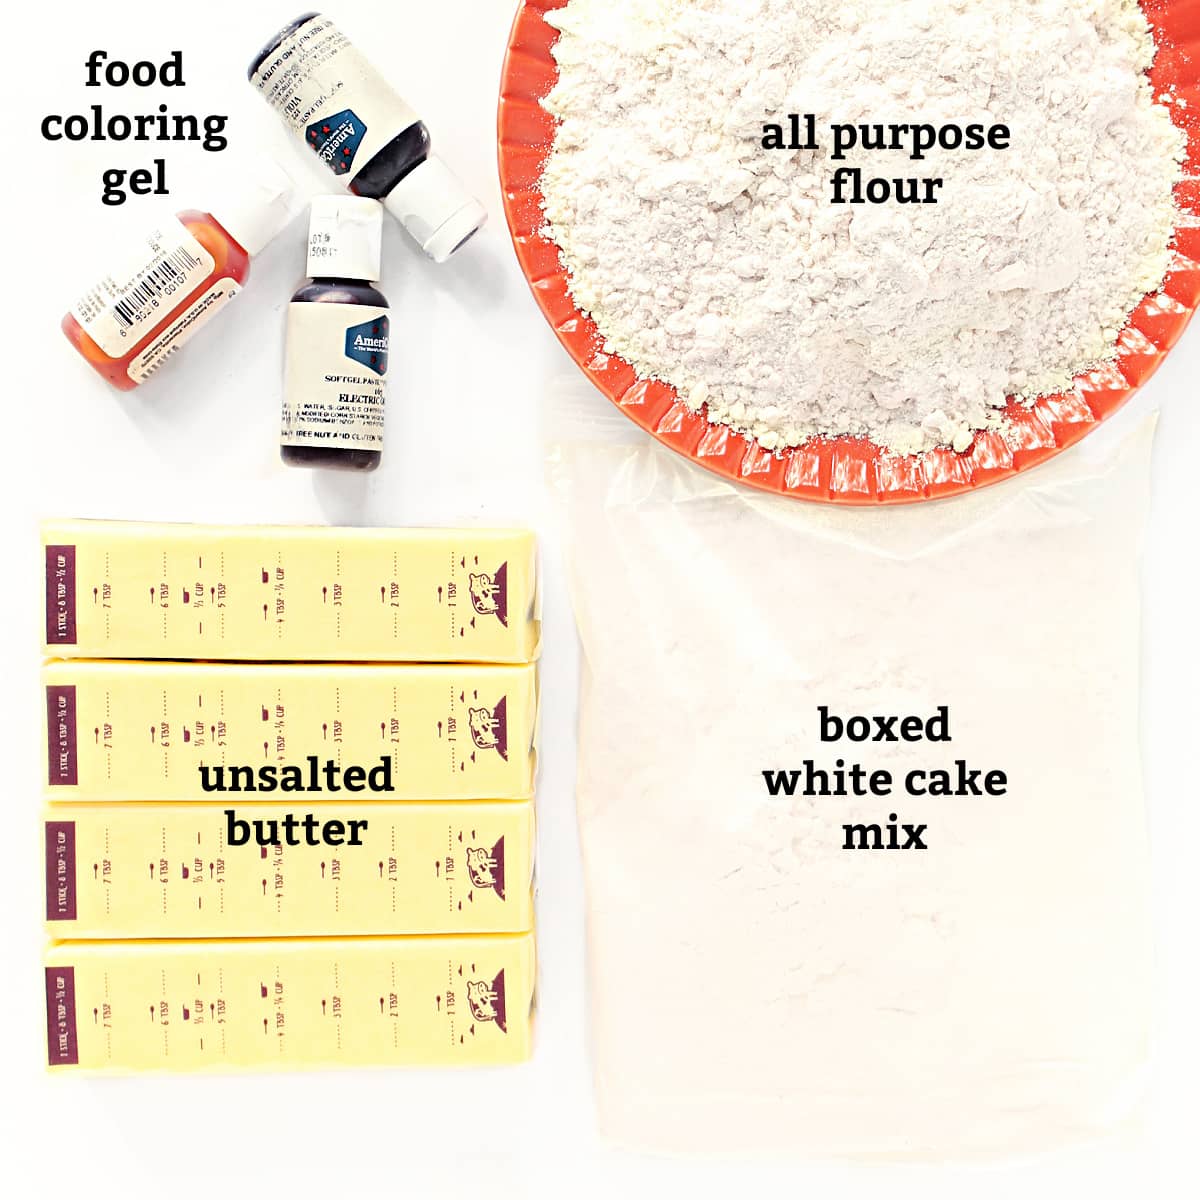
Ingredients
- 2 cups unsalted butter
- 1 box white cake mix
- 2 ¾ cups all-purpose flour
- Food coloring gel
- sprinkles or decorating sugar
Instructions
- Preheat oven to 350° F. Insert desired disc into cookie press.
- Slice 1 cup (2 sticks) of butter into chunks. Place in a medium size microwave-safe bowl and microwave on high for 1 minute or until just melted. Slice the remaining 1 cup (2 sticks) of butter into the melted butter. Allow to stand for 5 minutes, until softened, and stir to a creamy, pourable consistency.
- In a large mixing bowl, whisk together cake mix and flour.
- Add the butter to the flour mixture. Mix to combine completely into a smooth dough.
- For three colors of cookies, divide the dough into three pieces and place in separate bowls. Add 1-3 drops of food coloring gel onto each piece of dough. Knead the coloring into the dough.
- Fill the cookie press with one color of dough and press cookies onto the prepared baking sheets about 1" apart.
- Bake for 12-15 minutes or until edges just begin to turn golden. Remove from oven and allow to cool on the baking sheet before transferring to wire racks to cool completely.
- Store in an airtight container at room temperature for up to 2 weeks.
Notes
- For best results, don't line or grease the baking pan. The dough will stick to the pan while pressing, but won't stick after baking.
- Baking pans should be room temperature or cold (refrigerated).
- Click the handle a few times to compress the dough inside the cylinder and bring it evenly to the disc openings.
- Hold the cookie press vertically on the cookie sheet.
- Pause before lifting the cookie press off the cookie sheet.
- The first few cookies may not form properly or stick properly. Just remove and reuse that dough.
- Wrap pairs of cookies, bottoms together, in plastic wrap.
- Fit rows of wrapped cookies snuggly into freezer weight ziplock bags or plastic storage containers.
- Be sure to pad the shipping box well so that nothing else inside the box presses against the cookies and there is no wiggle room inside the package.
Nutrition
First Published: May 1, 2016. Last Updated: June 20, 2023. Updated for additional information, improved photos, and better reader experience.


Mother of 3
Those are so beautiful. I have a cookie press but I have never used it. You're inspiring me to give it a try. Pinned.
Helen at the Lazy Gastronome
I have one of those presses and I love those cookies. It never occurred to me they weren't just for Christmas!! Great idea! And thanks for sharing at the What's for Dinner party!
Miz Helen
Hope you are having a great week and thanks so much for sharing your awesome post with us at Full Plate Thursday!
Miz Helen
The Monday Box
Thank you, Miz Helen!
Catherine
These are so cute! I never really understood how to use a cookie press but I'm intrigued now!
Cristina
These look so cute! And I love how easy is the recipe!
The Monday Box
Thanks, Cristina!
April J Harris
That is so cool you have an antique cookie press, Wendy! I've recently bought a cookie press in the hopes of making my Aunt Dorothy's recipe that I remember from when I was a kid - but I may give this recipe a try too as it's so straight-forward! Your cookies look beautiful! Scheduling to pin and share on the H&S Facebook page. Thank you so much for being a part of Hearth and Soul. Oh, and my hubby used to do most of the cooking when we first met...but for some reason he rarely cooks now either 😉
Kijankowo
Cute 🙂
Miz Helen
I love the colors for your Mothers Day Cookies! Thanks so much for sharing them with us at Full Plate Thursday and come back soon!
Miz Helen
The Monday Box
Thanks, Miz Helen! Adding a bit of color turned cookie press cookies from Christmas treats to all-year deliciousness. 🙂
Frugal Hausfrau
I feel just like your husband, btw, but the cookies are darling! Looks delish and thanks for sharing on Throwback Thursday!
Mollie
The Monday Box
Thanks, Mollie! My husband did enjoy eating these! 🙂 Thanks for hosting Throwback Thursday!
Lokness @ The Missing Lokness
These are FUN! I always want to try making cookies with a press. These colorful cookies are sure great for Spring and Mother's Day. Have a Happy and Sweet Mother's Day!
The Monday Box
Thank you, Lokness! This was my first attempt at using a cookie press, and though the cookies aren't perfect, I was happy with the results. Give it a try! I hope you have a lovely weekend!
Monica
The cookie press totally intimidates me. I have thought about buying one but never quite get there. These are very sweet and lovely for Mother's Day. The longer shelf life from using cake mix is really interesting and glad you discovered that! Have a great Mother's Day weekend!
Tricia @ Saving room for dessert
I don't use buy cookie press often enough - I am inspired! This is a beautiful spring bouquet - such a sweet treat! Have a wonderful mother's day Wendy 🙂
Reeni
My Mom loves her cookie press too! She has a really old one from when I was a kid - she bought a new one and it didn't work half as well as that one. The cookies are so colorful and pretty! Perfect for spring!
Ashley
I was always so fascinated by my mom's cookie press growing up! I thought it was just the coolest thing! I need to see if she still has it ....
These are so so pretty Wendy! I love all the different colors! So perfect for spring!
Liz @ Project Pastry Love
This post put a smile on my face. These cookies are so lovely and Sprink-like. I need to get my cookie press out. You know, I've only used it once. I found it to be hard to figure out, so I gave up. I need to get back in the cookie press game. Also, it would have never occurred to me that glitter is no no in combat zones. Great tip! My son's half brother will be going into the military this fall, and I intend to start sending him and his fellow soldiers yummy care packages too. Thanks for inspiring me!