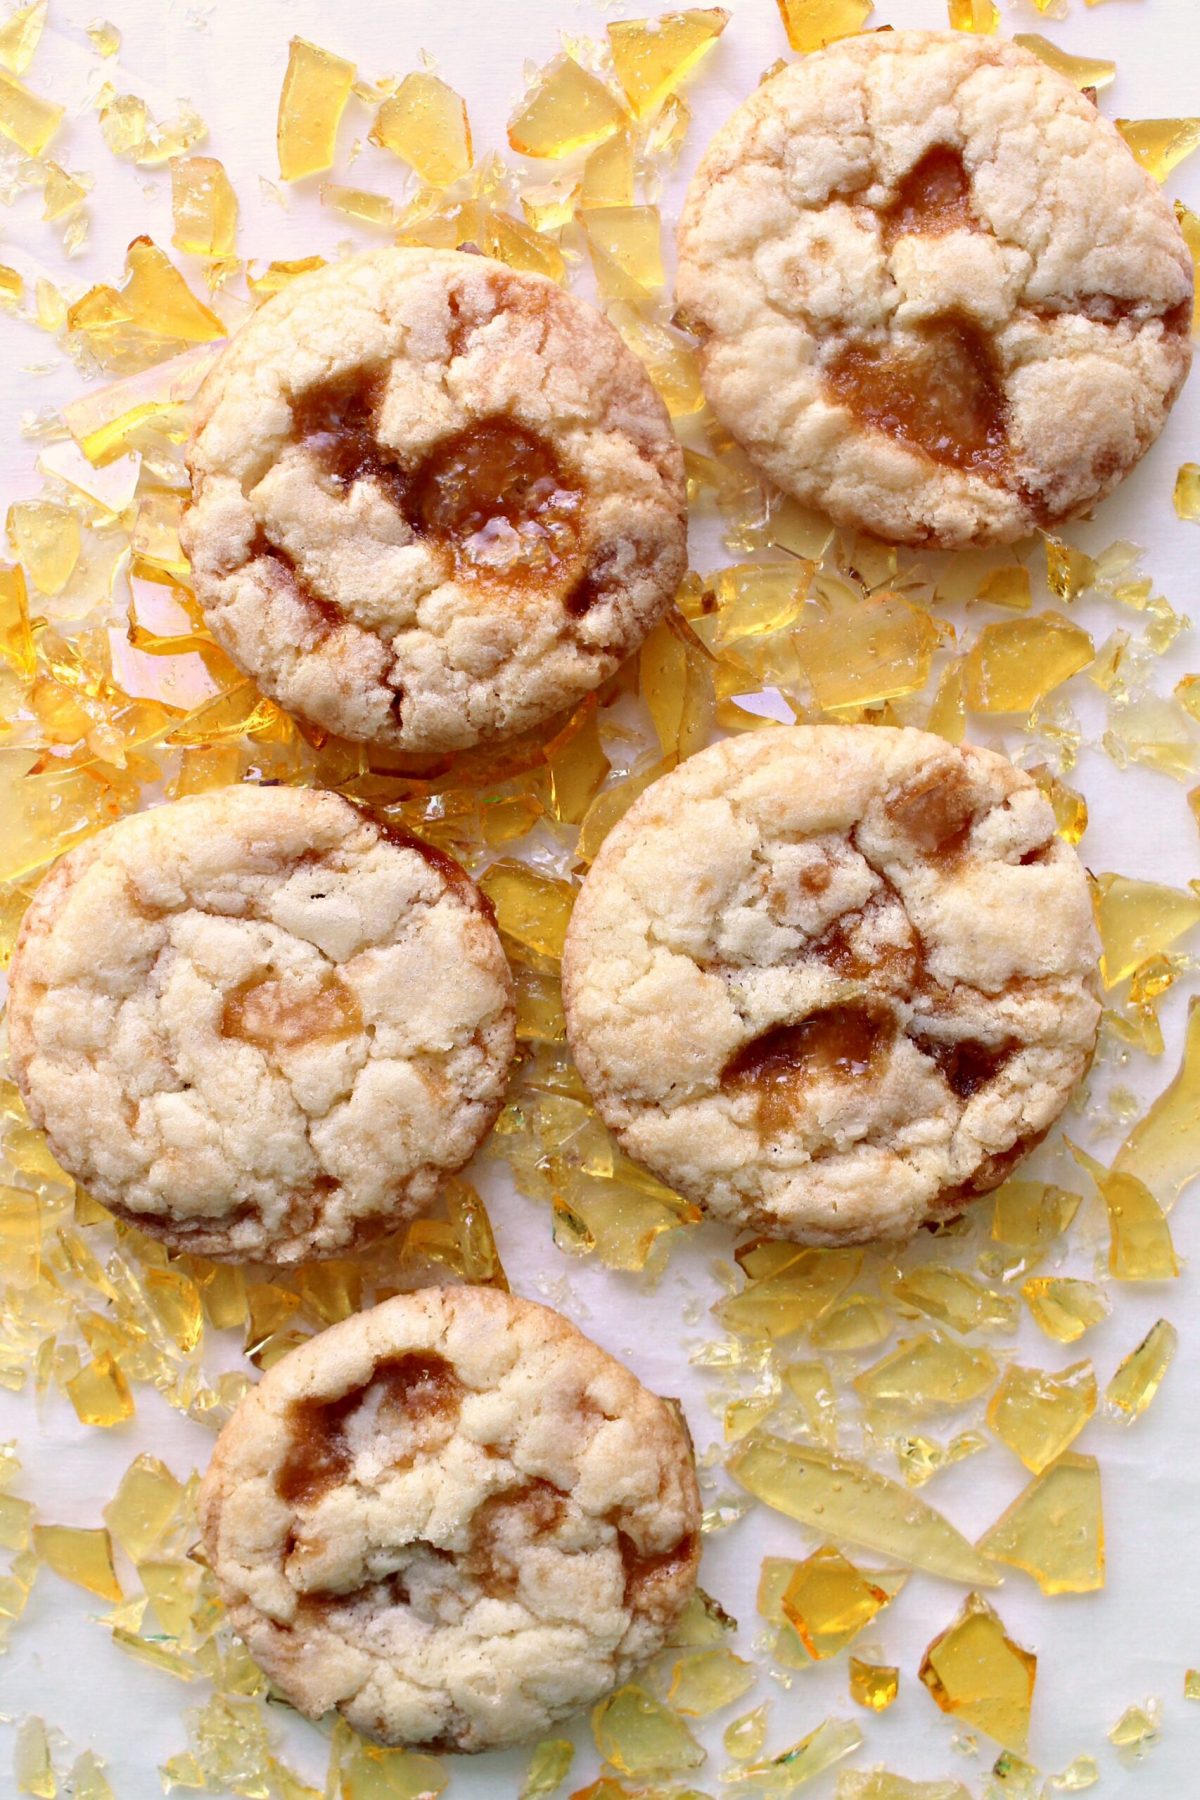
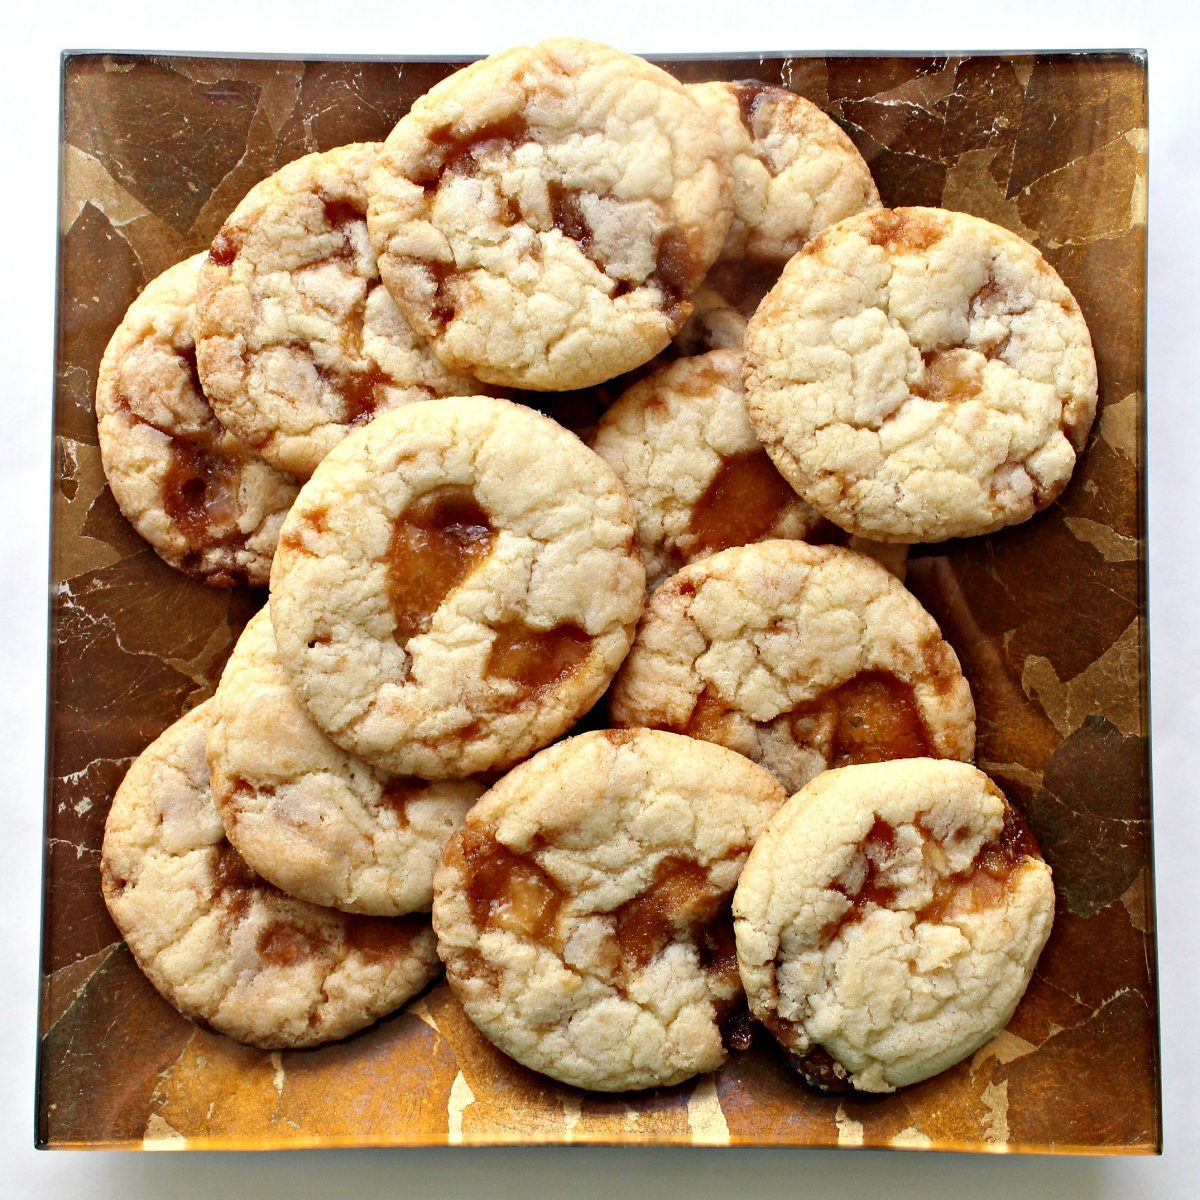
Amsterdam Caramel Cookies were the winners in a 1935 Dutch baking competition for the best luxury cookie in Amsterdam. These crisp, buttery cookies dotted with crunchy bits of homemade caramel have been a Dutch favorite ever since. One bite will turn you into a fan as well.
Why you'll love this recipe
The story behind these cookies would make a great novel or a Masterpiece Theater mini-series. Competition. Intrigue. Rival pastry guilds divided by religion.
In 1935, the city of Amsterdam held a baking competition. The winning cookie, Amsterdamse Koggetje, was a thin, crisp, caramel butter cookie. It was named after the cog merchant ships that are an important part of Amsterdam's history as a trade port.
The cookies were created by a member of the Dutch Pastry Baker's Guild. They prohibited members of the Roman Catholic Baker's Guild from baking and selling the delicious butter cookies.
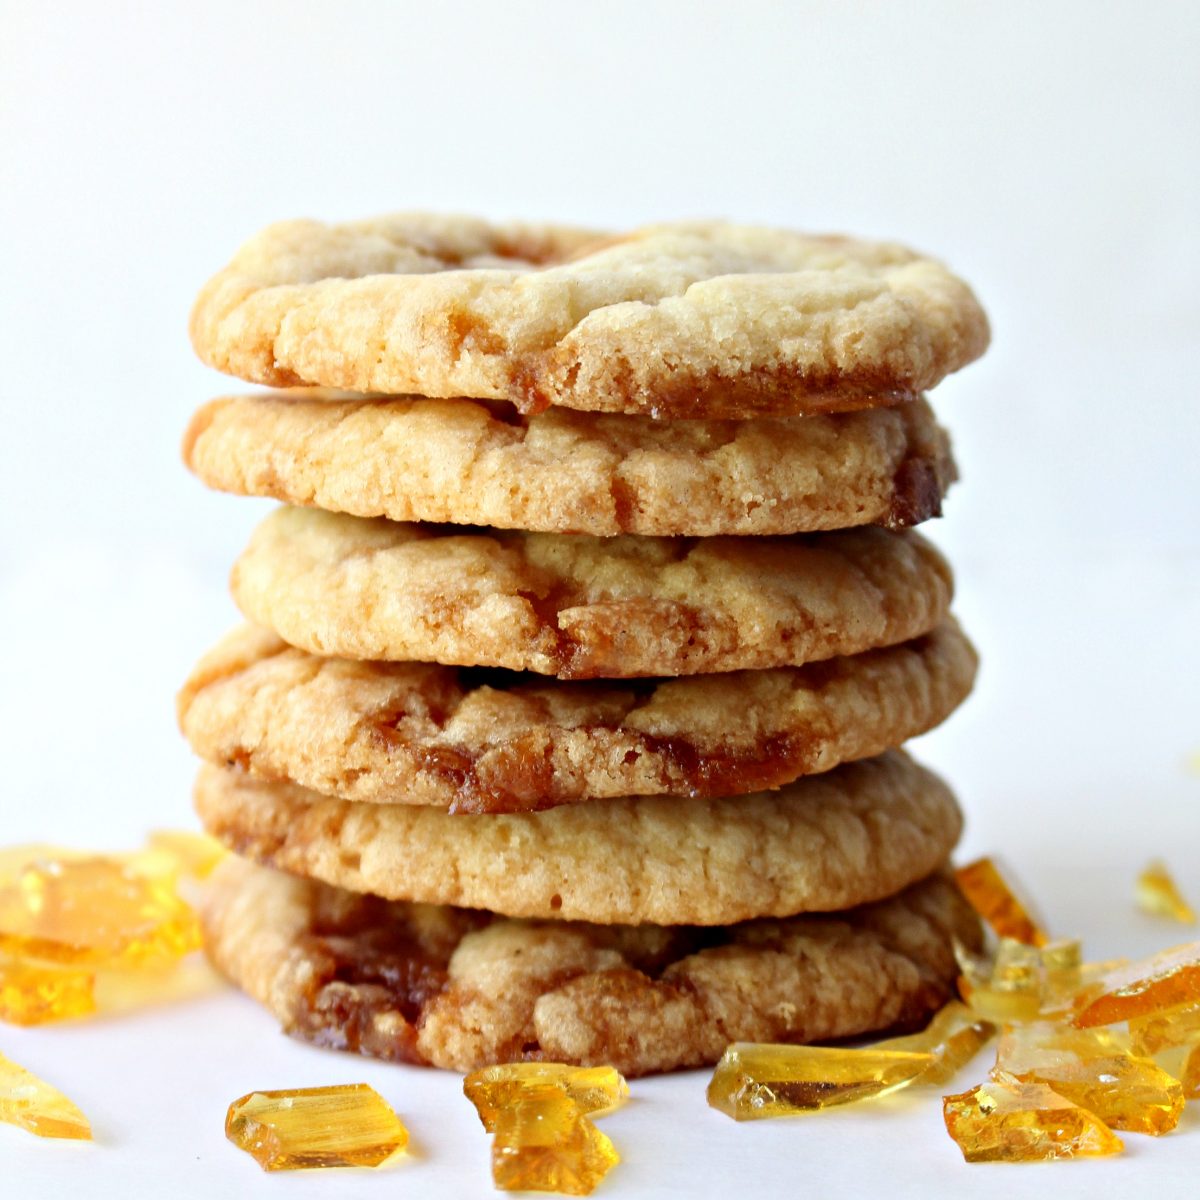
Official Amsterdamse Koggetje were to be sold only at Dutch Pastry Baker's Guild bakeries in a specially designed tin. This cookie elitism was ignored by the Catholic Pastry Baker's Association who created their own version of the winning recipe and their own cookie tin.
Are these cookies really worth all this drama? I think so and once you taste them, I think you will agree!
Don't be scared off by the idea of making the hard caramel candy. It is very easy and takes less than 10 minutes. All you have to do is put sugar and water in a pan on the stove and stand back and watch.
Instructions
This is an overview of the instructions. The full instructions are in the recipe card below.
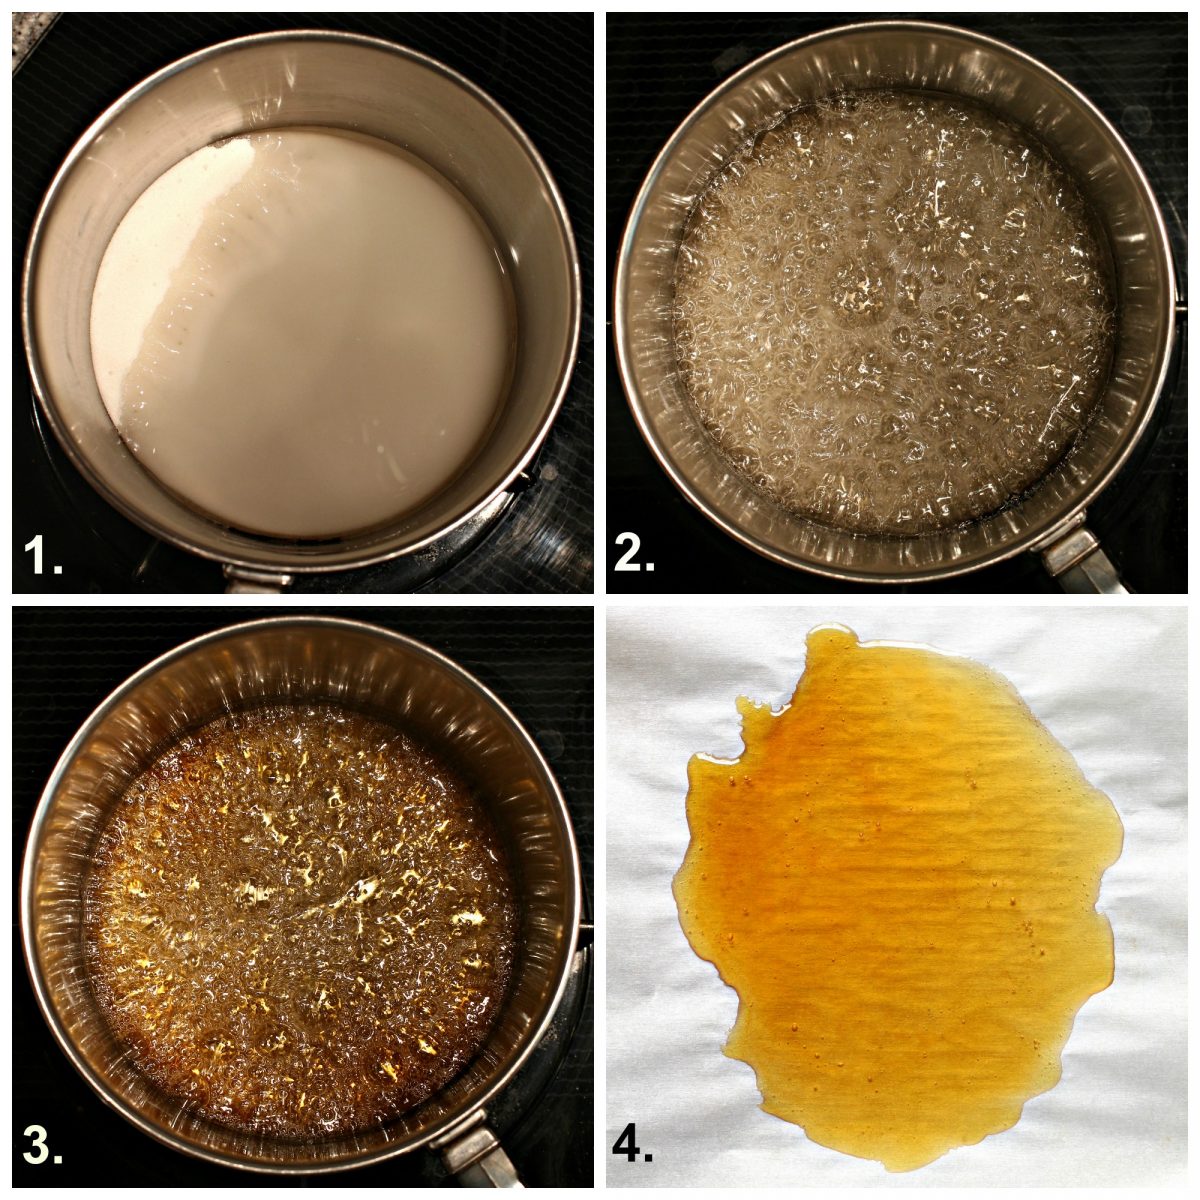
- To make the hard caramel candy, add sugar and water to a small saucepan.
- Over medium-low, heat to a simmer.
- Simmer for about 5 minutes until a light golden honey color. Don't stir. Don't walk away.
- Pour the caramel onto a baking sheet lined with parchment paper. Be very careful as the molten caramel is very hot. Tilt the pan to spread out the caramel.
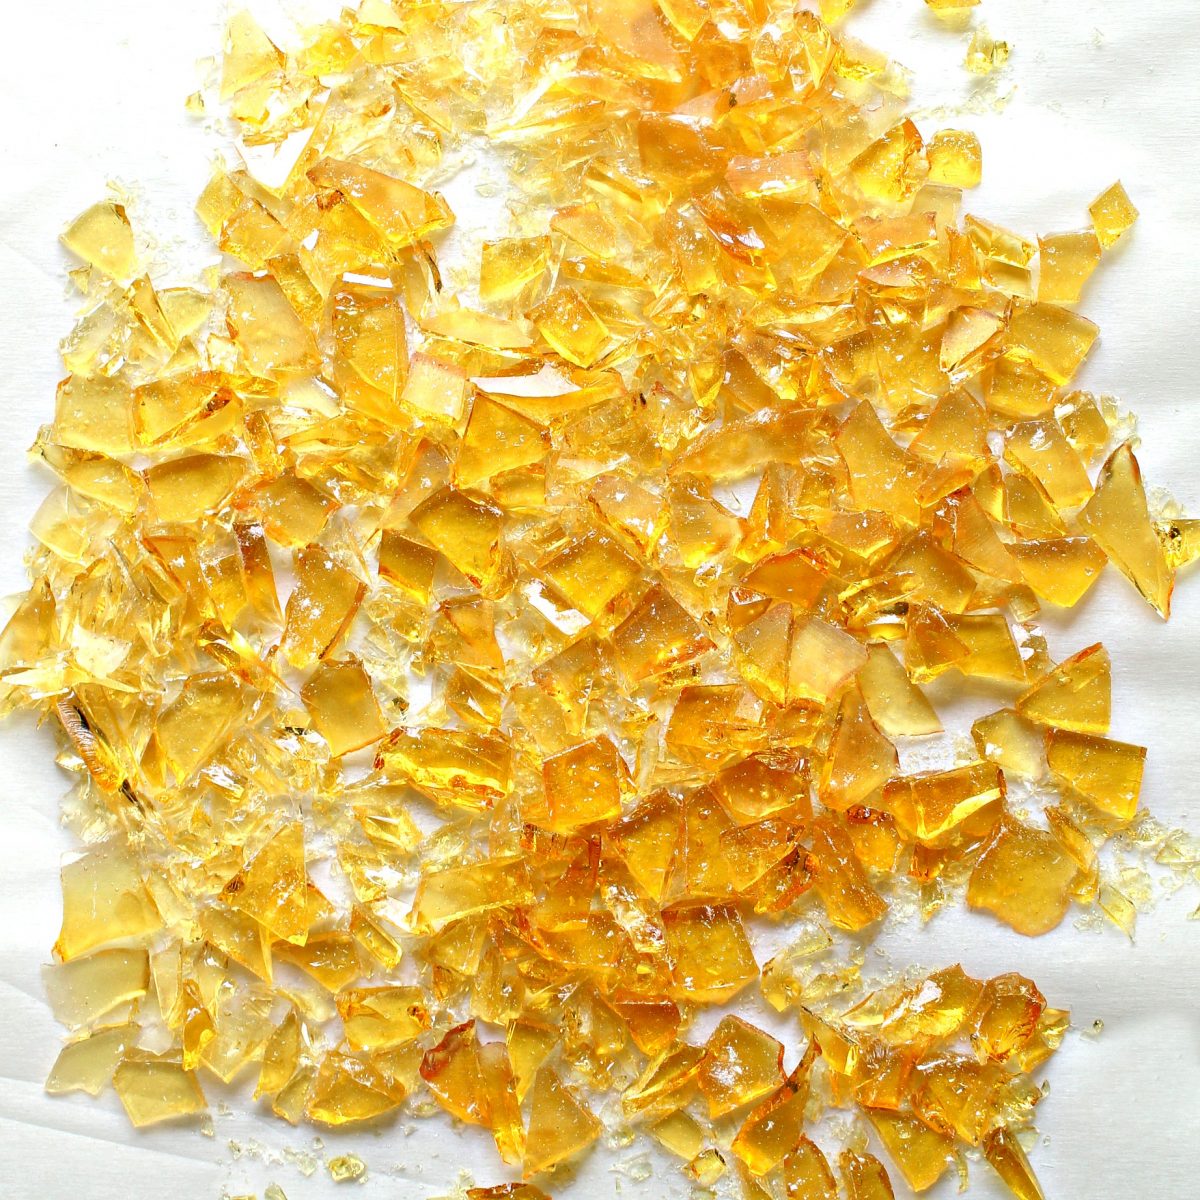
- After about 10 minutes, the caramel will have cooled and firmed. Transfer it to a cutting board and use a knife to chop it into small chocolate chip sized pieces.
- Using an electric mixer, beat the butter and the sugar until creamy, then stir in the vanilla and milk. Add the flour and baking powder, mixing until combined. Stir the caramel bits into the dough.
- Scoop 2 tablespoon portions of dough and place about 3" apart on a parchment lined baking sheet. Be sure to leave room for the dough to spread while baking.
- Bake at 350° F for 12-14 minutes, until the edges are golden brown.
Would you like to save this?
Caramel tips
- Don't walk away while the caramel is cooking. It cooks in only a few minutes and can go from being fine to burnt very quickly.
- Keep the heat low. Don't be tempted to raise the temperature to speed up the process. You will end up with burnt caramel.
- Watch for a light yellow-gold color to know when the caramel is done. If the color is too light (white-clear) the candy will be sticky. If the color is too dark, the candy will be bitter.
- The caramel can be made ahead. It keeps well in a plastic bag or storage container at room temperature, away from humidity. Do not refrigerate.
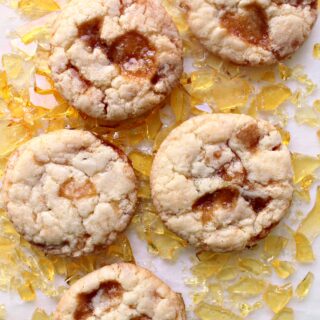
- The size of the caramel bits is important in order for the cookies to have the intended texture. If the candy is crushed to a powder, it will melt into cookie. If the pieces are too large, they will make the cookies hard to bite and chew.
Baking tips
- This recipe calls for baker's sugar, finely ground white sugar also known as caster sugar. The fine grind effects the cookie texture. You can substitute granulated sugar but, the fine grind of baker's sugar produces the best results. If you don't have any baker's sugar, a few pulses in the food processor can easily turns granulated sugar into baker's sugar.
- Thin, crisp cookies can more easily burn or over cook than a thick cookie. Equally proportioned dough balls of 2 tablespoons or 30 grams each will ensure that all of the cookies bake evenly.
- Immediately after removing the baking sheet from the oven, if any of the cookies spread unevenly or if there is caramel oozing out, use the edge or tip of a butter knife to gently push the dough or caramel back into place. As the cookies cool and firm up, they will retain the shape you create with the butter knife.
More butter cookie recipes
Cinnamon Streusel Cookies taste like the top of a coffee cake. The buttery, cinnamon crumbs are baked into crunchy cookies or wedges.
Golden Raisin Butter Cookies are slice and bake easy. These butter cookies have colorful bits of golden raisins.
Jam Butter Cookies are bright and cheerful treats with your favorite jam flavors mixed into the dough!
This Italian Butter Cookie recipe makes beautiful and delicious piped bakery cookies. Spritz cookies without a press!
Cookie Press Butter Cookies are the deliciously easy way to make lots of adorable cookies quickly, with just 4 ingredients.
Ready to bake? Join the free membership group to get new recipes and a newsletter delivered to your inbox! You can also stay in touch on Facebook, Pinterest, and Instagram. I'd love to stay in touch!
Amsterdam Caramel Cookies
Equipment
Ingredients
Caramel
- ¼ cup granulated sugar
- 1 tablespoon water
Cookies
- 9 tablespoons (1 stick and 1 tablespoon) unsalted butter, room temperature
- ¾ cup fine baker's sugar
- 1 teaspoon vanilla extract
- 1 tablespoon milk
- 1 cup and 2 tablespoons all-purpose flour
- ½ teaspoon baking powder
Instructions
Caramel
- Line a small baking sheet with a sheet of parchment paper.
- Add sugar and water to a small saucepan. Place over medium-low heat for about 5 minutes until a light golden honey color.
- Carefully pour the caramel onto the prepared baking sheet. Tilt the pan to spread out the caramel to the thickness of a credit card.
- Allow to cool for about 10 minutes or until firm.
- Transfer the hardened sheet of caramel to a cutting board and chop into small pieces about the size of a chocolate chip.
Cookies
- Preheat the oven to 350° F and line two baking sheets with parchment paper.
- In the bowl of an electric mixer, mix the butter and the sugar until creamy.
- Stir in the vanilla and milk.
- Add the flour and baking powder. Mix until combined.
- Fold the caramel bits into the dough, distributing well.
- Use a medium size (2 tablespoons) scoop to portion the dough. (30 grams of dough/cookie)
- Place the scoops of dough onto the prepared baking sheet about 3" apart. The dough ball will flatten while baking.
- Bake for 12-14 minutes, until the edges are golden brown.
- Remove from oven and allow to cool and firm on the baking sheet for about 10 minutes before transferring to a wire rack to cool completely.
- Store in an airtight container at room temperature for up to 2 weeks.
Notes
- Don't walk away while the caramel is cooking. It cooks in only a few minutes and can go from being fine to burnt very quickly.
- Keep the heat low. The first time you make caramel you might be tempted to raise the temperature to speed up the process. Don't. You will end up with burnt caramel.
- Watch for a light yellow-gold color to know when the caramel is done. If the color is too light (white-clear) the candy will be sticky. If the color is too dark, the candy will be bitter.
- The caramel can be made ahead. It keeps well in a plastic bag or storage container at room temperature, away from humidity. Do not refrigerate.
- The size of the caramel bits is important in order for the cookies to have the intended texture. If the candy is crushed to a powder, it will melt into cookie. If the pieces are too large, they will make the cookies hard to bite and chew.
- This recipe calls for baker's sugar, finely ground white sugar also known as caster sugar. The fine grind effects the cookie texture. You can substitute granulated sugar but, the fine grind of baker's sugar produces the best results. If you don't have any baker's sugar, a few pulses in the food processor can easily turns granulated sugar into baker's sugar.
- Thin, crisp cookies can more easily burn or over cook than a thick cookie. Equally proportioned dough balls of 2 tablespoons or 30 grams each will ensure that all of the cookies bake evenly.
- Immediately after removing the baking sheet from the oven, if any of the cookies spread unevenly or if there is caramel oozing out, use the edge or tip of a butter knife to gently push the dough or caramel back into place on the warm cookie. As the cookies cool and firm up, they will retain the shape you create with the butter knife.
Nutrition
First Published: June 7,2020. Last Updated: May 11, 2022. Updated for additional information and better reader experience.


Jenneke
This looks great! I had these as a child and loved them. I plan to make them tomorrow, so tonight I made the caramel. It produced quite a bit! Just wondering if you use all of the caramel pieces in making the cookies? Or a portion of the total…couple tablespoons?
Wendy Sondov
Hi. I'm excited to hear how these cookies compare to your childhood memories! We loved these unique treats but had nothing to compare them too. 🙂 I believe that I used all of the caramel in the dough, but you can adjust that to taste. Think of the caramel bits like you would think of chocolate chips going into a dough. My recommendation would be to use at least 1/2 cup. Perhaps you could add 1/2 cup, then bake just one cookie and see if you need to add more caramel to the remaining dough. Enjoy!
cindy
These cookies are my jam! I adore caramel anything. Chocolate gets way too much love and attention. I am excited to bake these. I saw @mikebakesnyc use a trick to keep cookies perfectly shaped. As soon as he takes them out of the oven, he puts a round cookie cutter, just a bit bigger than your cookie, and he swirls it around on the baking sheet to make the warm cookie go back into a circle shape. I think this would work for these.