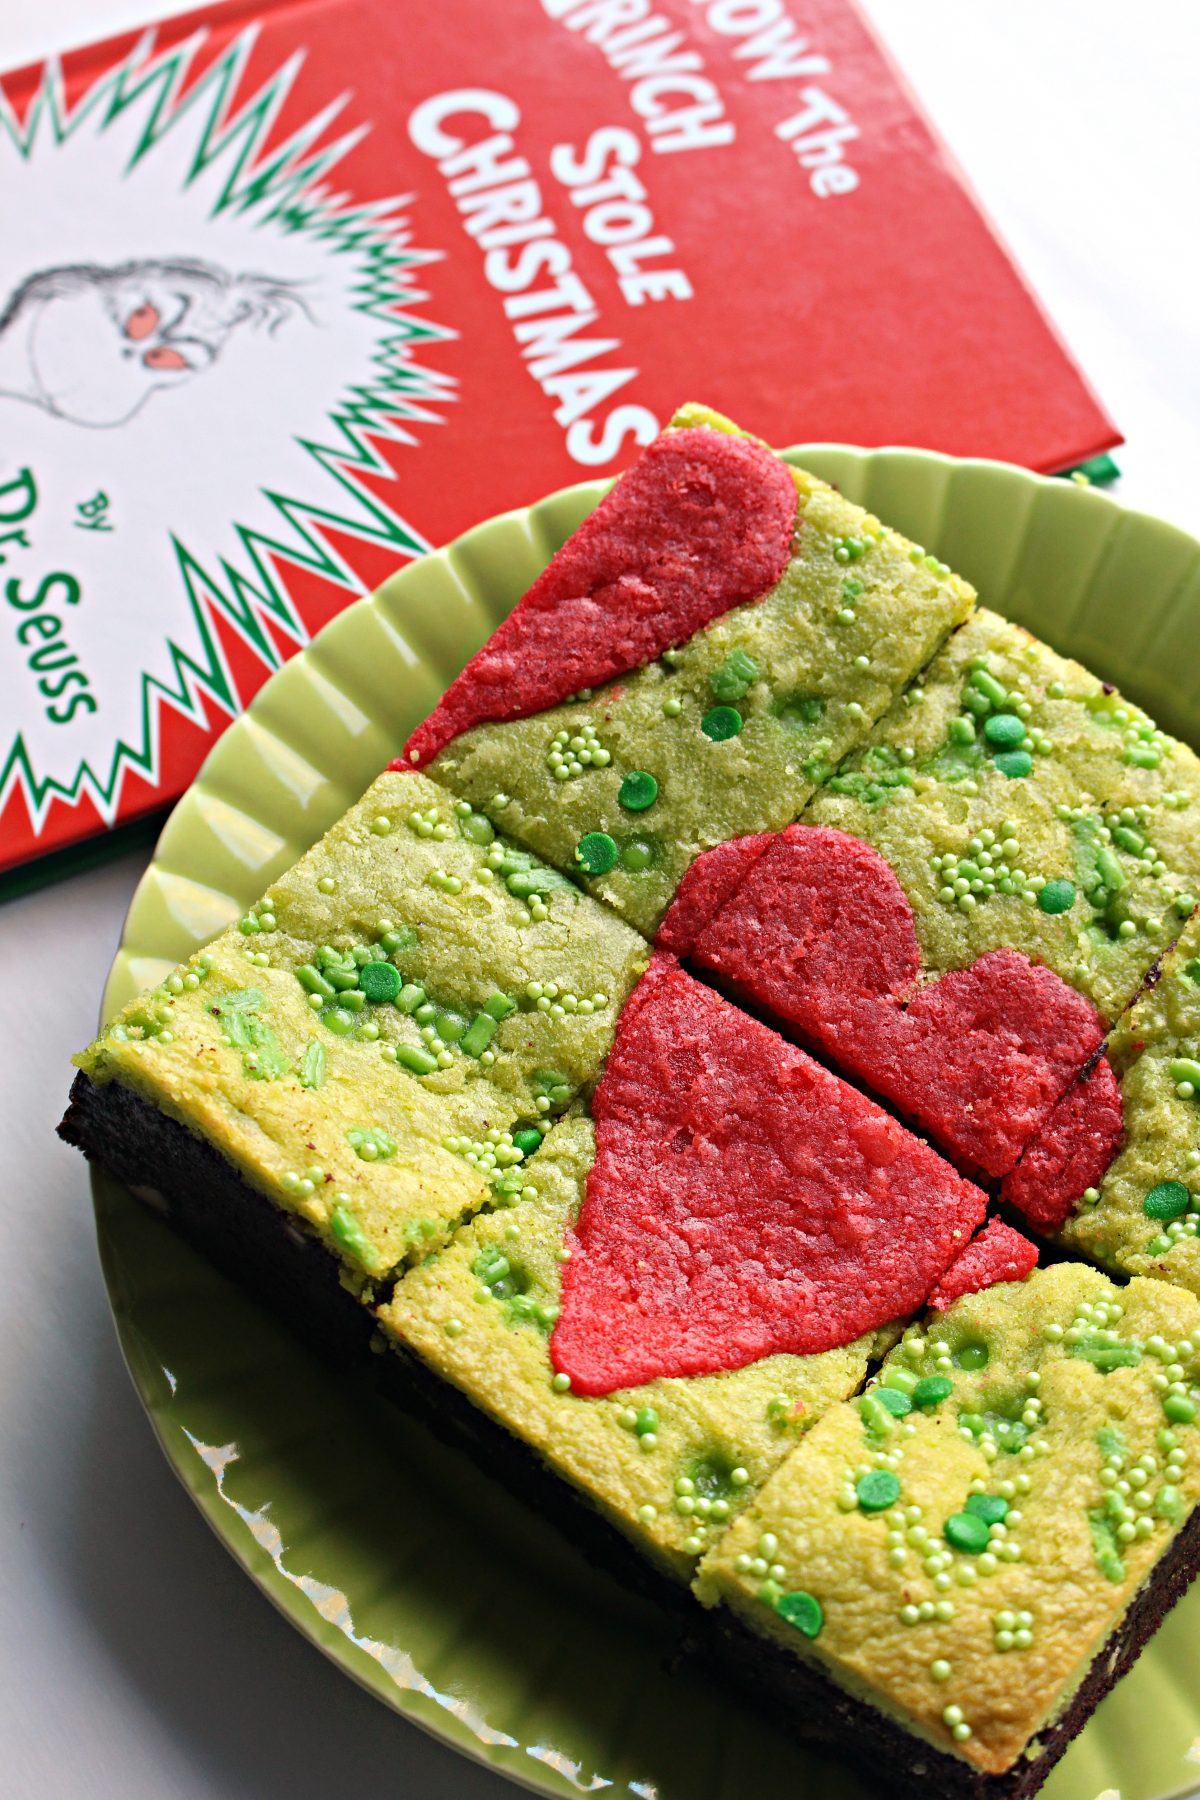
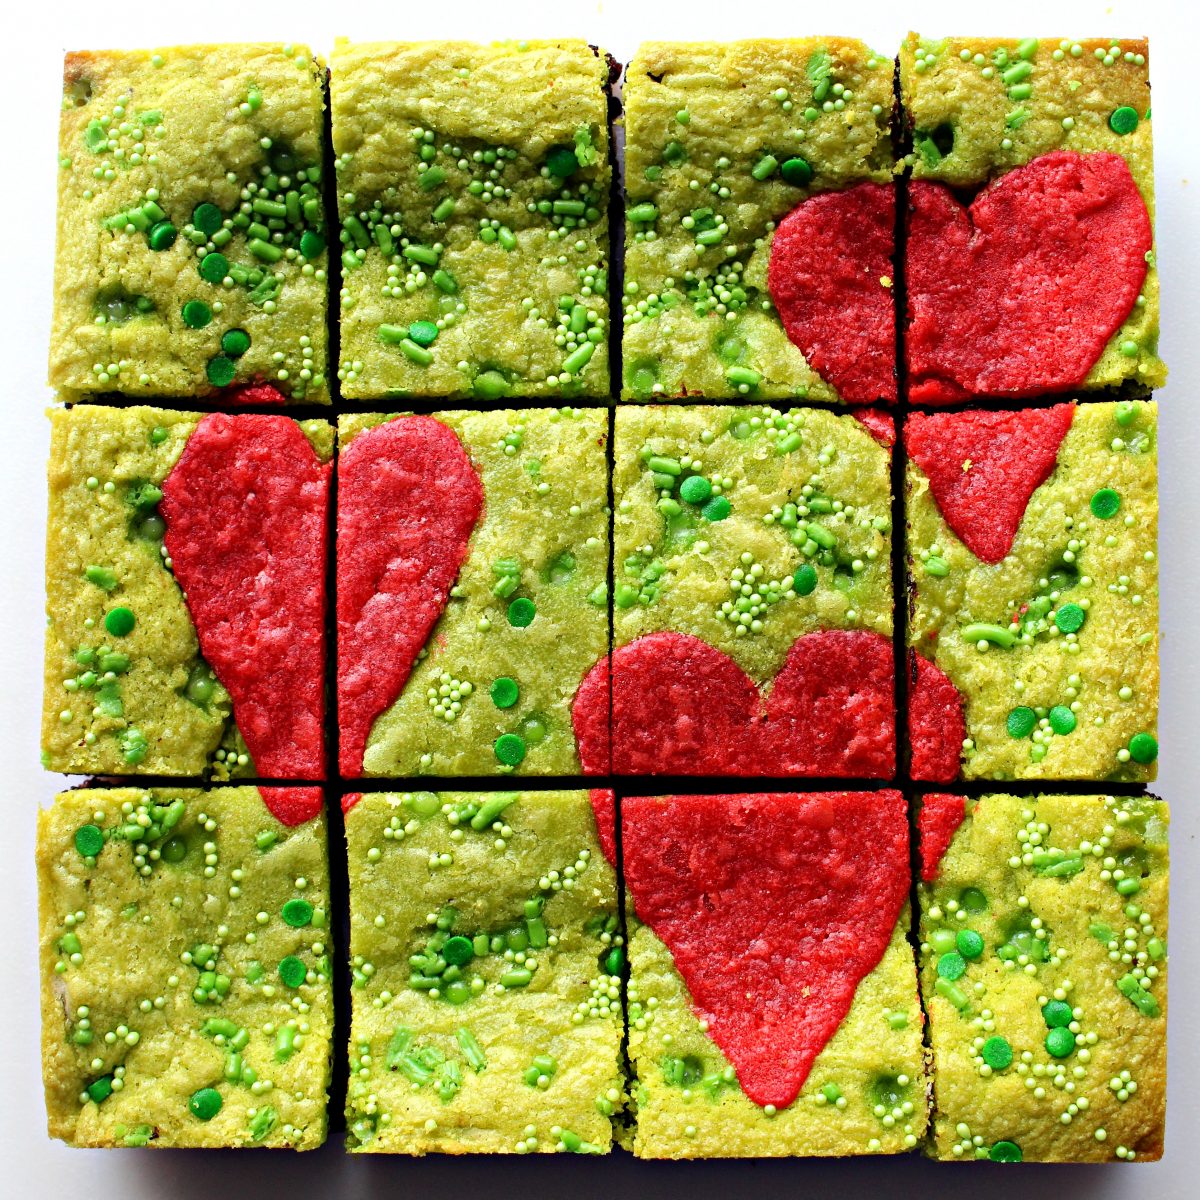
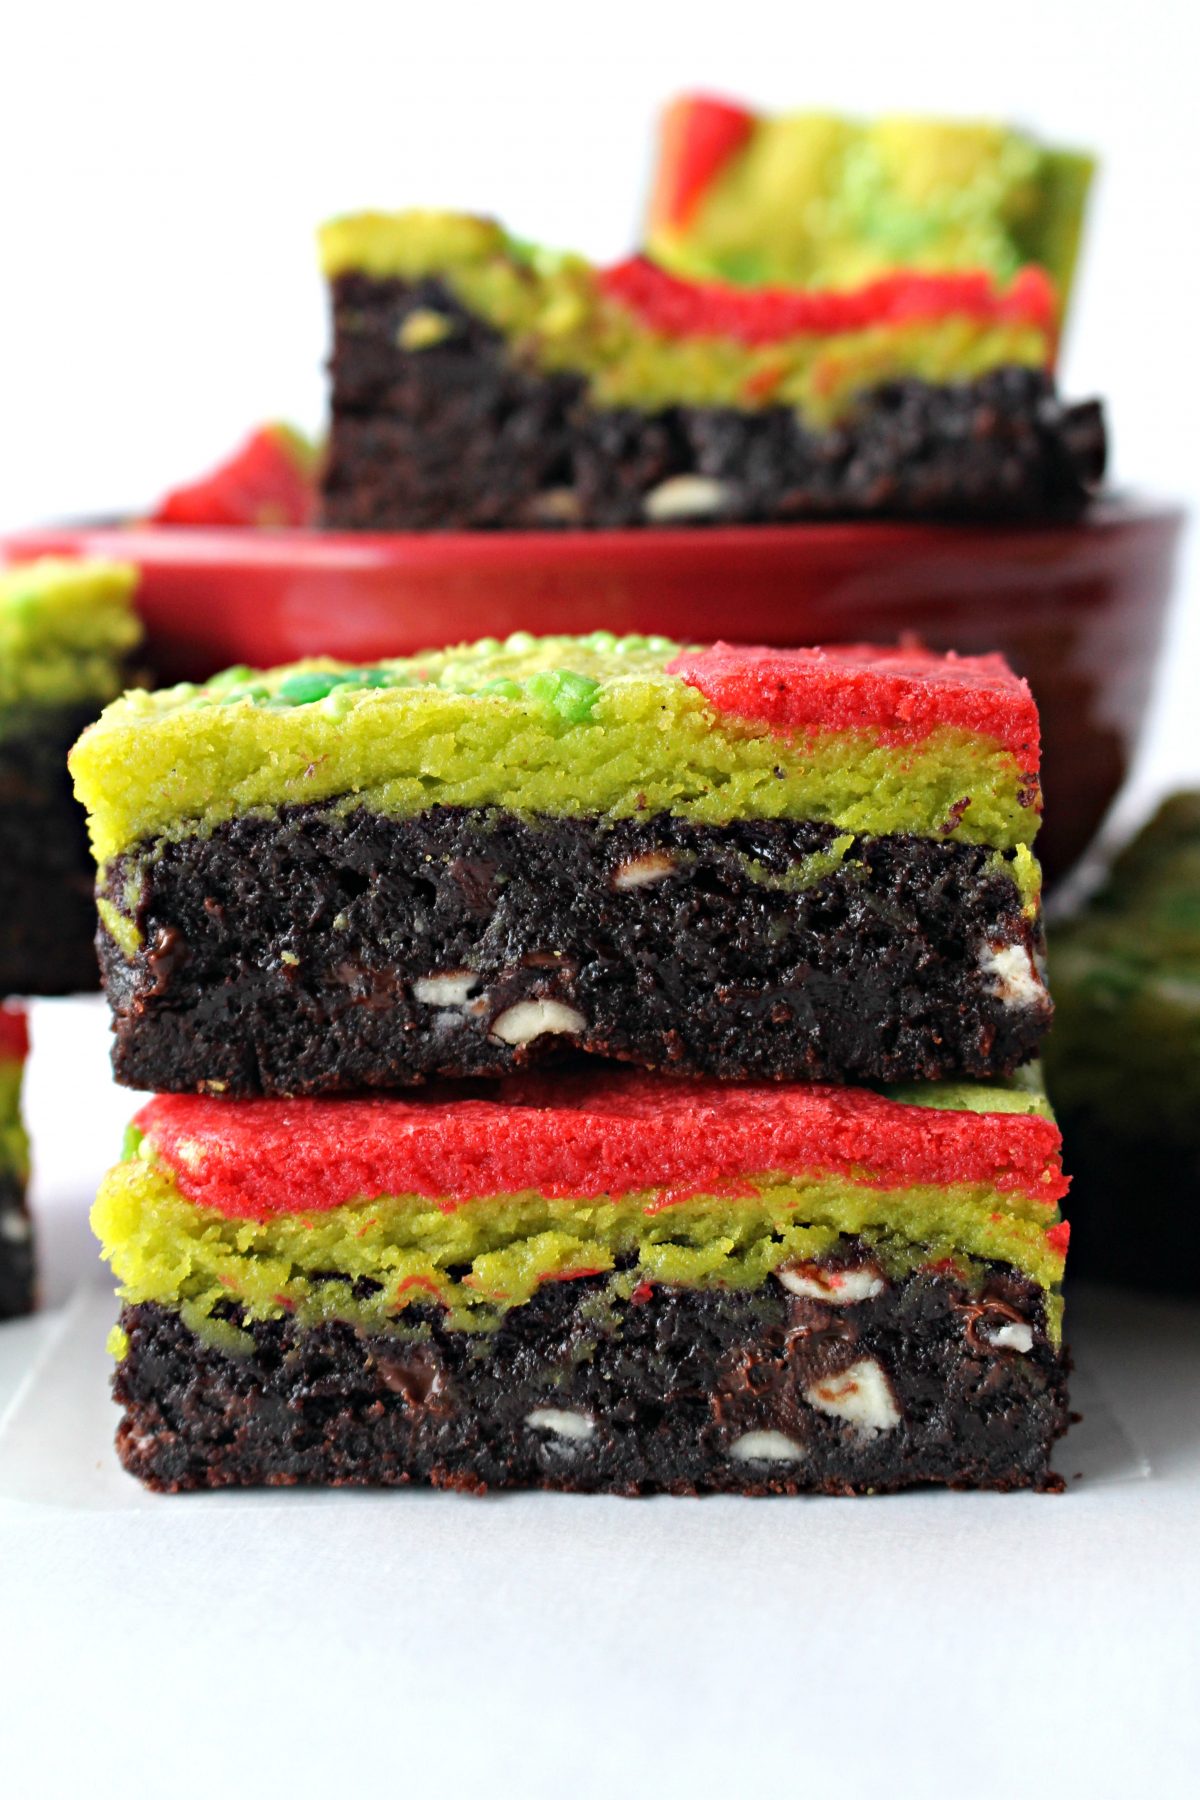
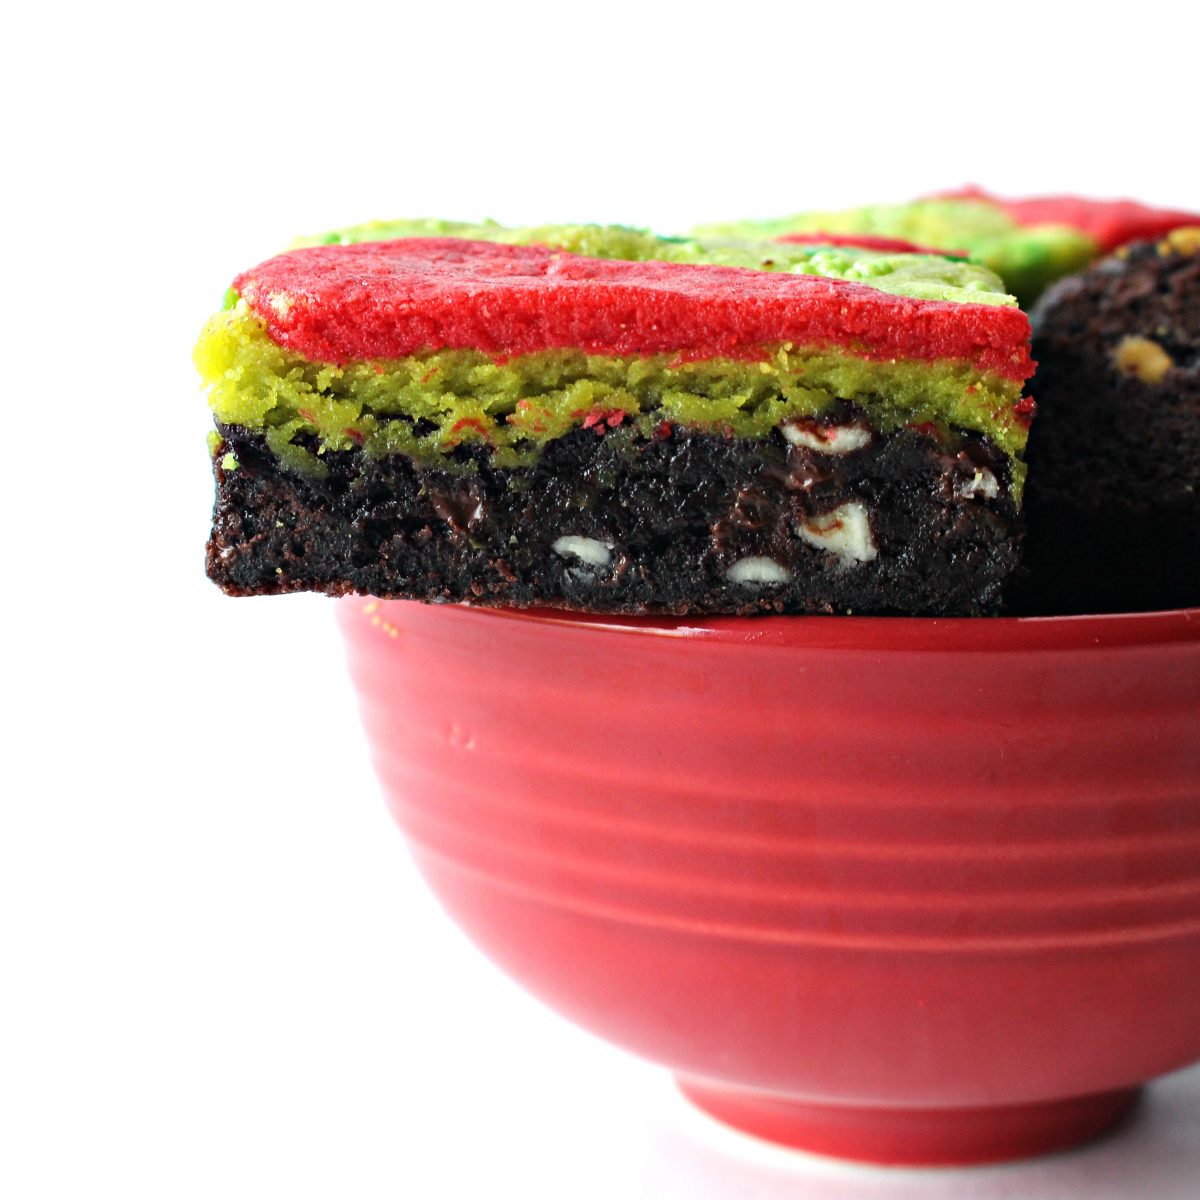
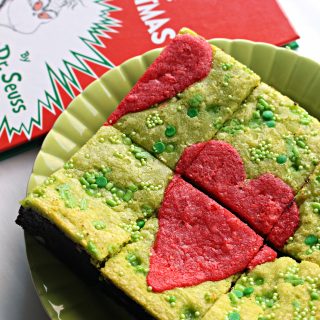
Colorful Grinch Brownies are a special treat for all Dr. Seuss fans. A layer of fudgy brownie is topped with white chocolate blondie, tinted Grinch green. Three red hearts are a reminder that, "in Whoville they say, the Grinch's small heart grew three sizes that day!"
Why you'll love this recipe
My Christmas military care package this year is incredibly green. Grinch green! From the decorations on the box to the baked goods inside, this Seussian care package is straight out of Whoville.
I'm sharing the details and recipes in a series of three posts; today's Grinch Brownies, followed by Decorated Grinch Cookies, and a Grinch Care Package resource guide.
Grinch Brownies use a two batter method, instead of frosting, to create colorful decorated brownies that ship well. The colors are eye catching and the blondie-brownie combination is delicious.
Making Grinch Brownies is very simple, but this is not quick recipe. The two layers, brownie and blondie, require making two separate batters.
However, once the batters are made, putting the Grinch Brownies together is easy. The smiles of Grinch joy when you serve or send these brownies, make the extra effort well worth it!
Share these whimsical brownies, symbolic of the Grinch's lessons on happiness and gratitude, with friends and family.
Take a look at Galaxy Brownies and Christmas Brownies for additional shippable multihued bars.
Instructions
This is an overview of the instructions. The full instructions are in the recipe card below.
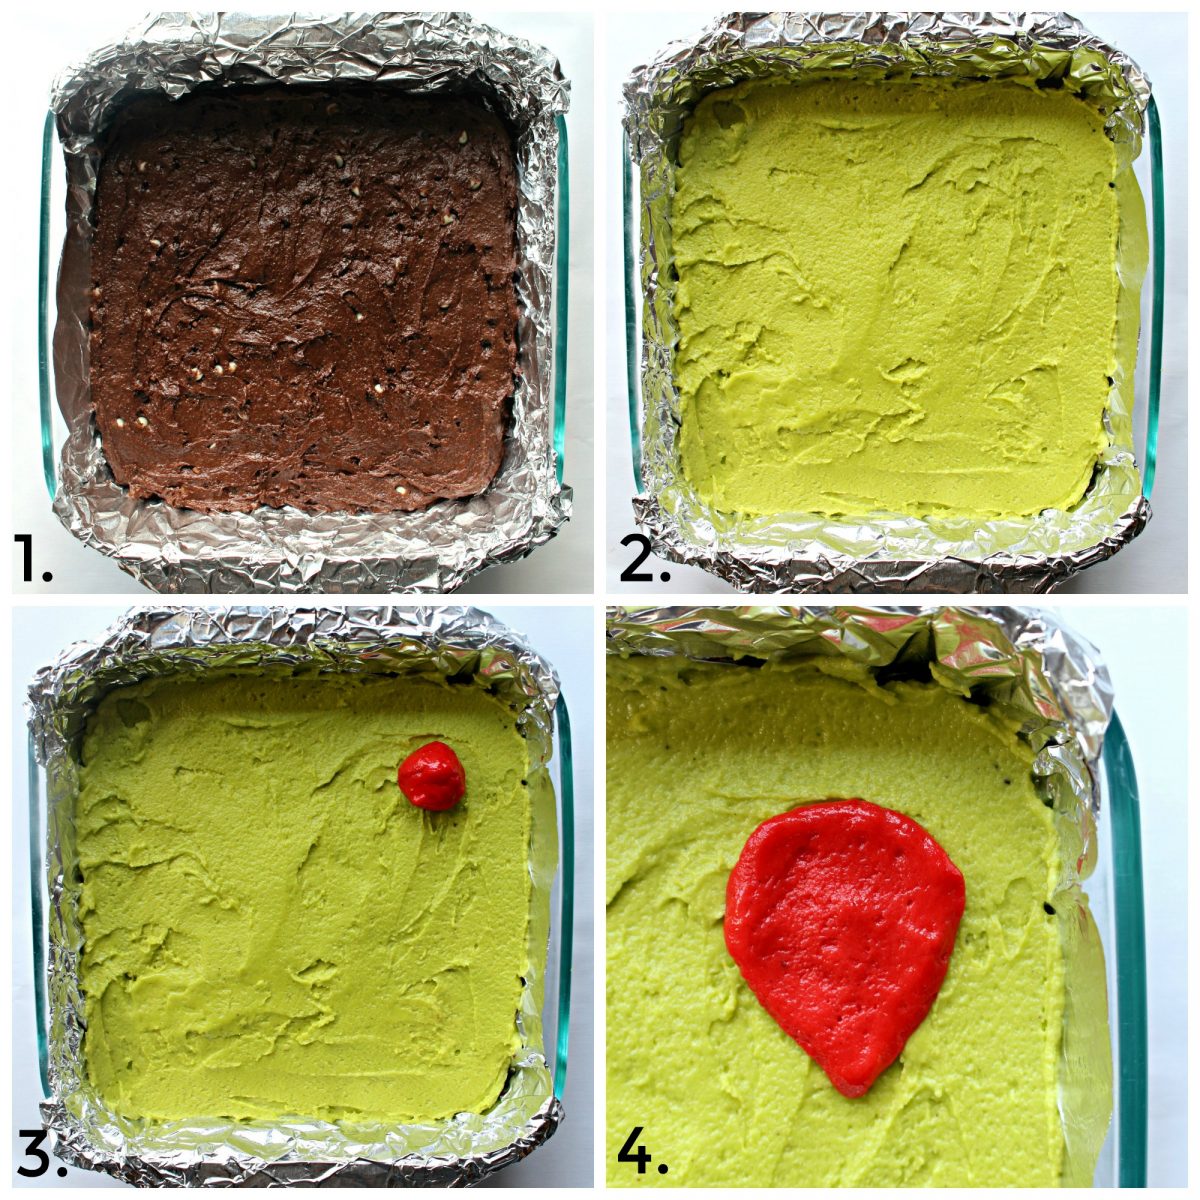
- Spread the brownie batter evenly into the prepared pans.
- Use an offset spatula or spoon to spread the green batter to evenly cover the brownie layer completely.
- To form the hearts, roll 2 teaspoons of red dough into a ball. Place the ball on top of the green blondie layer.
- Use your fingertips to gently press the ball into a flat disc, then form a point at the bottom of the disc.
Would you like to save this?
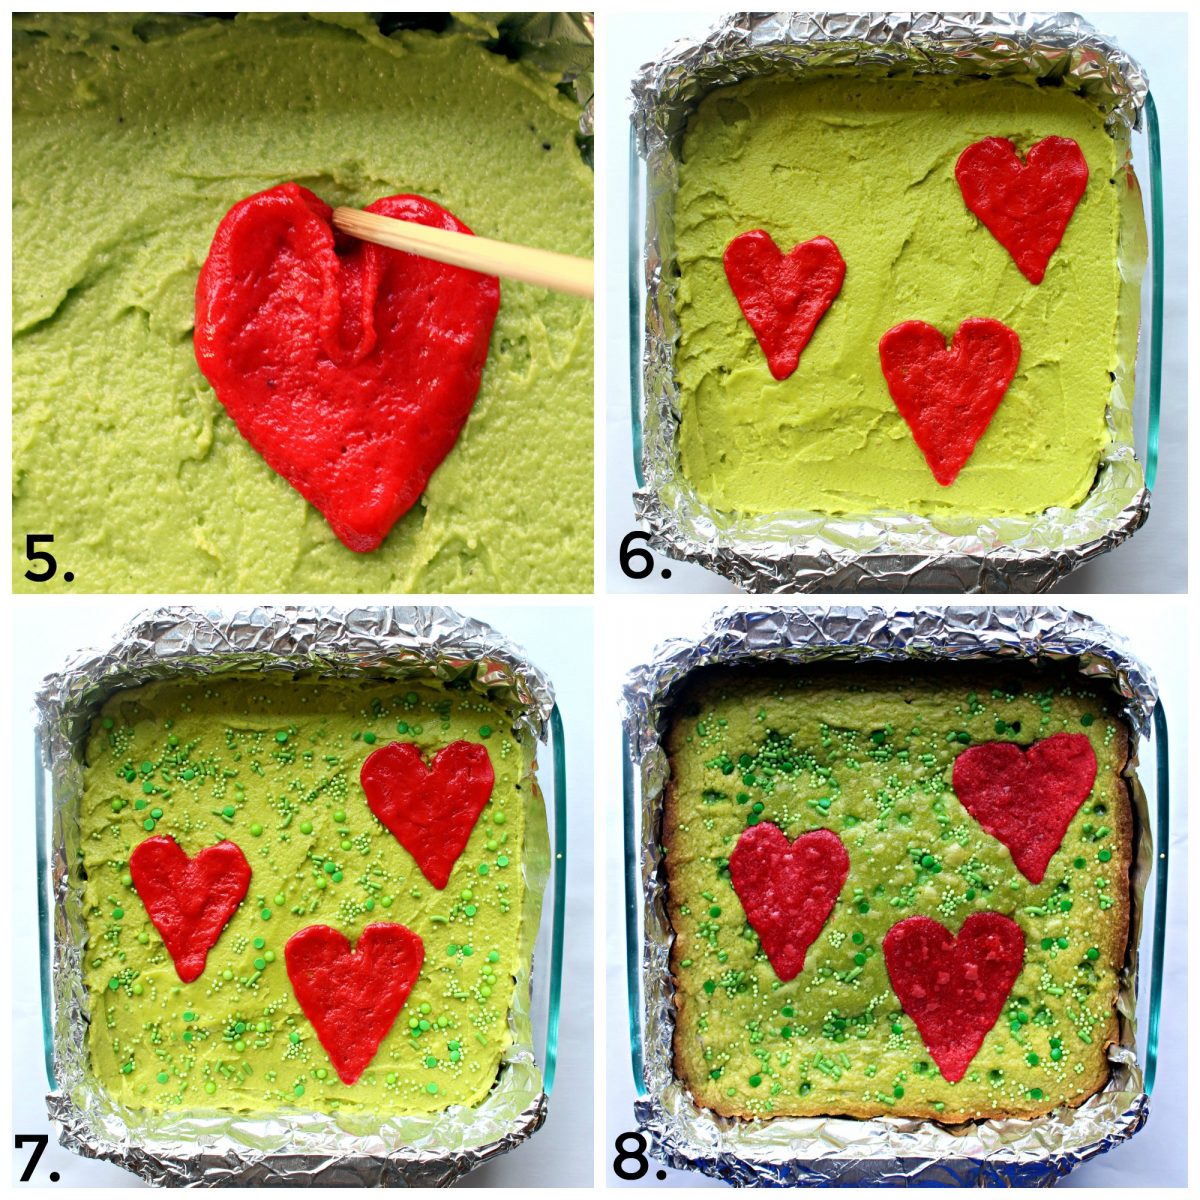
- Use a skewer or tooth pick to indent the circle at the top to create the top mounds of a heart shape.
- Repeat for three hearts.
- Add sprinkles and press them gently into the dough surface with finger tips.
- Cover with foil and bake for 15 minutes covered, then remove the foil and complete baking for another 12 minutes or until the top is set. The top may appear a bit moist, but will firm as the brownies cool.
Storage
Store Grinch Brownies at room temperature in an airtight container or freezer weight ziplock bag for up to 2 weeks.
Tips
- These brownies can be prepared with or without peppermint flavor. The recipe includes quantity and directions for adding optional peppermint extract.
- This recipe makes two 8"pans of Grinch Brownies or one 9"x 13" pan. The smaller pan size has several advantages for care package mailing. I recommend sending pans of brownies uncut for longer freshness. The smaller pan size is easier to wrap (or vacuum seal) and fits more easily in flat rate boxes. Also, Grinch Brownies baked in the smaller pans are slightly thicker than those baked in the large pan.
- I used glass baking pans for my brownies. If metal pans are used the baking time will differ. Brownies in metal pans can take up to 10 additional minutes.
- I use and recommend Americolor food coloring gel. Just a few drops are needed and the colors stay vibrant when baked. Food coloring gel is much more effective than the liquid coloring from the supermarket.
Related recipes
Toll House Cookie Bars are thick and chewy brown sugar bars with lots of chocolate chips.
Cocoa Puff Cereal Bars are a no bake treat that's chewy, crunchy, and chocolaty.
Root Beer Float Bars are a refreshingly different flavor for an easy to make cookie bar.
Raspberry Chocolate Chip Bars are fruity bars perfect for lunch boxes and care packages.
No need to decide between vanilla and chocolate. With Black and White Bars you get layers of both!
Ready to bake? Join the free membership group to get new recipes and a newsletter delivered to your inbox! You can also stay in touch on Facebook, Pinterest, and Instagram. I'd love to stay in touch!
Grinch Brownies
Ingredients
BROWNIE LAYER
- 1 ½ cups all-purpose flour
- 1 cup baking cocoa I use Whole Foods fair trade 360 brand
- ½ teaspoon baking powder
- ½ teaspoon salt
- 1 teaspoon espresso powder
- ⅔ cup vegetable shortening
- 2 cups granulated sugar
- 4 large eggs
- ½ teaspoon peppermint extract OPTIONAL
- ½ cup semi-sweet mini chocolate chips I use Whole Foods fair trade 360 brand
- ½ cup mini white chocolate chips I use Whole Foods fair trade 360 brand
GRINCH GREEN BLONDIE LAYER
- 8 ounces baking bars white chocolate, broken into chunks
- ½ cup vegetable shortening
- 2 large eggs
- ⅓ cup granulated sugar
- 1 tablespoon vanilla extract
- ½ teaspoon peppermint extract OPTIONAL
- 1 ¼ cup all-purpose flour
- ½ teaspoon salt
- Red and green gel food coloring I used Americolor Electric Green and Red Red
- 2-4 tablespoons green sprinkles; nonpareils jimmies, and balls
Instructions
- Preheat oven to 350 degrees F.
- Line two 8" x 8" pans with foil, allowing for a little overhang (for easy lifting later) and spray lightly with non-stick spray.
FOR THE BROWNIE LAYER:
- In a medium bowl, whisk together the flour, cocoa, baking powder, salt and espresso powder. Set aside.
- In the bowl of an electric mixer, combine the shortening, sugar, eggs, and peppermint extract (OPTIONAL). Beat until light in color and fluffy (about 3 minutes).
- Gradually add in the flour mixture, until combined.
- Stir in the chocolate chips.
- Divide the batter in half and spread one half of the brownie batter evenly into each of the prepared pans.
FOR THE GRINCH GREEN WHITE BLONDIE LAYER:
- Break the white chocolate bars into chunks, then place the white chocolate and shortening into a medium sized heat-safe bowl. Heat in the microwave 1 minute at 50% power. Stir. If not completely melted, return to microwave for 10 second intervals at 50% power, stirring between heating, until completely melted and combined. White chocolate burns easily. Though tempting, don't try to shorten melting time by using full power. Set aside.
- In the bowl of an electric mixer, beat eggs until foamy (about 3 minutes).
- Mix in sugar, vanilla, peppermint extract (OPTIONAL), and melted chocolate.
- Add flour and salt and stir until incorporated. The batter will be thick.
- Remove 2 tablespoons of dough and mix with 2 drops of red coloring in a small bowl, until uniformly colored.
- To the remaining dough, add 4-5 drops of green food coloring and mix until the colors are uniform.
- Use an offset spatula or spoon to spread the green batter to evenly cover the brownie layer completely.
- Add three red dough hearts to the top of the brownies. To form the hearts, roll 2 teaspoons of red dough into a ball. Place the ball on top of the green blondie layer and use your fingertips to gently press the ball into a flat disc, then form a point at the bottom of the disc. Use a skewer or tooth pick to indent the circle at the top to create the top mounds of a heart shape.
- Add sprinkles and press them gently into the dough surface with finger tips.
- Lay a sheet of foil across the top of each pan (not touching batter). The foil keeps the colored dough from browning and keeps the colors vibrant. Bake for 15 minutes covered in a glass baking pan or 25 minutes in a metal baking pan. Then remove the foil and complete baking for another 12 minutes or until the top is set. The top may appear a bit moist, but will firm as the brownies cool.
- Remove from the oven and cool completely in the pan (about 30 minutes).
- Store Grinch Brownies at room temperature in an airtight container or freezer weight ziplock bag for up to 2 weeks.
Notes
- Make more than one batch of colorful Grinch Brownies this holiday season. These fudgy brownies make a great gift, care package treat, or fun dessert for a Christmas party.
- These brownies can be prepared with or without peppermint flavor. The recipe includes quantity and directions for adding optional peppermint extract.
- This recipe makes two 8"pans of Grinch Brownies or one 9"x 13" pan. The smaller pan size has several advantages for care package mailing. I recommend sending pans of brownies uncut for longer freshness. The smaller pan size is easier to wrap (or vacuum seal) and fits more easily in flat rate boxes. Also, Grinch Brownies baked in the smaller pans are slightly thicker than those baked in the large pan.
- I used glass baking pans for my brownies. If metal pans are used the baking time will differ. Brownies in metal pans can take up to 10 additional minutes.
- I use and recommend Americolor food coloring gel. Just a few drops are needed and the colors stay vibrant when baked. Food coloring gel is much more effective than the liquid coloring from the supermarket.
- A box of brownie mix can be used as a shortcut in this recipe, using the directions on the back of the brownie box.
- Wrap individual brownies in plastic wrap. Place stacks of wrapped brownies in freezer weight ziplock bags.
- For long distance shipping, I recommend shipping Grinch Brownies uncut for longer freshness. Wrap the entire 8"x8" square of brownies (removed from pan using the foil overhang) first in foil and then in plastic wrap. Then insert the wrapped brownies into a freezer weight gallon ziplock bag or vacuum seal.
- Include a few plastic knives for cutting.
Nutrition
First Published: December 11, 2018. Last Updated: March 2, 2023. Updated for additional information, and better reader experience.



Christoph Bauman
Saw these adorable treats on the Friday Frenzy. Very creative and recipe looks delicious!
The Monday Box
Thanks, Christoph! These brownies are the answer to search for a way to ship colorful decorated brownies. The top layer does double duty. It's both a delicious blondie layer and it provides all of the Grinch-y color. 🙂
Helen at the Lazy Gastronome
What a fun treat!! I love the Grinch (the original) - Thanks for sharing at the What's for Dinner Party. Have a wonderful week!
Carlee
What a fun idea! Little dude has been asking for brownies. I should make him these in honor of one of his favorite movies.