Chocolate dipped Peanut Chews Candy Pops are a sweet, chewy treat for any occasion. Easily turn 5 simple ingredients into fun peanut candy that's great for snacking, gifting, and care packages.
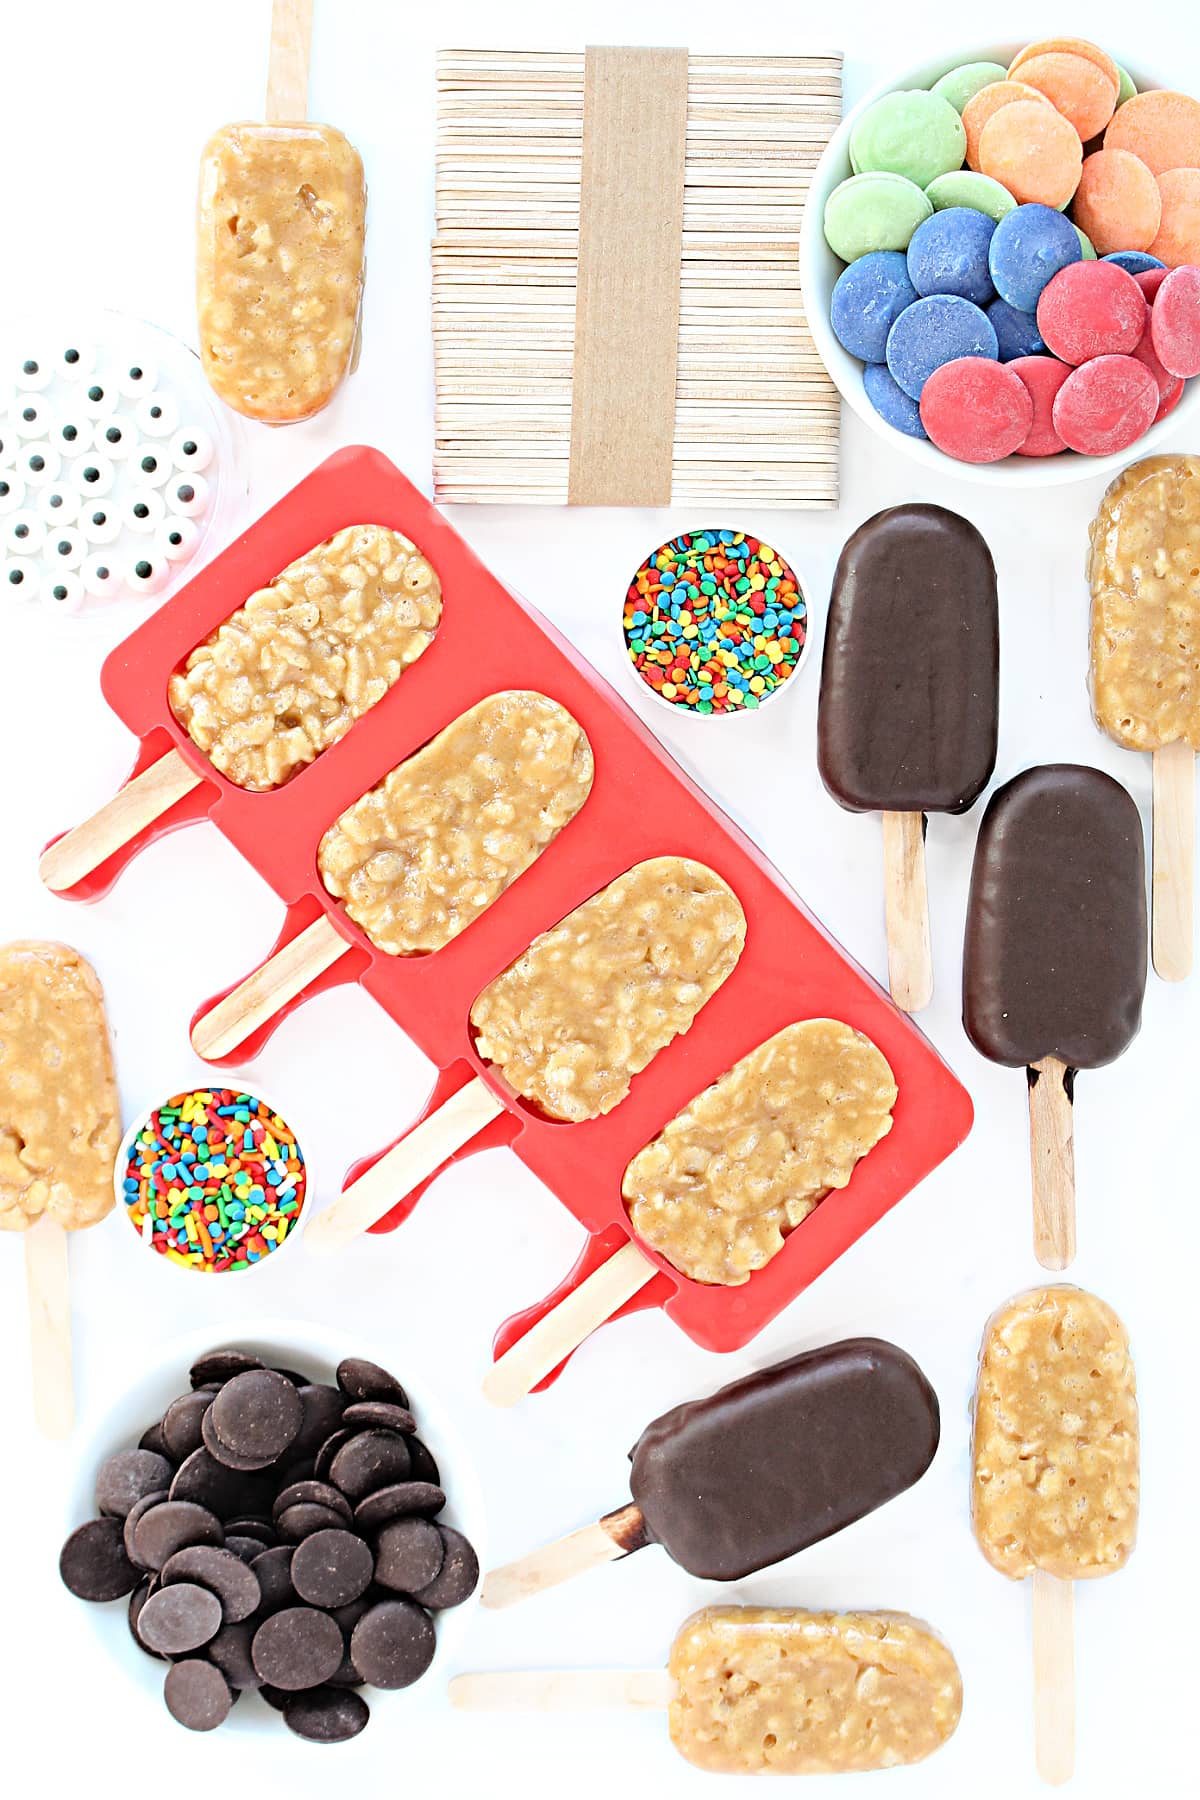
Why you'll love this recipe
- Peanut Chews candy is easy to make and delicious to eat.
- The ingredients are heated and melted in the oven, but there is no baking and no candy thermometer needed.
- Fully coated pops stay soft and fresh for over a month. Great for making ahead or for long distance care packages.
- Decorate the pops for any occasion with seasonal colors and sprinkles.
The credit for this idea goes to Yummy Blessings, a Kosher confectionary company created and run by two teenagers with a mission to support and empower other teenagers. Their peanut butter chews are works of art.
Yummy Blessings shared their recipe and pop making method on a tv show. Unlike commercially available Goldenberg's Peanut Chews which use crunchy peanuts, these chews get their crunch from crisp rice cereal.
With minimal adaptation, Peanut Chews Pops are ideal for care packages and a great treat, gift, or favor for any holiday.
This delicious peanut candy is super easy to make and stays fresh and delicious for a very long time.
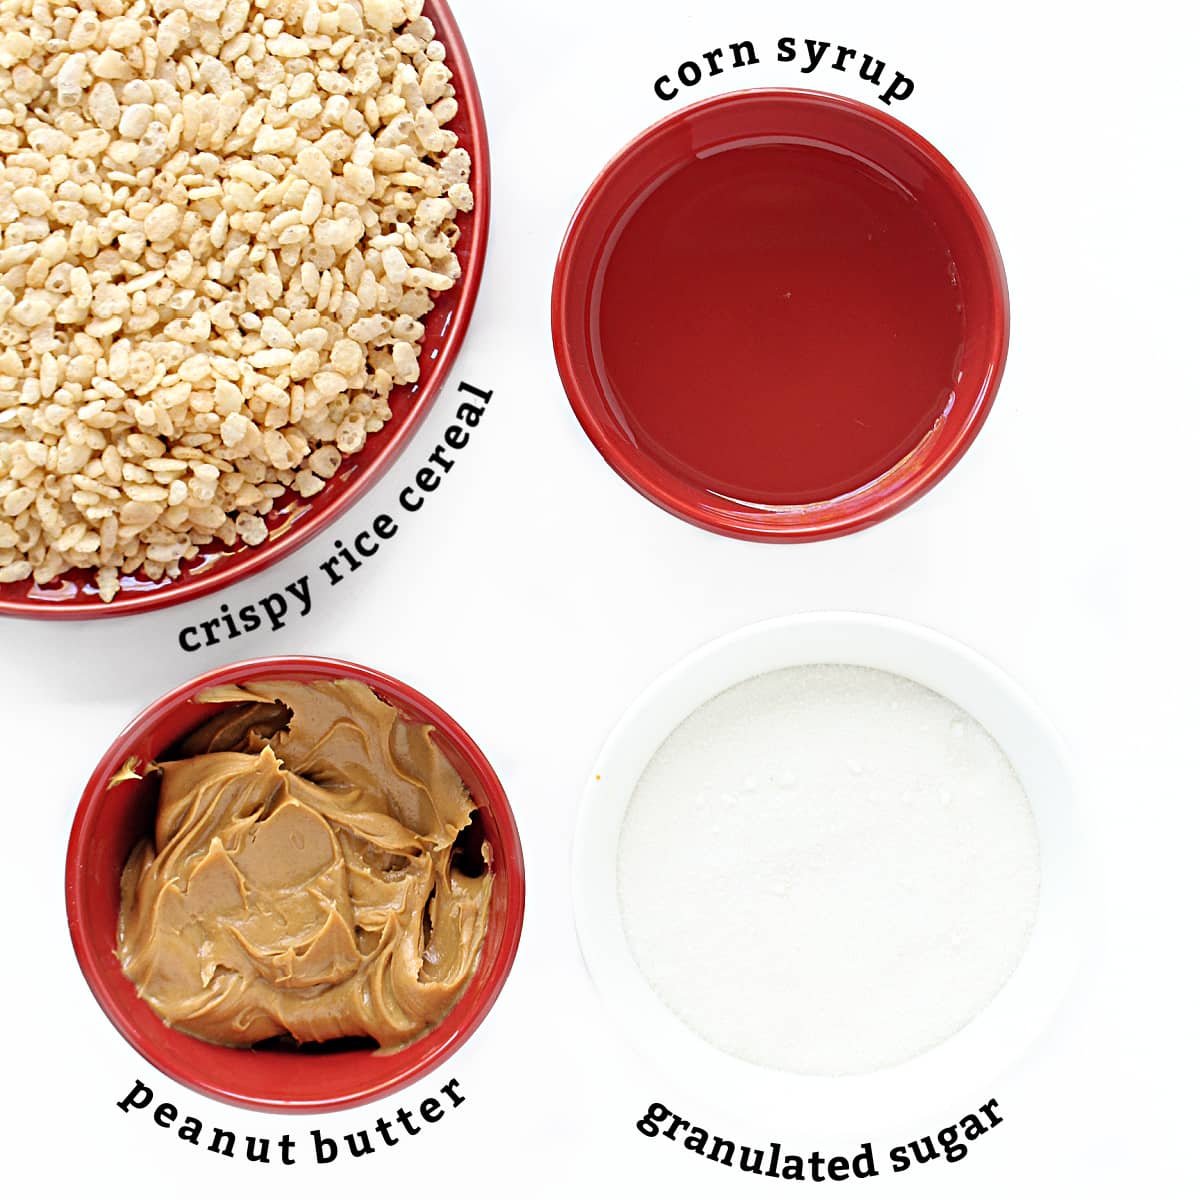
Peanut chews ingredients
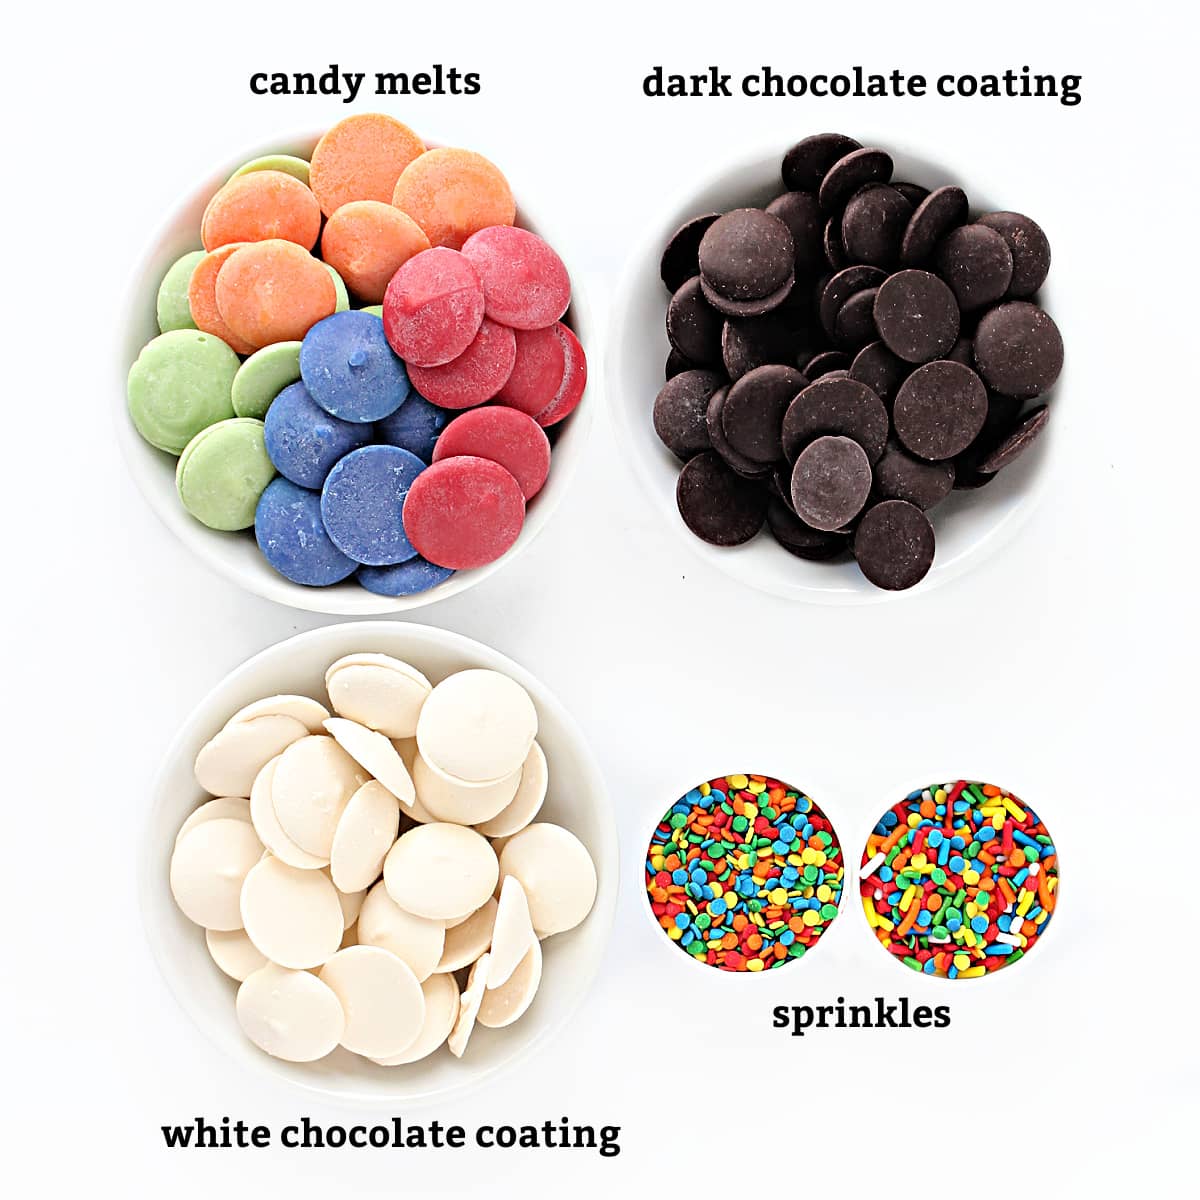
Decorating ingredients
Equipment
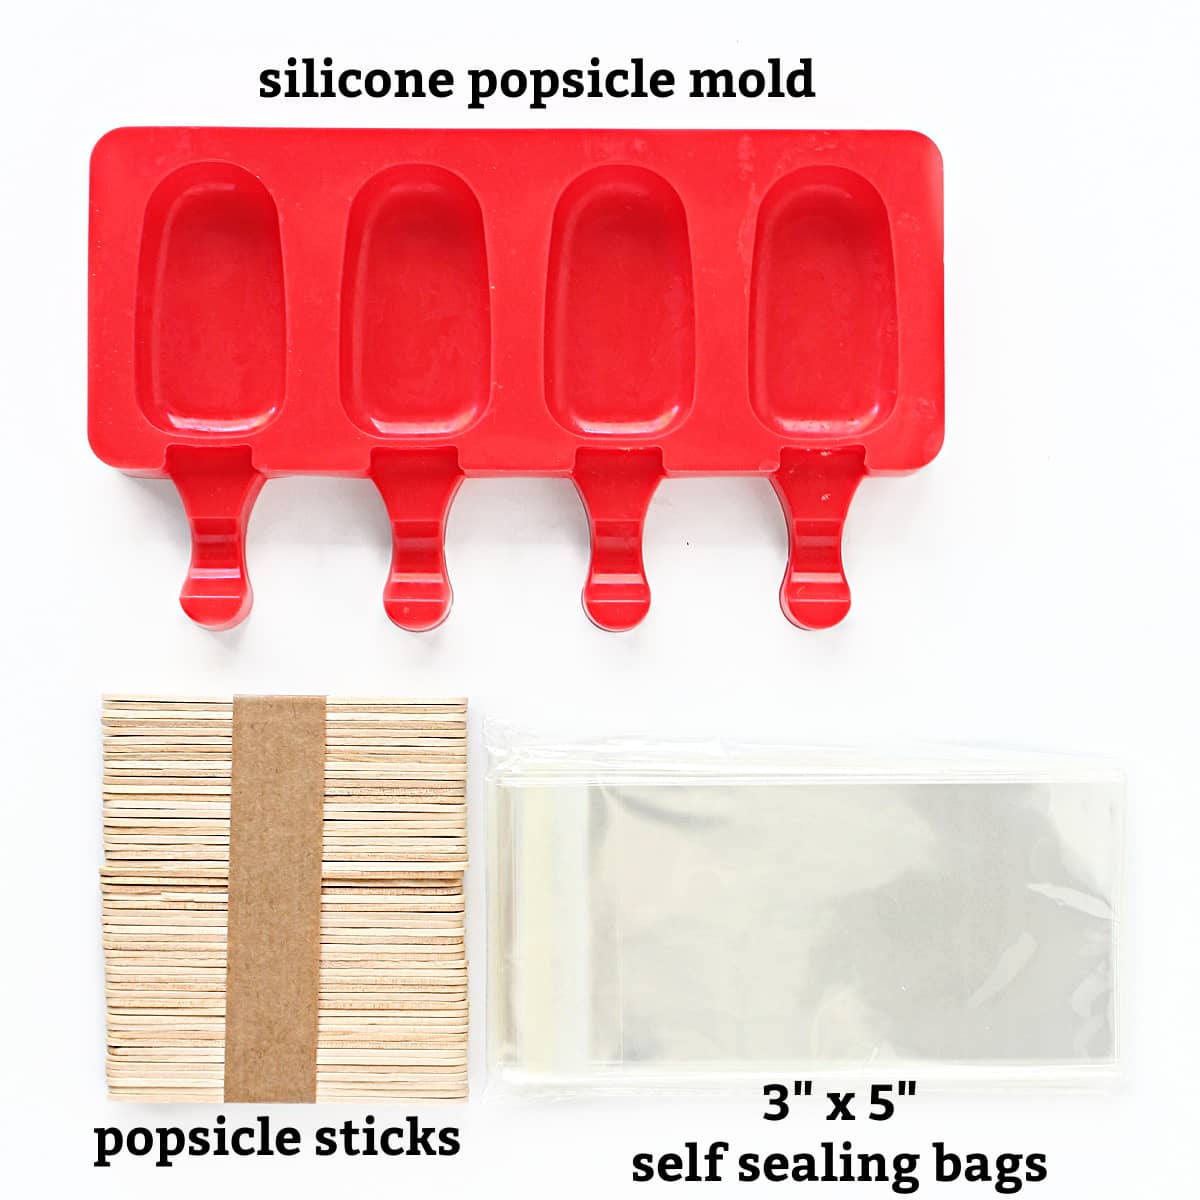
- Silicone mini popsicle molds come in a set on Amazon that includes 2 molds, sticks, and some bags that are a bit too small for the popsicles. I recommend buying additional bags separately.
- These 3" x 5" self sealing bags are the right size for this peanut candy pop.
- This is my favorite set of silicone measuring cups for melting chocolate in the microwave and dipping the pops. The design makes the cups cool to the touch even when the chocolate is hot.
Instructions
This is an overview of the instructions. The full instructions are in the recipe card below.
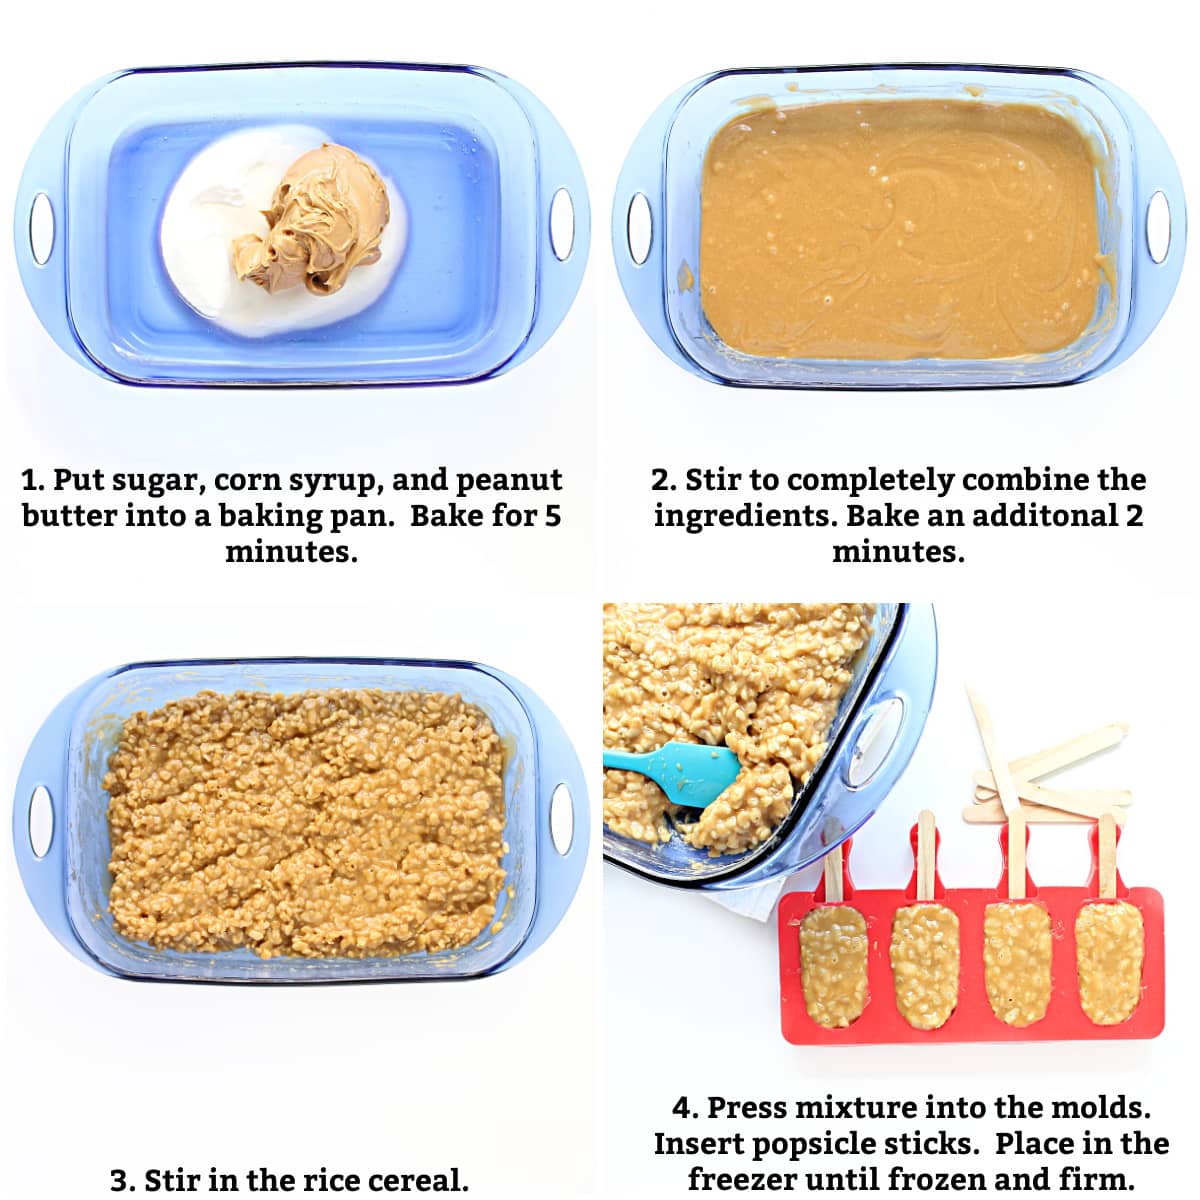
- Add the sugar, corn syrup, and peanut butter into a 9" x 13" baking pan. Place the baking pan in the oven at 350 degrees F for 5 minutes.
- Remove the pan and stir to completely combine the ingredients. Return the pan to the oven for an additonal 2 minutes.
- Remove the pan from the oven and carefully stir in the rice cereal.
- Press the cereal mixture into the pop molds. Insert popsicle sticks into the slots on the molds, then place the filled molds in the freezer for 10 minutes, until frozen and firm.
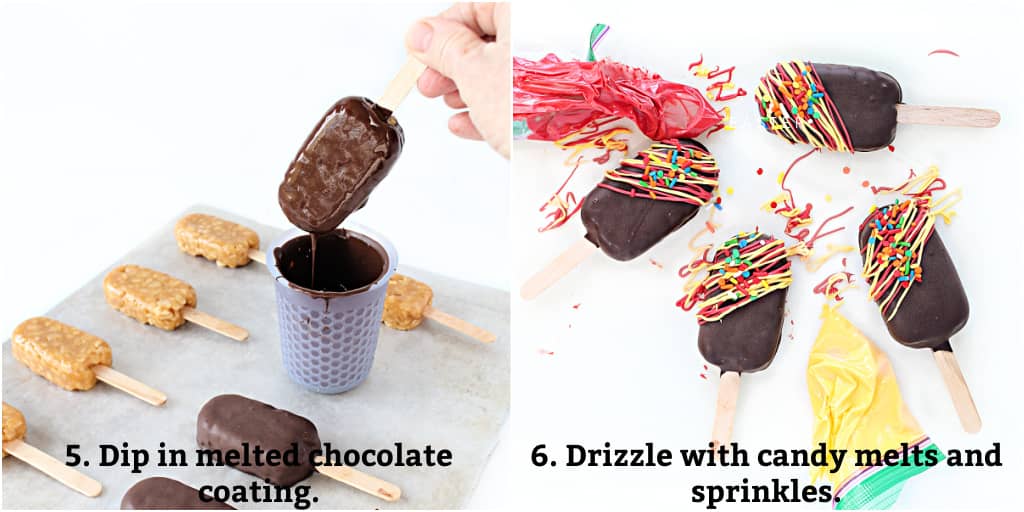
- Dip frozen popsicle in melted chocolate coating.
- Decorate with zigzags of colored candy melts and sprinkles.
Storage
Freeze uncoated peanut butter chews popsicles for up to one month. Separate layers of pops with a sheet of wax paper.
Would you like to save this?
Store coated pops at room temperature in an airtight container for up to one month. Separate layers with a sheet of wax paper or parchment paper.
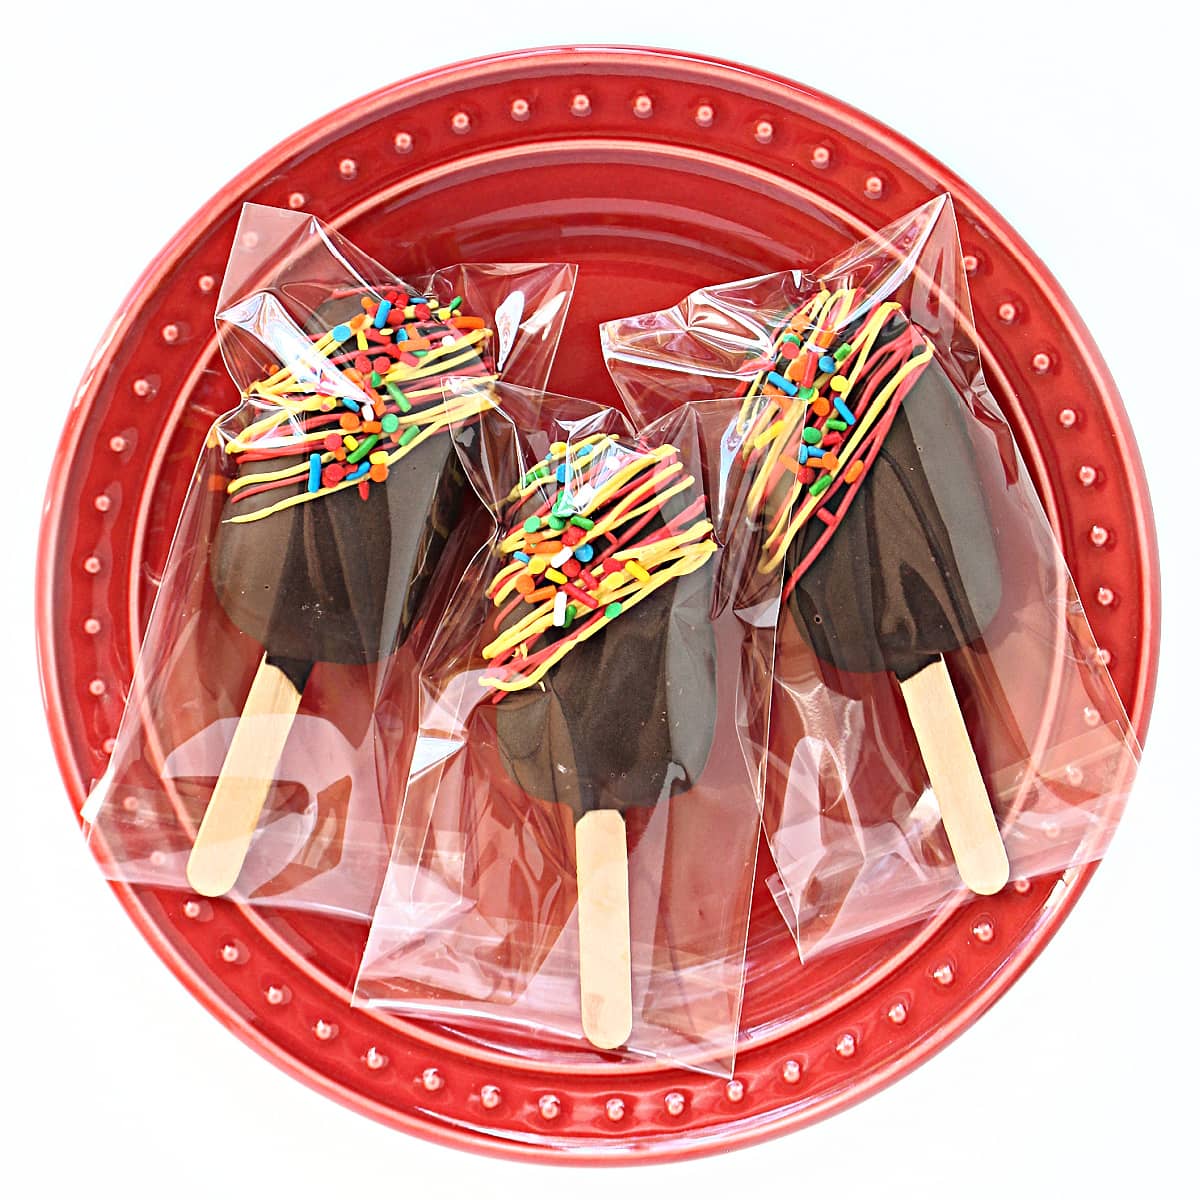
For best freshness results, seal coated pops inside individual 3" x 5" bags before storing.
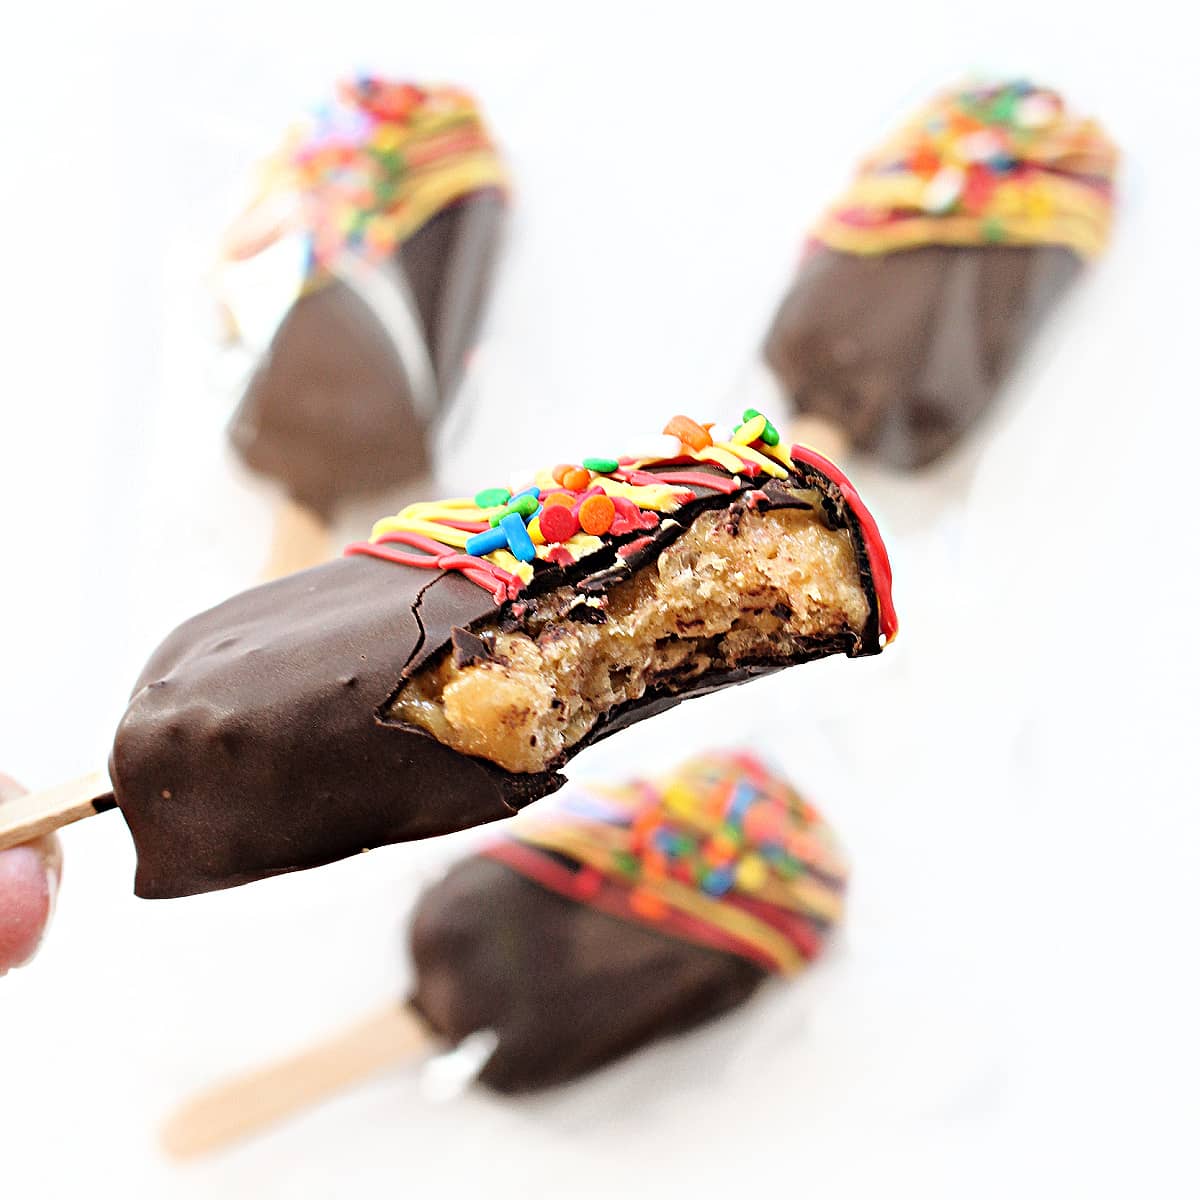
Tips
- Rice Krispies aren't gluten free due to malt flavoring. For gluten free Peanut Chews Pops use gluten free crispy rice cereal. (available at Whole Foods)
- The chocolate coating must be either tempered chocolate, candy melts, or confectionary coating chocolate. Don't use melted chocolate chips.
- Vary the look and taste of the pops with dark chocolate, milk chocolate, or white chocolate coating.
- If your coating is too thick, stir in a table spoon of paramount crystals or 1-2 teaspoons of coconut oil or vegetable shortening.
- Be sure to insert the stick until the end is even with the end of the handle on the mold. If the stick sticks out further, the popsicle won't fit in the bag.
- When using frozen peanut candy pops, allow the pops to warm slightly at room temperature for about 10 minutes before dipping in chocolate. If the pop is too cold the coating can crack as it firms.
- Be sure that the chocolate completely covers the candy right up to the stick on all sides. The coating helps to prolong freshness.
- Uncoated pops freeze well for up to 2 months. Make a large batch and coat them when needed for holidays and events.
Frequently asked questions
No. Chocolate chips are formulated to resist melting and keep their shape in the heat of the oven. The melted consistency will be too thick for dipping and the firmed chocolate will bloom with a white fuzzy appearance when the cocoa fats separate and rise to the surface of the pop.
Peanut butter chews can be made gluten free, but all of the ingredients must indicate they are gluten free. Take special care with the rice cereal to ensure a gluten free brand is used.
The pops don't have to be completely coated, however, uncoated peanut chews get sticky when exposed to air and don't stay fresh as long.
Individual Peanut Butter Chews candy can be made in balls, or in a cupcake pan. The chews can also be pressed into a large pan and cut into squares.
More peanut chews candy pops
Thanksgiving Peanut Chews Candy Pops are decorated like turkeys, pumpkins, and footballs for holiday fun.
Valentine's Day Peanut Chews Candy Pops are decorated like love birds or swirled with chocolate drizzle and sprinkled with hearts.
Easter Peanut Chews Candy Pops are chewy, crunchy peanut butter candy decorated with candy melts to look like adorable chicks and bunnies.
Related Recipes
Marzipan Chocolates are luscious balls of almond candy covered in chocolate. These easy to make confections make fabulous gifts and party favors.
Chocolate Marshmallow Hearts are marshmallow filled candy made in a mold. Make this candy for Valentines Day or whenever you want to share some love.
Mocha Almond Brownie Bites are bite sized fudgy brownies with added almond and coffee flavor.
Raspberry Rally Cookies are crunchy, pink raspberry cookies coated in chocolate. These Girl Scout cookie copycats are delicious.
Owl Marshmallow Pops are adorable and super easy to make. These chocolate dipped marshmallows are almost too cute to eat.
Secret Kiss Cookies are soft, balls of chocolate cookie with a chocolate candy kiss hidden inside.
Butterscotch Peanut Bars have a shortbread base topped with butterscotch chips and peanuts. These sweet and salty cookies are full of fabulous flavor.
Ready to bake? Join the free membership group to get new recipes and a newsletter delivered to your inbox! You can also stay in touch on Facebook, Pinterest, and Instagram. I'd love to stay in touch!

Peanut Chews Candy Pops
Ingredients
- 1 cup granulated sugar
- 1 cup light corn syrup
- 1 cup peanut butter creamy
- 3 ¼ cups crispy rice cereal
- 1 ½ pounds melting chocolate discs or candy coating
- 4 ounces colored candy melts
Instructions
Peanut Chew Pops
- Preheat the oven to 350 degrees F.
- Add the white sugar, corn syrup, and creamy peanut butter into a 9" x 13" baking pan. No stirring is needed.
- Place the baking pan in the oven for 5 minutes.
- Remove the pan and stir to completely combine the ingredients.
- Return the pan to the oven for an additonal 2 minutes.
- Remove the pan from the oven and carefully stir in the rice cereal.
- Press the cereal mixture into the pop molds. Insert popsicle sticks into the slots on the molds until the tip of the stick is even with the end of the handle on the mold. Press the cereal mixture again, adding additional mixture if needed to ensure that the molds are full and the sticks are covered.
- Place the filled molds in the freezer for 10 minutes until frozen and firm.
- Remove the pops from the molds. Refill the molds and repeat the process until all of the cereal mixture has been used. Keep the pops in the freezer until ready to dip in chocolate.
Decorating
- Line a baking sheet with wax paper.
- In a small bowl or deep measuring cup, melt the chocolate or candy coating in the microwave at 50% power for 15 second intervals until completely melted. Stir between intervals.
- Remove the pops from the freezer and allow them to warm slightly at room temperature for about 10 minutes before dipping in chocolate. If the pop is too cold the coating can crack as it firms.
- Dip the pops into the melted coating, allowing excess coating to drip back into the bowl and gently scrape the back of the pop along the bowl edge to remove excess coating before laying the pop on the prepared lined baking sheet.
- When the coating is firm, decorate with drizzles of melted chocolate or candy melts and sprinkles.
- Store coated pops at room temperature in an airtight container for up to one month. Separate layers with a sheet of wax paper.
Notes
- The chocolate coating must be either tempered chocolate, candy melts, or confectionary coating chocolate. Don't use melted chocolate chips.
- Vary the look and taste of the pops with dark chocolate, milk chocolate, or white chocolate coating.
- If the coating is too thick, add 1-2 teaspoons of vegetable oil.
- Be sure to insert the stick until the end is even with the end of the handle on the mold. If the stick sticks out further, the popsicle won't fit in the bag.
- Be sure that the chocolate completely covers the candy right up to the stick on all sides. The coating helps to prolong freshness.
- Uncoated peanut butter chews popsicles can be frozen for up to one month. Layers of pops should be separated by a sheet of wax paper.
- Coated popsicles can be stored at room temperature in an airtight container for up to one month. Layers of pops should be separated by a sheet of wax paper.
- For best freshness results, seal coated pops inside individual 3" x 5" bags before storing.


Ilovebaking
Hi, do you think it will be good if I add marshmallow fluff?
Wendy Sondov
I think that marshmallow fluff would taste wonderful, but I think it could keep the pops staying firm. You could test it by making the recipe as written, then add a measured amount of fluff to just enough of the pb chew to fill one pop. If you are happy with the results, mix in enough fluff for the remaining 24 pops. It's a delicious idea and I hope it works!