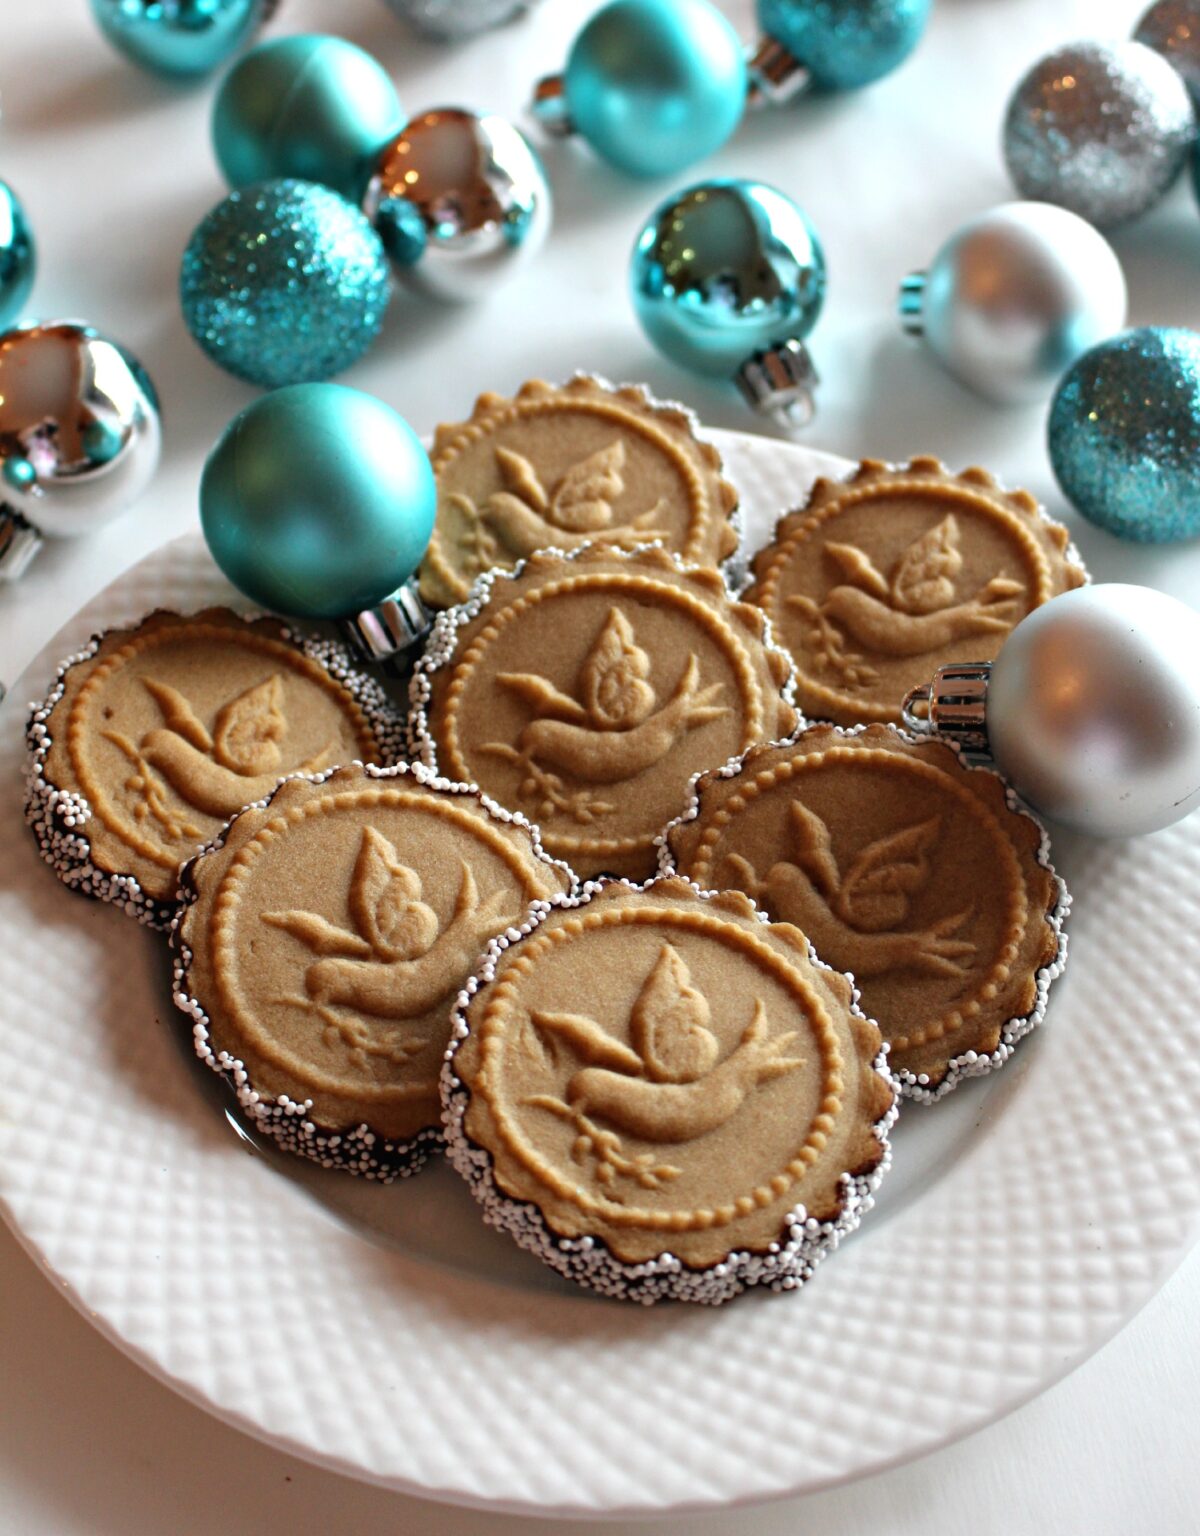
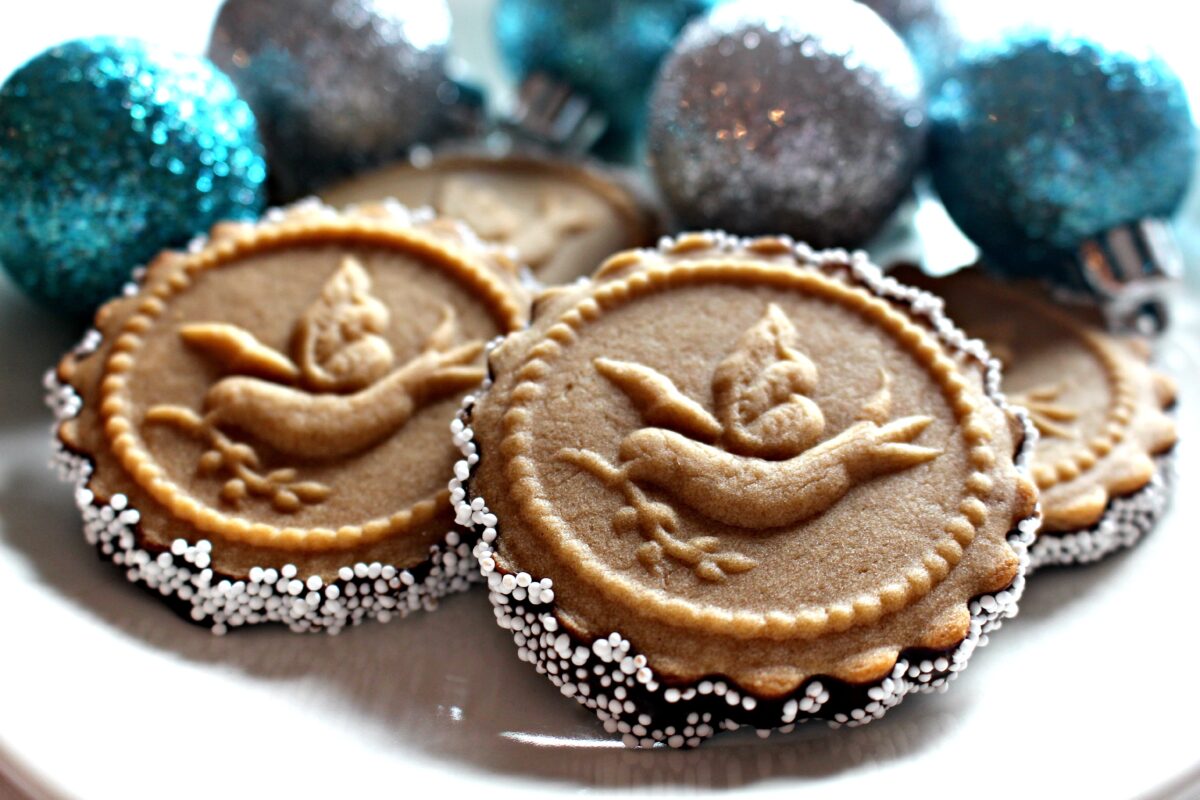
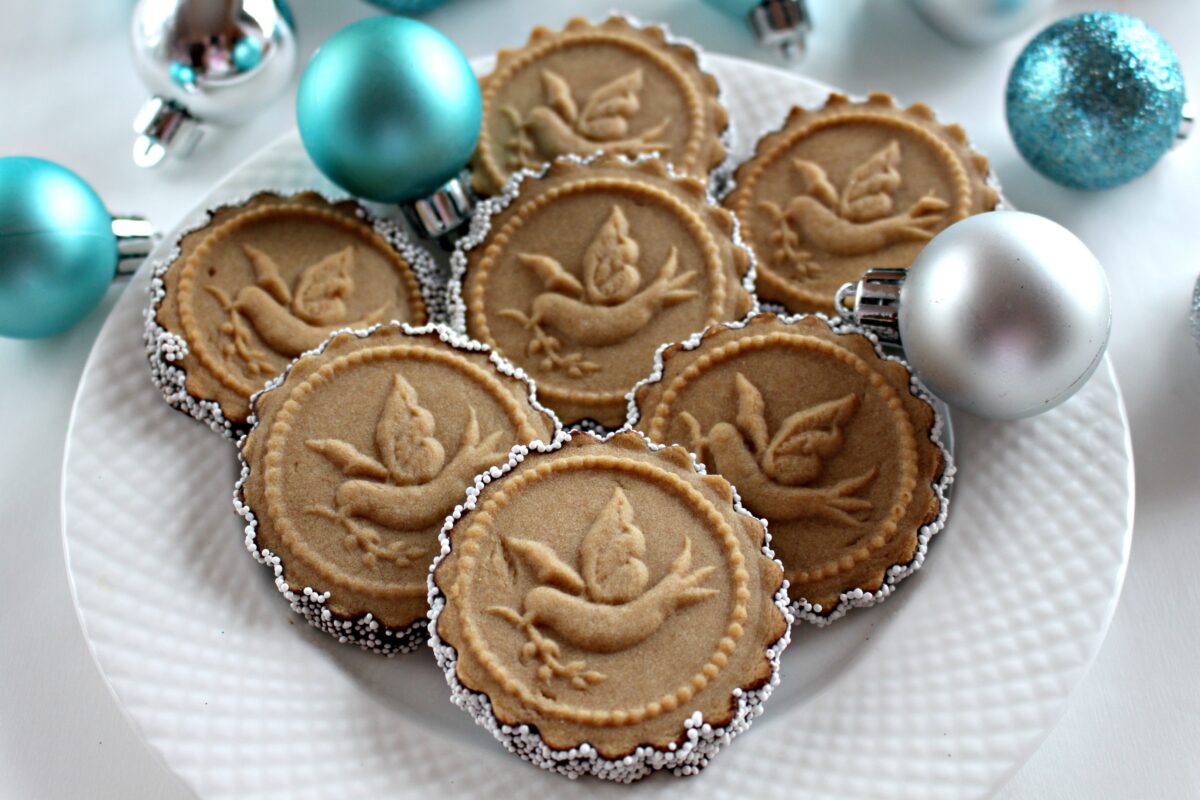
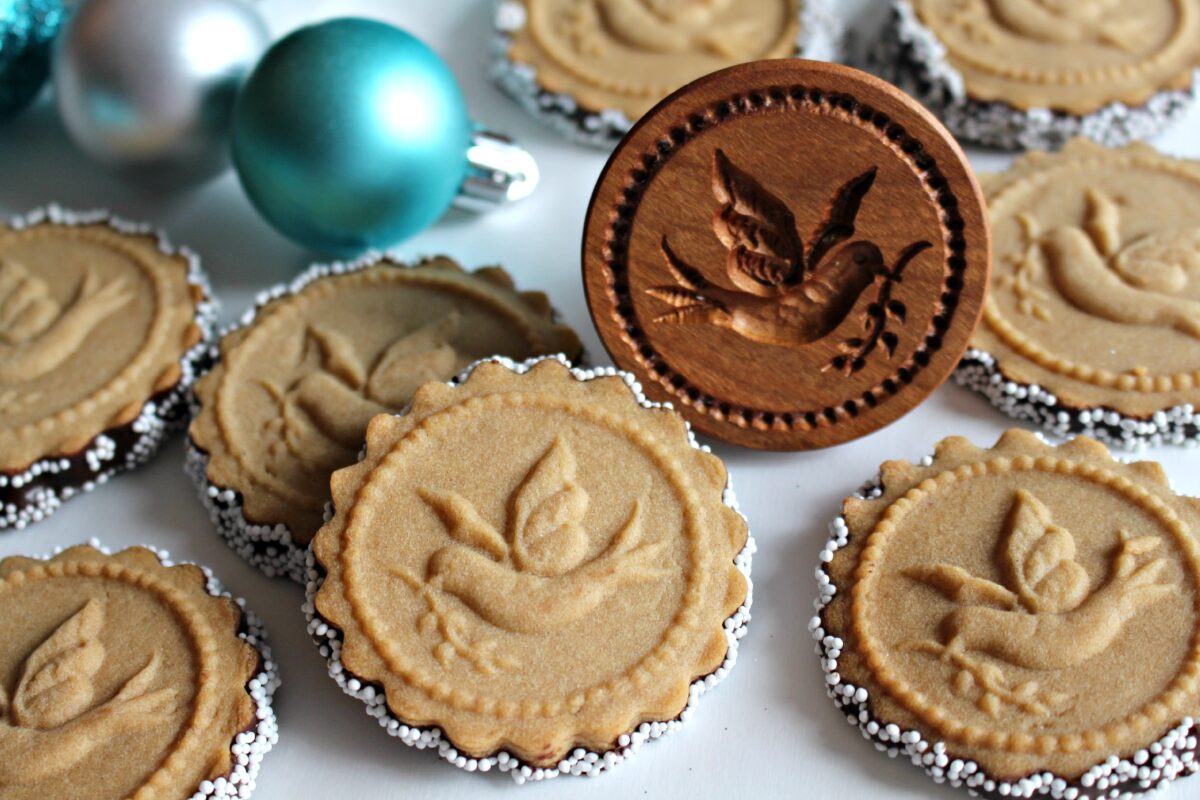
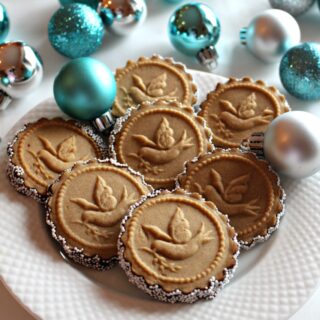
Chocolate dipped Honey Gingerbread Cookies are chewy cookies with lots of honey flavor warmed with cinnamon and ginger. These cookies are made with an easy-to-work-with dough that makes using a cookie stamp or mold a breeze!
Why you'll love this recipe
Chocolate dipped Honey Gingerbread Cookies are chewy cookies with lots of honey flavor warmed with cinnamon and ginger. These cookies are made with an easy-to-work-with dough that makes using a cookie stamp or mold a breeze!
Just like many things, using cookie molds turns out to be easy, once you know how. It helped a lot that I did my research and found a wonderful book by an expert to help me choose the right recipe for a cookie mold beginner.
Baking with Cookie Molds by Anne L. Watson is a must for anyone interested in creating molded and stamped cookies. (And possibly starting a new collection/hoard of cookie molds?) This book clearly explains the art of using cookie molds and provides lots of photos.
These Honey Gingerbread Cookies are my first attempt with cookie molds, and I am delighted with the results. I think I am hooked and you will be too.
Instructions
This is an overview of the instructions. The full instructions are in the recipe card below.
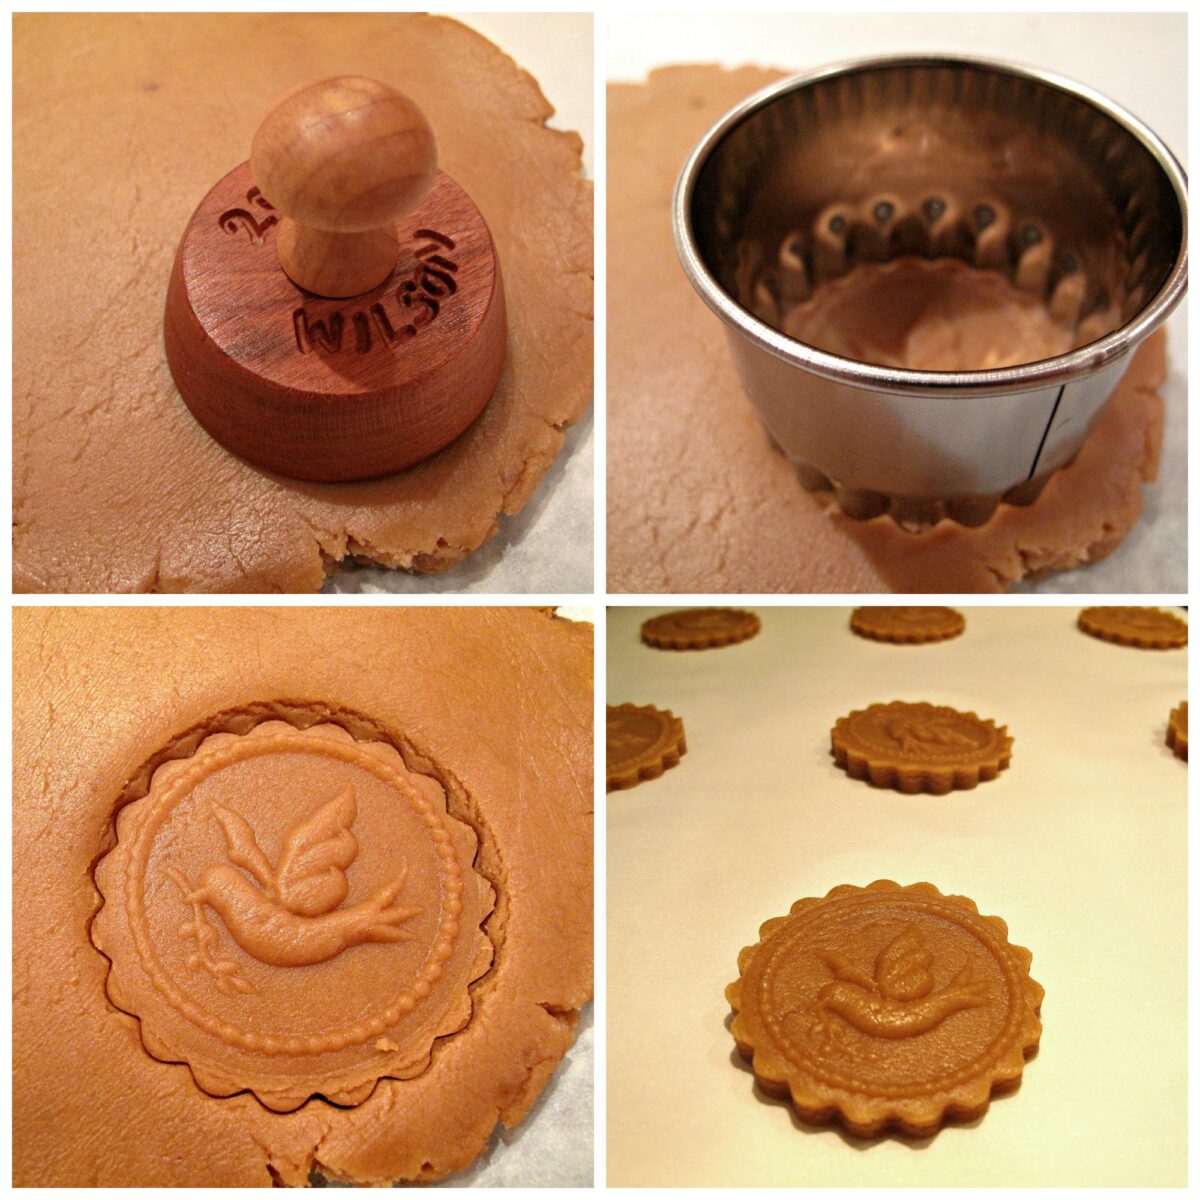
- Combine the ingredients to form the dough, then wrap the dough and refrigerate until firm but pliable.
- Roll out the dough to slightly thicker than ¼".
- One cookie at a time, press the cookie stamp/mold into the dough, then use a circle cookie cutter to cut out the design.
- Move the cookie onto a parchment lined cookie sheet before repeating for the next cookie. Place cookies at least 1" apart. Chill the cookies then bake until edges are golden.
Storage
Store in an airtight container at room temperature. Separate layers of cookies with wax paper. The flavor of these cookies improve with age for at least 2 weeks.
Would you like to save this?
Tips
- Several of the ingredients are chosen specifically to make cookie molding easier. Butter can be used in this recipe, however, margarine (due to its higher melting point) makes the dough easier to work with because it stays firm longer without needing to be re-chilled.
- The use of a liquid sweetener, in this case honey, helps with unmolding the cookies so that the dough doesn't stick to the cookie stamp.
- Roll out the dough slightly thicker than the desired cookie thickness. Pressing down with the stamp thins the cookie. These cookies don't rise in the oven which helps preserve the impression from the cookie stamp.
- Complete the cookies one at a time. Pressing the stamp onto the dough and cutting out the cookie, moves the dough and could distort other stamped images.
- Don't skip chilling the dough before and after creating the cookies. The chilling periods are essential for successfully making crisp images that remain clear throughout baking.
Related recipes
Apple Cider Stamped Cookies are another delicious cookie made with cookie stamps. The spiced apple flavor is perfect for fall.
Marzipan Springerle Candy is made with a cookie stamp and just one ingredient. Super easy and super tasty.
Gingerbread Pirate Cookies are cutout with a gingerbread boy cookie cutter and are decorated to look the pirate cookies in a children's picture book. This fabulous gingerbread doesn't spread and keeps all the details of a cutout shape while baking.
Another soft, chewy gingerbread cookie recipe is used to make these show stopping Gingerbread Fall Leaf Cookies.
For a quick and easy cookie full of spiced gingerbread flavor, try Gingerbread Spice Cookies that start with a cake mix!
Ready to bake? Join the free membership group to get new recipes and a newsletter delivered to your inbox! You can also stay in touch on Facebook, Pinterest, and Instagram. I'd love to stay in touch!
Honey Gingerbread Cookies
Ingredients
- 1 cup unsalted margarine
- 1 large egg beaten
- ½ cup honey
- 1 tablespoon milk
- 1 teaspoon vanilla extract
- ½ cup brown sugar packed
- 2 teaspoons cinnamon
- ¾- 1 teaspoon ginger
- ¼ teaspoon salt omit if salted margarine is used
- 4 ½ cups all-purpose flour
Decorating
- 2 cups melting chocolate
- ½ cup nonpareil sprinkles
Instructions
- In a small bowl, melt the margarine in the microwave. Cool slightly.
- In a large bowl, mix together the beaten egg, honey, milk, and vanilla.
- In a medium bowl, stir to combine the brown sugar, cinnamon, ginger, and salt. Beat into the egg mixture.
- Slowly mix in the melted margarine.
- Gradually add in the flour, just until the dough is a solid kneading consistency. Knead the dough, adding more flour as needed, to form a soft, slightly sticky dough.
- Wrap the dough in plastic wrap and refrigerate until firm but pliable (about 30 minutes).
- When ready to bake, preheat oven to 350° F. Line a baking sheet with parchment paper.
- Work with one half of the dough and keep the other half refrigerated until needed. Roll out the dough, between two sheets of plastic wrap or parchment paper, to slightly thicker than ¼".
- One cookie at a time, press the cookie stamp/mold into the dough, then use a circle cookie cutter to cut out the design. Move the cookie onto the prepared cookie sheet before repeating for the next cookie. Place cookies at least 1" apart on the cookie sheet.
- When the baking sheet is full, refrigerate for 15 minutes, then bake for 10-12 minutes until the bottom edges turn golden.
- Cool for 10 minutes on the baking sheet before transferring to a wire rack to cool completely.
- FOR OPTIONAL DECORATING WITH CHOCOLATE AND SPRINKLES: Line several rimmed baking sheets with wax paper. The baking sheets need to be rimmed to contain the excess sprinkles that do not stick to the cookies.
- In a bowl wider than the cookies, melt the chocolate in the microwave at 50% power for one minute. Stir. Continue to microwave for ten second intervals until all of the chocolate is melted.
- Place a cookie on to the chocolate to coat the bottom. Remove the cookie using 2 forks or a spatula, and place on the prepared lined baking sheet. Immediately sprinkle nonpareils onto the melted chocolate on the sides of the cookie.
- When about 6 cookies have been completed, put the baking sheet into the refrigerator for 10-15 minutes to set the melted chocolate.
- Store in an airtight container at room temperature. Separate layers of cookies with wax paper. The flavor of these cookies improve with age for at least 2 weeks.
Notes
Nutrition
First published December 16, 2015. Last updated October 9, 2024. Updated for additional information and better reader experience.


Angel
Hello, I am wondering if this recipe would work with a cast iron Gingerbread House mold? We inherited this amazing Cast Iron Mold but don't have a recipe. So I have been trying to find one that is as true to the old time recipes as possible that would work with the mold. Do you think this would work?
Wendy Sondov
Hi, I'm a beginner at molding cookies and don't have an answer for your interesting question, however, I do know where you can find out! There is a wonderful Facebook group called Molded Cookies of the World filled with kind and generous bakers who are happy to share their knowledge. There is a file section in that group full of recommended recipes. Join the group, post a photo of your mold (I can't wait to see it!) and ask your question there. That said, I do have a cast iron Nordicware shortbread pan, so I know that shortbread works in cast iron. Best wishes for your successful gingerbread house baking!
Kristen Dubenion-Smith
I used butter in the place of margarine and they worked great! But my cookies are very pale and unappetizing looking. Did you use dark brown sugar? I used light. I was making these to sell and while they kept their shape well, my baked dough looks anemic. How do I get mine to be that lovely honey/caramel color? The raw dough is a beautiful caramel color and I was so hopeful!
Wendy Sondov
I remember these as being light in color, but yes, I do use dark brown sugar. There is a recipe for molded gingerbread from the "Tartine" cookbook that was adapted for an article in the Wall Street Journal. It's very popular with the Molded Cookies of the World group on Facebook (I highly recommend joining. There are very knowledgeable cookie mold bakers who are so kind and helpful to beginners like me.) The recipe uses mostly molasses and contains cocoa powder for dark color. The gingerbread is delicious, I personally found it difficult to work with (sticky). Maybe you could experiment combining the 2 recipes? https://www.food.com/recipe/tartines-soft-glazed-gingerbread-491511
Kristen Dubenion-Smith
Thanks for your reply!! My cookies were almost the same color as my sugar cookies! I was surprised how pale they got considering my dough was a gorgeous caramel color. Your cookies turned out great! Thanks for the tips, I’m on a mission 😊
Barb
Hi There, in one of the comments you say that margarine comes in sticks. So I'm assuming that you're using HARD margarine and not the SOFT margarine found in Tubs.
Am I assuming correctly?
Thanks, can't wait to try this recipe with the new stamps.
Wendy Sondov
Yes, Barb, you are correct. I used stick margarine. This recipe is only minimally adapted from a recipe written by a true cookie mold expert (Anne Watson) and she believes that dough made with margarine releases better from molds. I was a complete beginner at cookie molding when I used this recipe the first time. I was delighted with the results that are shown in the post images. I think that some tubs of margarine contain more water and/or less fat than in the sticks which could change the outcome of the cookie. Have fun with your new cookie stamps!
Kristen
Can I use butter instead of margarine? I make soft gingerbread cookies in my molds at Christmas and am very good at getting them out of the molds (I use butter in the recipe so I have lots of tricks up my sleeve in how to, easily, release them from the molds!) But this is a different recipe and I wasn’t sure if margarine was a necessity. I’m an organic baker so margarine isn’t an option for me. Thanks!
Wendy Sondov
I think you could use butter, but haven't tried the recipe that way. The recipe was developed by Anne Watson, who is a cookie mold expert. She specifically uses margarine because she says it makes easier release from molds. This was the first molded cookie I had ever made, so I followed her instructions carefully and was quite pleased with the results. However, I see no reason why you couldn't try using butter plus whatever release tricks help. 🙂 I do want to note that this is a very mild gingerbread that tastes like honey and a bit of ginger. I recommend increasing the spices if you want a spicy cookie.
Heather
What do you try ink about replacing some of the honey with molasses to give it more of a gingerbread flavor? Would it still be sweet enough?
Wendy Sondov
Hi, Heather. I haven't tried this substitution so I can only offer guesses. This recipe is adapted from one specifically formulated to work well with cookie stamps and molds. Honey is one of the ingredients that is supposed to help the dough release easily from the stamp or mold. I don't know if molasses will effect that in this specific recipe. I do think that molasses will be just as sweet, but with a different flavor profile. There are definitely recipes out there for gingerbread with molasses that works with molds.
Kata
Hi, this isn't what i was hoping for. I think it needs at least 2 eggs (or one from a duck). Another option is far more less flour.
Wendy Sondov
Hi Kata. This recipe is meant to be used with cookie stamps and for that reason has limited ingredients that would cause the cookie to rise and remove the design. As I don't know what you are looking for, I can't make any further suggestions. I hope you find a recipe that meets your needs.
Rachel
HI Wendy! I know you mentioned margarin only, but if i grease with spray or oil as some of the Russian cookie mold recipes give as an option for releasing the dough (wet release method) do you think this will be ok? Just wondering HOW difficult the butter may be...and if you have actually tried the recipe with the butter. But i can always cut out the dough, too. Guess i should just "give it a go? as the Brits say! Thanks
Wendy Sondov
Hi, Rachel! Though I haven't tried this recipe with butter, I have used other recipes with my cookie stamps and molds that call for butter and they worked fine. Here, was quoting the information from Anne Watson, who really is an expert on cookie molds and from whom I adapted this recipe. I say that it's well worth giving butter a go! If you do, I'd love to hear how it went! (here or email wendy@themondaybox.com) Happy baking!
Louise Catherall
I really enjoyed the flavour, but my cookies were dry. Also, should there be baking baking soda or baking powder added to the ingredients?
Wendy Sondov
Hi, Louis. I am sorry to hear that your cookies were dry. Either roll them a bit thicker or cook them a bit less. The lack of rising agent is on purpose. This recipe was developed especially for use with a cookie stamp or mold. Rising agents would cause the cookies to puff and ruin the design. i hope this helps!
Marsh
No taste and dry
Wendy Sondov
All cookies are dry if you bake them too long. If you bake your cookies with this recipe for less time, they won't be dry. If you prefer more spice, add it.
Carol jeske
I tried this recipe and after they cooled and I tried them, I thought the were not too tasty. However! I put them in a zip lock bag snd tried them again and the flavor had developed and they were really good! I've found this to be true of less sweet, spicy European cookies. They improve a great deal with some age. I'd make them again!
Wendy Sondov
Hi, Carol. I think you make a very good point which I am going to update within the post and recipe card. Gingerbread and other European spice cookies always improve with age as the spices ripen. I am glad that you gave these cookies the time to reach their potential!
Mahpara
I followed this recipe exactly and the dough was incredibly crumbly. No rolling and cutting possible at all. I think maybe butter would have been good. Or a cup less of flour than what the recipe calls for. I’m not even sure how to salvage all this crumbly cookie dough 🙁
Wendy Sondov
Hi. As I use this exact recipe frequently, I can't be sure what caused your dough to be crumbly. Overly dry dough is often caused by too much flour. If you scoop your flour into the measuring cup, the flour gets compacted and you end up with too much. Flour should be spooned into measuring cups. Weighing would be even more reliable, but many people don't use kitchen scales. The only other thing I can think of is to check that you used the correct amount of margarine. One cup of margarine (in the U.S.) is two sticks. Adding a bit more milk should bring your dough together.
Dee
Hi! I just discovered this cookie recipe and noticed that in your photos, it looked as if the bottoms of the cookies were dipped in something and covered with white sprinkles. Could you tell me what it was dipped in, and the steps on how to achieve this process without breaking or disfiguring the mold?
Thank you in advance!
Wendy Sondov
Hi, Dee! Stamping and molding cookies is so much fun with such beautiful results. I find the history behind the molds fascinating and collecting the molds has become a bit addicting. I hope you enjoy working with this easy to use dough. 🙂 In the recipe card at the bottom of the page, I give instructions to dip the bottoms of the cookies in melted chocolate and to then sprinkle the edges with nonpareils. Its not at all necessary, but I like the way it dressed up the already beautiful cookies.