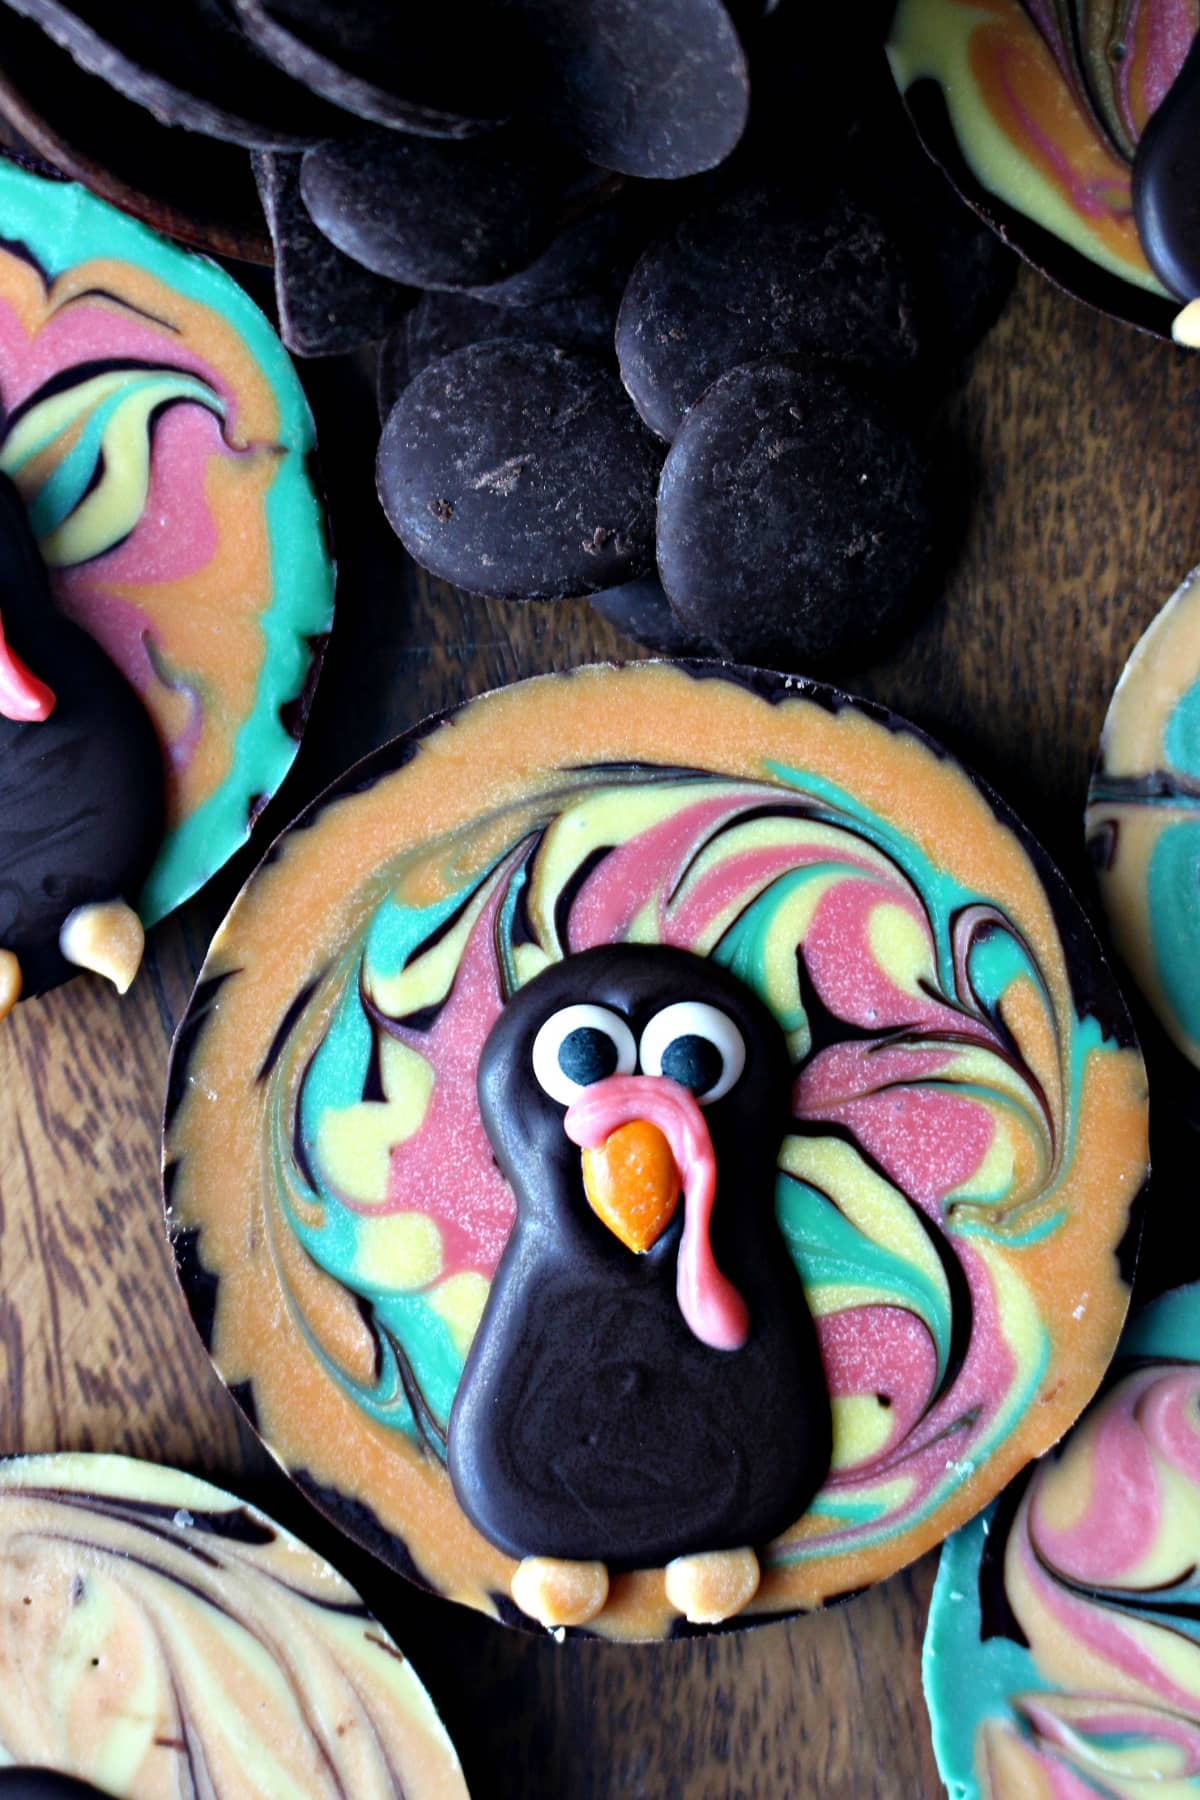
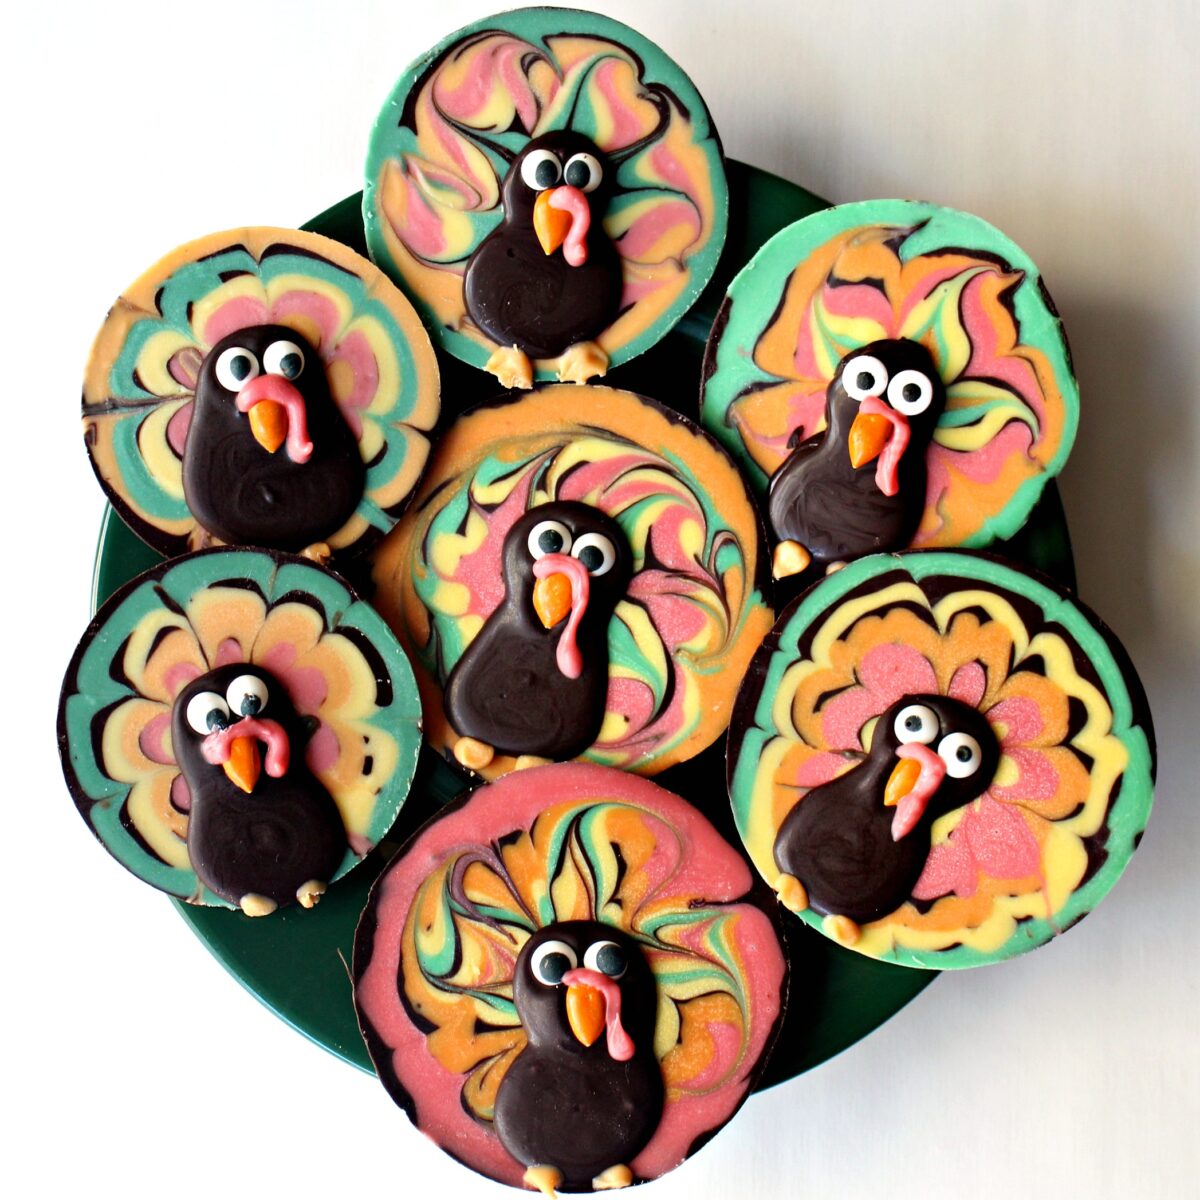
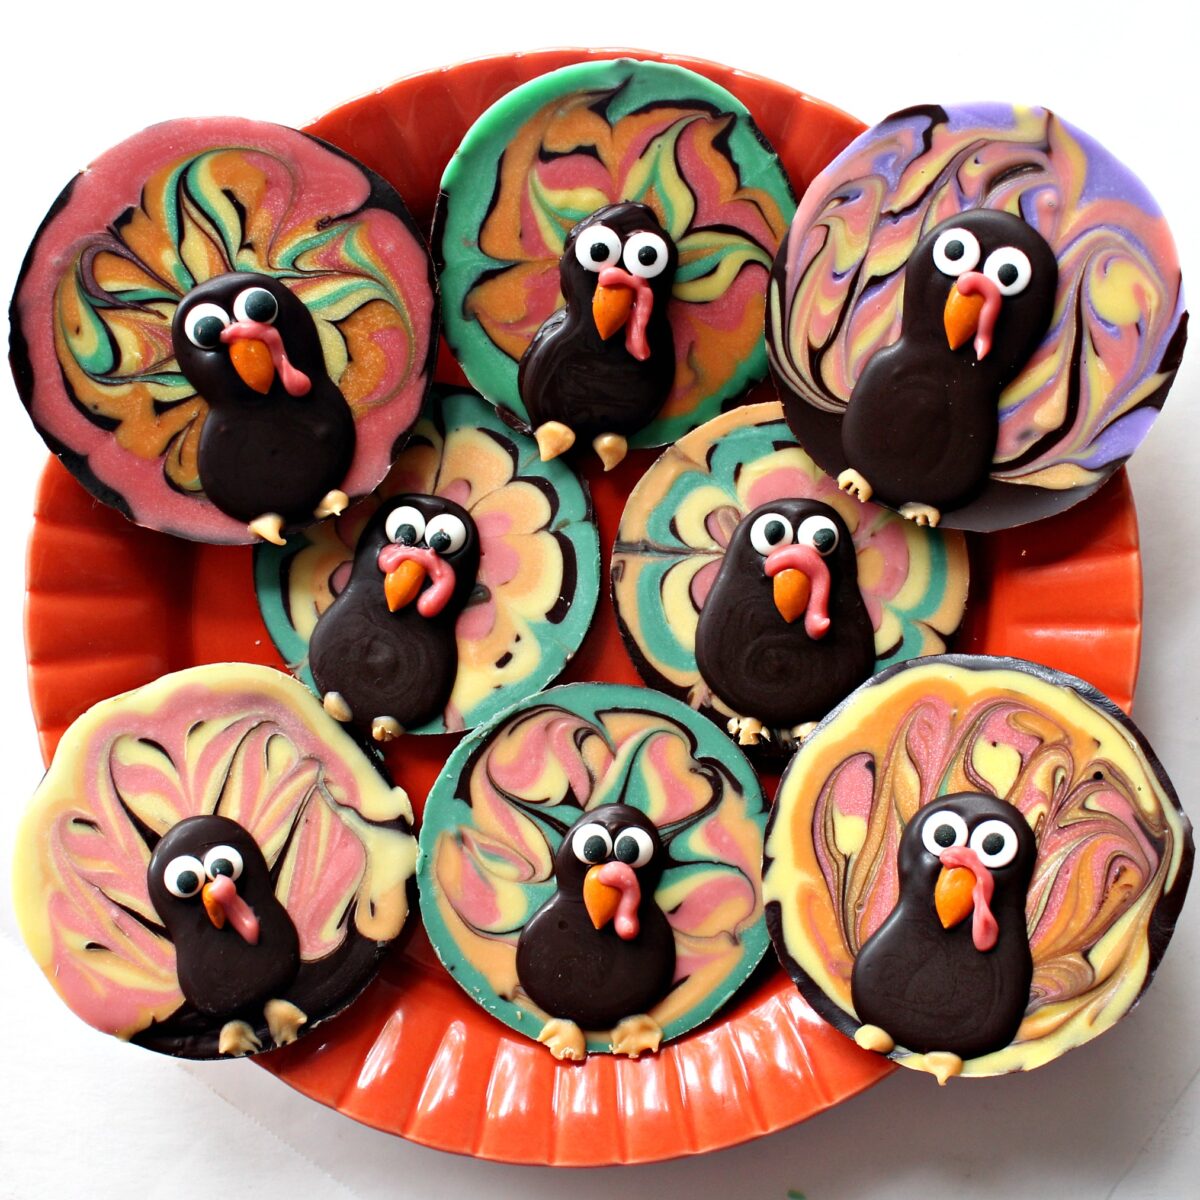
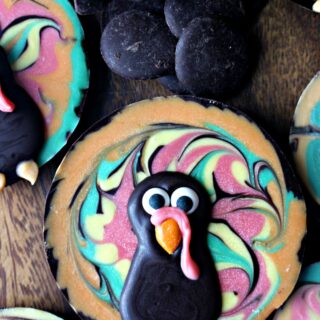
Colorful Thanksgiving Chocolate Turkeys spread happiness wherever they appear! These easy and fun to make treats are the perfect addition to your Thanksgiving celebration and make a thoughtful Thanksgiving gift.
Why you'll love this recipe
- No special tools, molds, or decorating talent needed.
- Delicious and eye catching treats for care packages, place settings, or dessert.
- Stays fresh for several weeks.
Thanksgiving Chocolate Turkeys are more of a craft project than a recipe. The eye-catching results don't require special talent or tools and are fun and easy to create.
Molds aren't necessary for this project. Any non-stick baking pan with shallow circular cups, like a muffin top pan, can be used.
A toothpick is the only tool used to create the swirling designs.
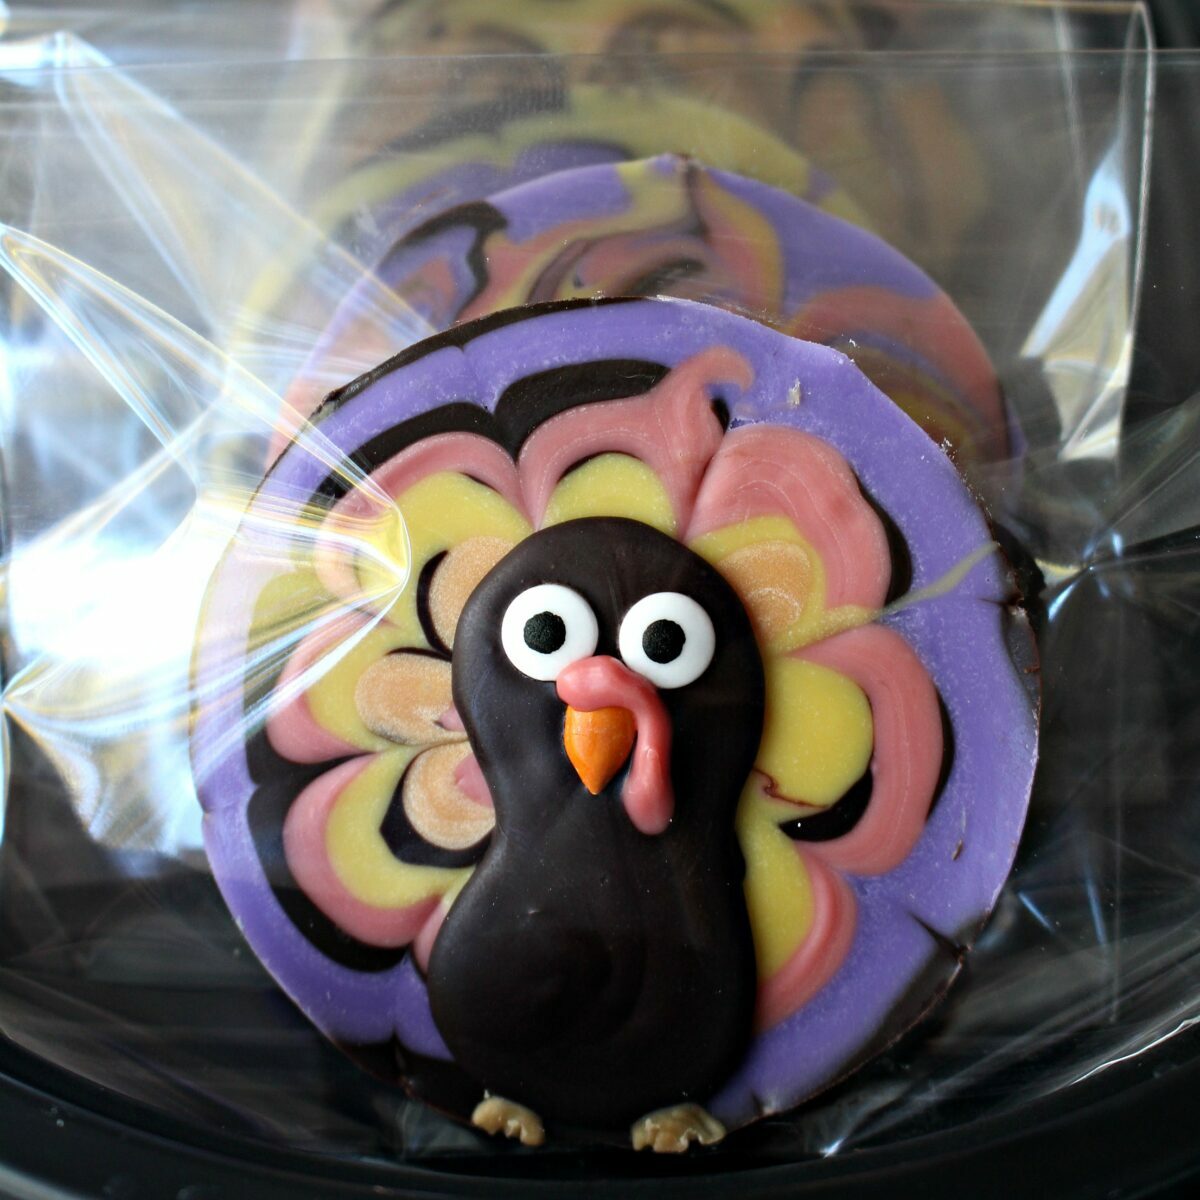
Pop each turkey into a shiny cellophane bag (I love the self-sealing ones) and they are ready to impress on your holiday table or in a care package. Chocolate turkeys ship well in cool weather, staying fresh and delicious for several weeks.
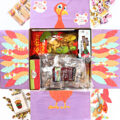
Imagine a college student's smile or the grins on deployed military after peering into a care package, far from home, and discovering festive treats to sweeten their holiday. Be sure to make extras though, to share at your Thanksgiving table!
Instructions
This is an overview of the instructions. The full recipe is in the recipe card below.
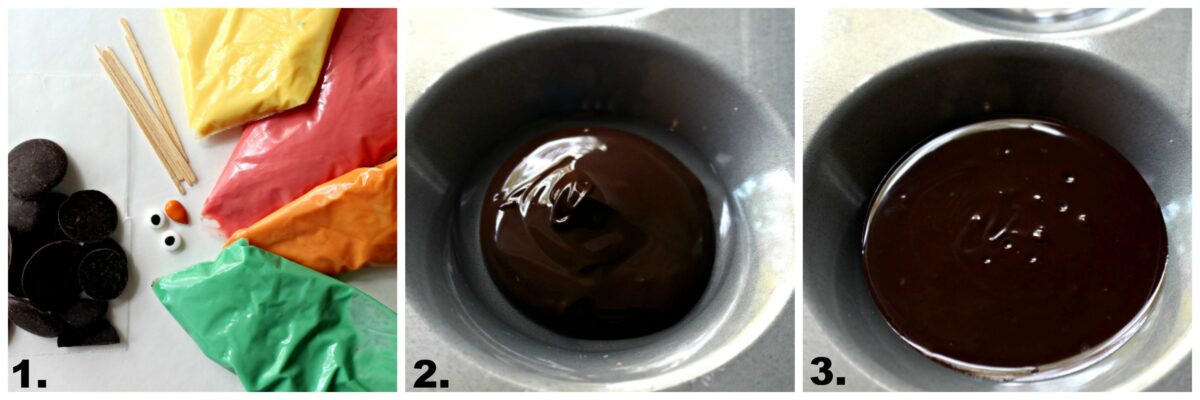
- Melt the white chocolate discs. Divide the white chocolate into small bowls, one for each color. Add a few drops of candy coloring oil to each bowl. Stir then pour each color into a ziplock bag.
- Melt ½ cup of the dark chocolate until smooth. Spoon the melted chocolate into four of the circle molds.
- Tap the pan on the counter to distribute the chocolate evenly.
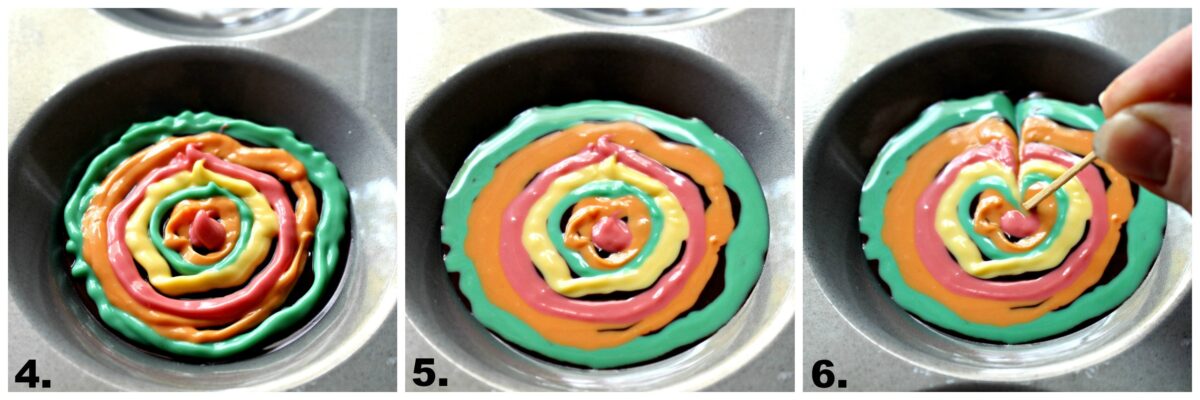
- Cut off a small piece of a bottom corner of each ziplock bag. Pipe circles, covering the top of the dark chocolate.
- Tap the pan on the counter to flatten the surface.
- Drag the tip of a toothpick into the center from the outer edge.
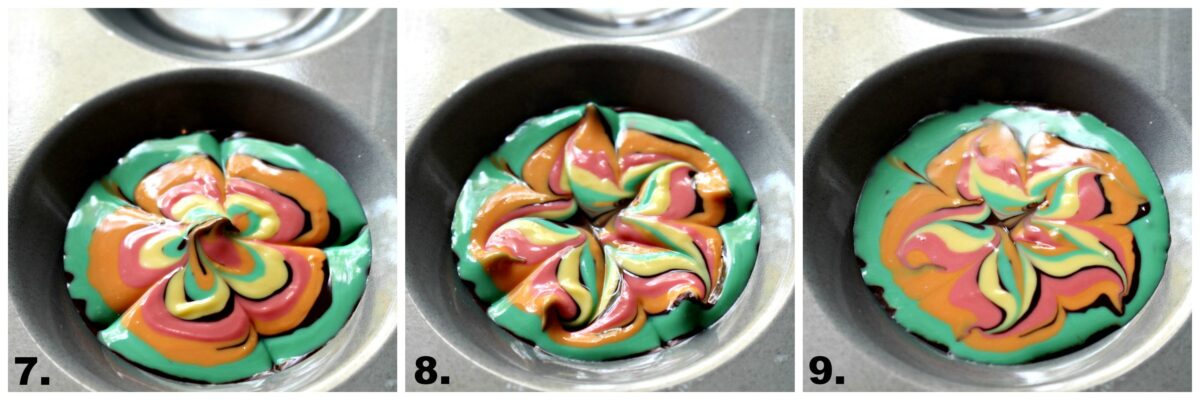
- Drag into the center from 5 or more spots.
- For each section created in step 7, drag the toothpick tip from the center to the outer edge.
- Tap the pan on the counter to flatten the surface. Repeat until all 4 molds are complete. Refrigerate until set.
Would you like to save this?
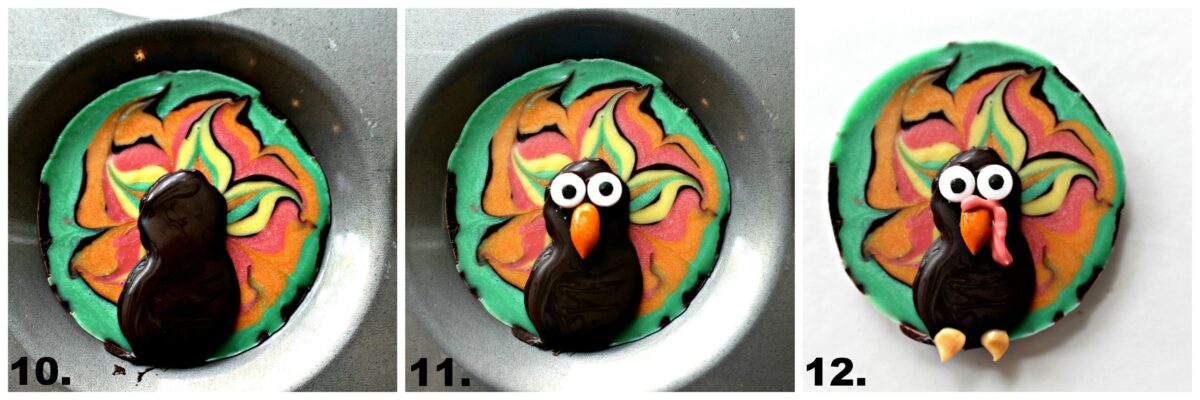
- Melt ¼ cup of dark chocolate discs. Pour into a small ziplock bag. Cut off a small piece of a bottom corner of the bag. Pipe the turkey head and body (like a "figure 8") onto each circle mold.
- Add the candy eyes and nose. Refrigerate until set.
- When set, turn the pan over and gently pop the turkeys out. Add the feet and waddle (red part on beak). Set completely before packaging.
Storage
Wrapped or bagged chocolate bark can be stored at room temperature for up to 2 weeks.
Tips
- Work in small batches of 2-4 turkeys at a time, depending on how fast you work. If the chocolate gets too cool and begins to set while you are working, it won't flatten out into a smooth surface.
- Chocolate discs can be remelted several times without effecting the look of the finished product or the texture and flavor of the chocolate.
- The colored chocolate will need to be re-melted between batches. Melt white chocolate very carefully. It overcooks easily. If the white chocolate overcooks and gets lumpy, it can sometimes be saved by adding a tiny bit of oil and mixing until smooth again.
- Use oil based candy coloring only to color white chocolate. Do NOT try using regular food coloring. The white chocolate will turn into cement.
- For best gourmet chocolate flavor, colored white chocolate is recommended. However, colored candy melts can be used for Chocolate Turkeys using the same method.
Related recipes
Gingerbread Fall Leaves are delicious chewy gingerbread cookies iced and painted in beautiful fall colors.
Bring the fall season to your Thanksgiving dinner table with Thanksgiving Sugar Cookies. Use this easy decorating method that even kids can enjoy creating.
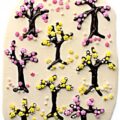
Thanksgiving White Chocolate Bark is a sweet treat that makes a great hostess gift or adds a special touch as an edible place setting decoration.
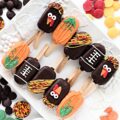
Thanksgiving Peanut Chews Candy Pops are deliciously chewy treats decorated with adorable designs.
Use this super simple Marzipan Candy recipe to make fabulous "gourmet" treats! Use marzipan in baking or for showstopping candy treats.
Thanksgiving Chocolate Turkeys
Equipment
- Small ziplock bags (1 per color)
- toothpicks
Ingredients
- 2 ¼ cups chocolate discs
- 2 cups white chocolate discs
- Candy color oils
- 12 pairs candy eyes small sized Wilton eyes
- 12 orange candy coated sunflower seeds
Instructions
- In a microwave safe bowl, melt the white chocolate discs at 50% power for 1 minute. Stir gently. If all of the chocolate isn't melted, repeat microwaving for 10 second intervals ( at 50% power) then stirring until smooth.
- Divide the white chocolate into small bowls, one for each color. Add a few drops of candy coloring oil to each bowl. Stir until color is uniform. Pour each color into a separate ziplock bag.
- In a small microwave safe bowl, melt ½ cup of the dark chocolate discs at 50% power for one minute. Stir gently until smooth. Return to microwave if necessary for 10 second intervals. Spoon 1 rounded tablespoon of chocolate into four of the circle molds (or muffin top cups).
- Tap the pan on the counter to distribute the chocolate evenly, creating a flat top, and to bring any bubbles to the surface.
- For each bag of colored chocolate, cut off a small piece of a bottom corner. Pipe a series of circles, covering the top of the dark chocolate.
- Tap the pan on the counter to flatten the surface.
- Use a toothpick to draw into the center from the outer edge.
- Repeat drawing lines into the center from 5 or more spots on the outer edge. Wipe off the toothpick after each line. If you wish to use this scalloped design for the turkey feathers move on to step 9. If you want a feather design use step 8.
- For each section drawn in step 7, use a toothpick to create a line from the center to the outer edge. Wipe off the toothpick after each line.
- Tap the pan on the counter to flatten the surface. Repeat until all 4 molds are complete. Refrigerate for 10-15 minutes until set.
- In a microwave safe bowl, melt ¼ cup of dark chocolate discs at 50% power for 1 minute. Stir. Pour melted chocolate into a small ziplock bag. Cut off a small piece of a bottom corner of the bag, and pipe the turkey head and body (like a "figure 8") onto each circle mold.
- Add the candy eyes and nose and return to the refrigerator for 5-10 minutes until set.
- When set, turn the pan/mold over and gently pop the turkeys out. Add the feet and snood (red part on beak). Allow details to set completely before packaging.
Notes
- Work in small batches of 2-4 turkeys at a time, depending on how fast you work. If the chocolate gets too cool and begins to set while you are working, it won't flatten out into a smooth surface.
- Chocolate melting discs can be re-melted several times without effecting the look of the finished product or the texture and flavor of the chocolate.
- The colored chocolate will need to be re-melted between batches. Melt white chocolate very carefully. It overcooks easily. If the white chocolate overcooks and gets lumpy, it can sometimes be saved by adding a tiny bit of oil and mixing until smooth again.
- Do NOT try using regular food coloring. The white chocolate will turn into cement.
Nutrition
First Published: November 9, 2016. Last Updated: November 5, 2024. Updated for additional information and better reader experience.


T'onna | Sew Crafty Crochet
These cookies are so pretty and perfect for Thanksgiving! Thanks for sharing at the Snickerdoodle Create Bake Make Party!!
The Monday Box
Thank you, T'onna! I wrapped mine in cellophane bags with a ribbon and placed one at each place setting. Starting dinner with chocolate should be a Thanksgiving rule. 😉
Amy
These turkeys are the cutest. Found you on Wonderful Wednesday Blog Hop.
Carrie @ Carrie's Home Cooking
Thanks so much for sharing with us at Whisk It Wednesday. Have a momentous week and come back to see us real soon! ~Carrie
The Monday Box
Thanks for hosting Whisk It Wednesday! Have a great week. 🙂
April J Harris
These really are a wonderful gift for anyone who is away at Thanksgiving, Wendy! Your Chocolate Bark Thanksgiving Turkeys are so cute, and your step by step instructions are fantastic. Thank you so much for sharing, and for being a part of the Hearth and Soul Link party.
Miz Helen
Hi Wendy,
I just pinned you adorable Thanksgiving Turkeys! Thanks so much for sharing your special post with us at Full Plate Thursday. Have a great weekend and come back to see us real soon!
Miz Helen
Carlee
These are just as cute as can be!
Diana Rambles
These are so cute!
Reeni
These are so stinking adorable! I love how you made their colorful feathers and their little "snoots" - so realistic. I bet kids would have fun making them too.
Chris Scheuer
So darn cute and very clever Wendy. You make the most fun treats!
Rony Jahid
These are so funny & awesome chocolate bark Wendy! After many days later you post nice recipe. Very cool idea, so adorable these turkeys.
Stephanie | Worth Whisking
Wendy, these turkeys are so awesome! What a neat idea and super creative!! I'd love to make these if I can find the time. How fun!
saltandserenity
Those turkeys are adorable! (Not an adjective normally associated with turkeys).
Sweet beyond belief.
Tricia @ Saving room for dessert
So beautiful and creative and just plain old adorable! You are an artist Wendy! Pinned!