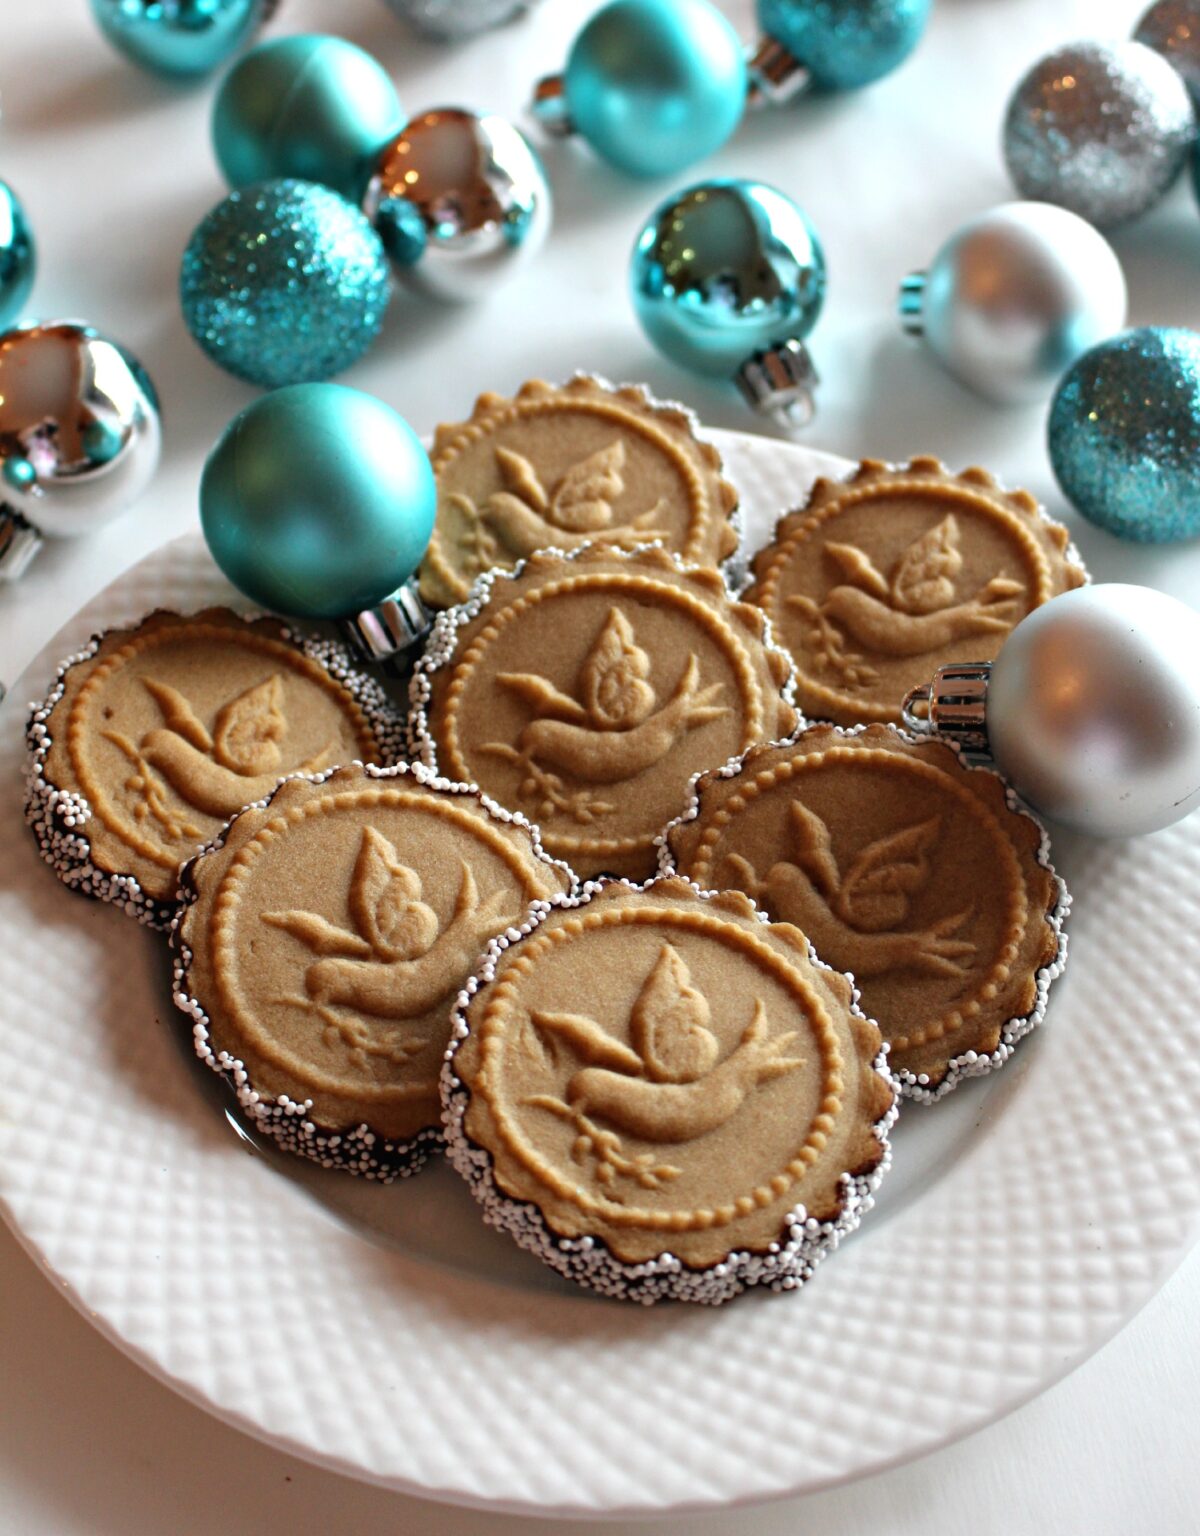
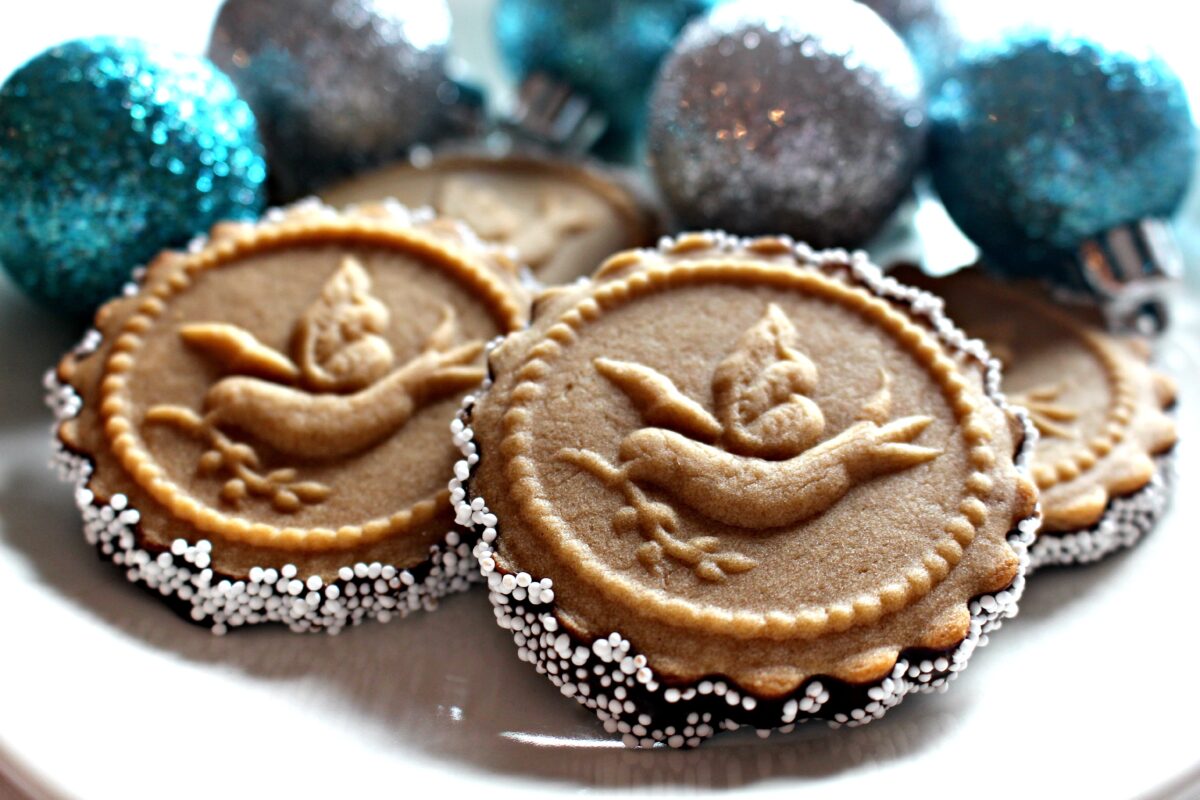
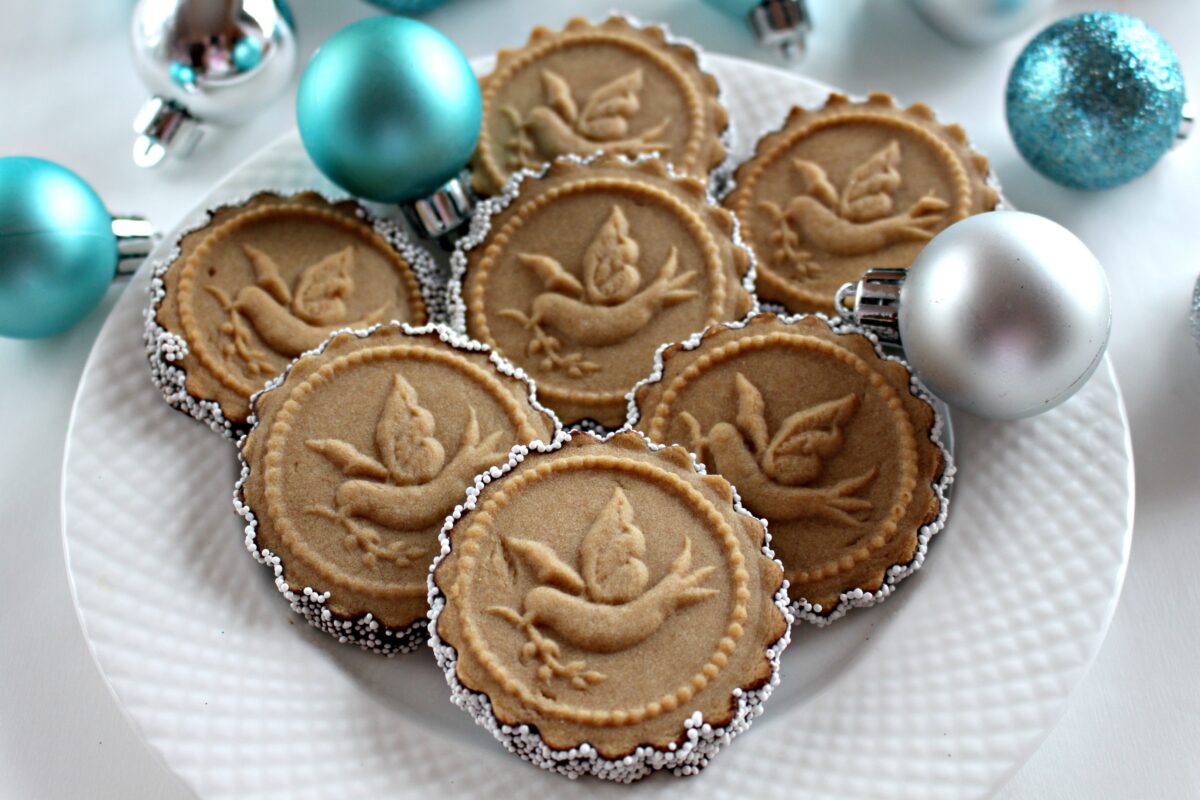
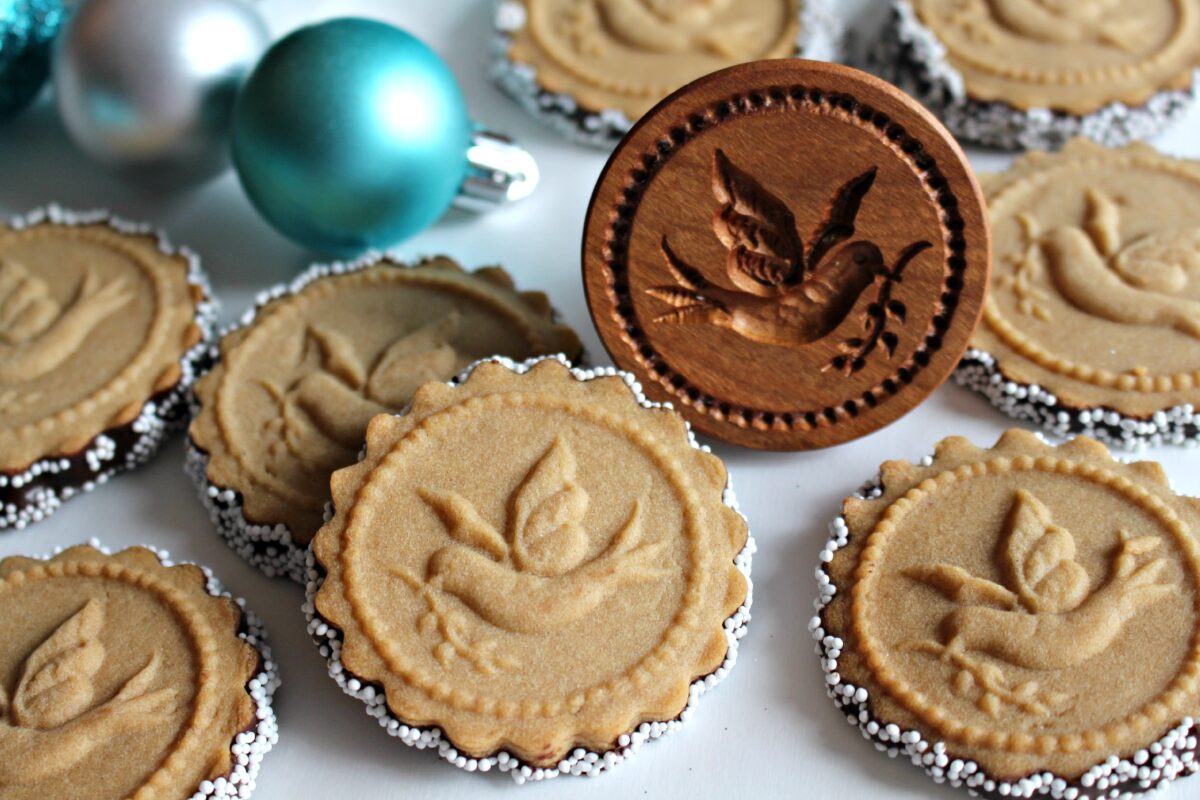
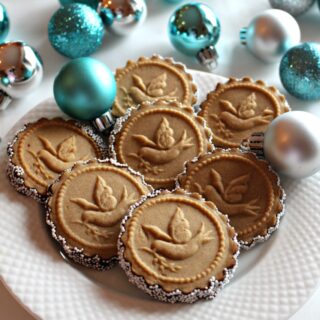
Chocolate dipped Honey Gingerbread Cookies are chewy cookies with lots of honey flavor warmed with cinnamon and ginger. These cookies are made with an easy-to-work-with dough that makes using a cookie stamp or mold a breeze!
Why you'll love this recipe
Chocolate dipped Honey Gingerbread Cookies are chewy cookies with lots of honey flavor warmed with cinnamon and ginger. These cookies are made with an easy-to-work-with dough that makes using a cookie stamp or mold a breeze!
Just like many things, using cookie molds turns out to be easy, once you know how. It helped a lot that I did my research and found a wonderful book by an expert to help me choose the right recipe for a cookie mold beginner.
Baking with Cookie Molds by Anne L. Watson is a must for anyone interested in creating molded and stamped cookies. (And possibly starting a new collection/hoard of cookie molds?) This book clearly explains the art of using cookie molds and provides lots of photos.
These Honey Gingerbread Cookies are my first attempt with cookie molds, and I am delighted with the results. I think I am hooked and you will be too.
Instructions
This is an overview of the instructions. The full instructions are in the recipe card below.
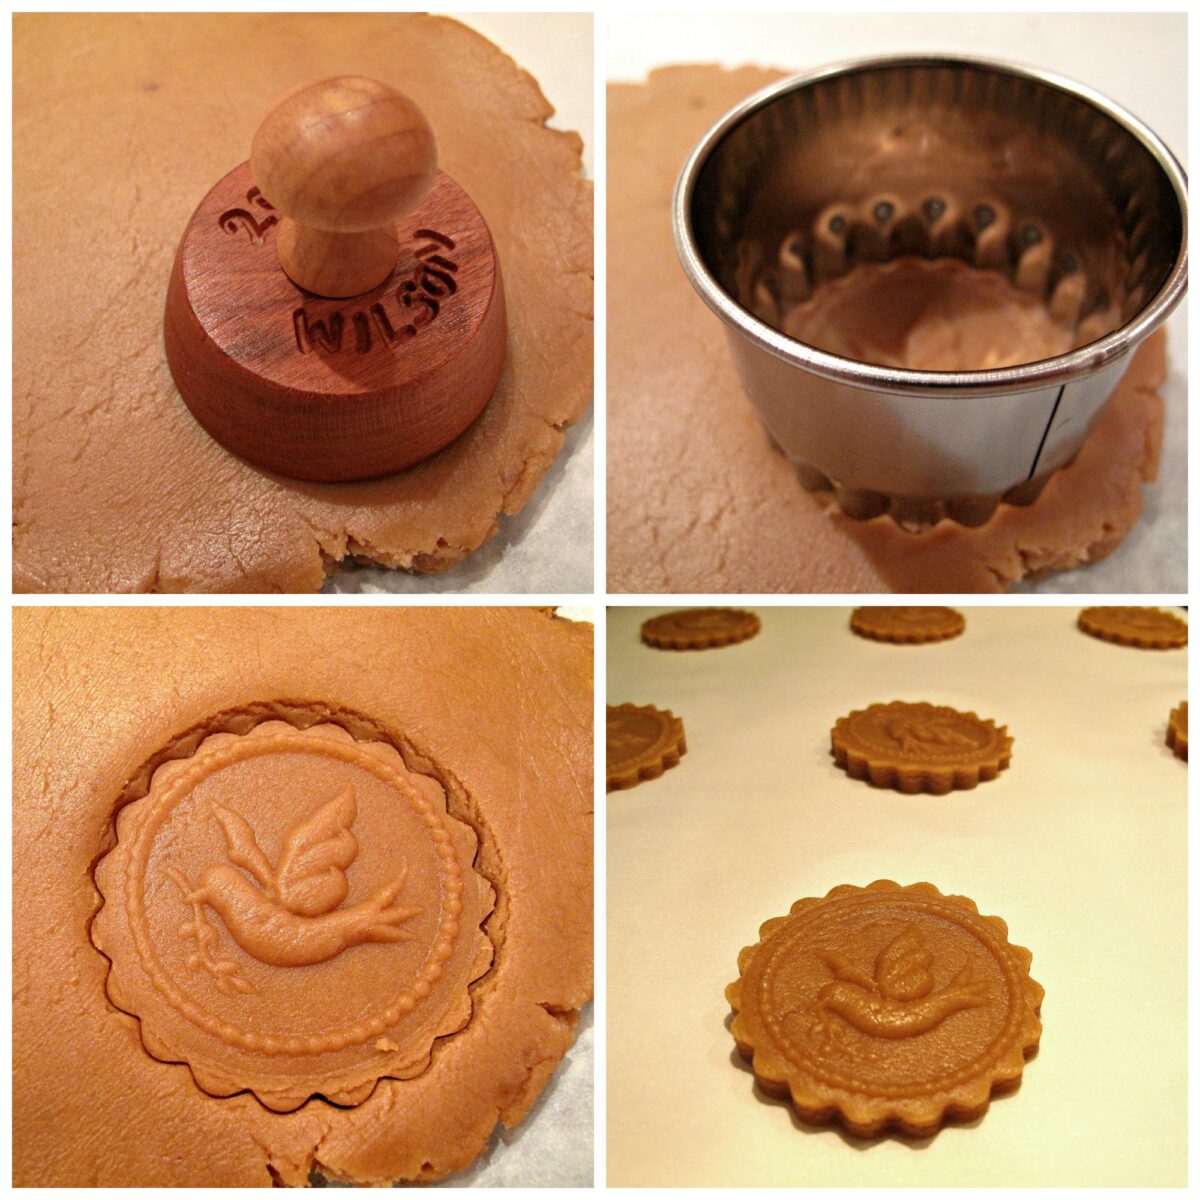
- Combine the ingredients to form the dough, then wrap the dough and refrigerate until firm but pliable.
- Roll out the dough to slightly thicker than ¼".
- One cookie at a time, press the cookie stamp/mold into the dough, then use a circle cookie cutter to cut out the design.
- Move the cookie onto a parchment lined cookie sheet before repeating for the next cookie. Place cookies at least 1" apart. Chill the cookies then bake until edges are golden.
Storage
Store in an airtight container at room temperature. Separate layers of cookies with wax paper. The flavor of these cookies improve with age for at least 2 weeks.
Would you like to save this?
Tips
- Several of the ingredients are chosen specifically to make cookie molding easier. Butter can be used in this recipe, however, margarine (due to its higher melting point) makes the dough easier to work with because it stays firm longer without needing to be re-chilled.
- The use of a liquid sweetener, in this case honey, helps with unmolding the cookies so that the dough doesn't stick to the cookie stamp.
- Roll out the dough slightly thicker than the desired cookie thickness. Pressing down with the stamp thins the cookie. These cookies don't rise in the oven which helps preserve the impression from the cookie stamp.
- Complete the cookies one at a time. Pressing the stamp onto the dough and cutting out the cookie, moves the dough and could distort other stamped images.
- Don't skip chilling the dough before and after creating the cookies. The chilling periods are essential for successfully making crisp images that remain clear throughout baking.
Related recipes
Apple Cider Stamped Cookies are another delicious cookie made with cookie stamps. The spiced apple flavor is perfect for fall.
Marzipan Springerle Candy is made with a cookie stamp and just one ingredient. Super easy and super tasty.
Gingerbread Pirate Cookies are cutout with a gingerbread boy cookie cutter and are decorated to look the pirate cookies in a children's picture book. This fabulous gingerbread doesn't spread and keeps all the details of a cutout shape while baking.
Another soft, chewy gingerbread cookie recipe is used to make these show stopping Gingerbread Fall Leaf Cookies.
For a quick and easy cookie full of spiced gingerbread flavor, try Gingerbread Spice Cookies that start with a cake mix!
Ready to bake? Join the free membership group to get new recipes and a newsletter delivered to your inbox! You can also stay in touch on Facebook, Pinterest, and Instagram. I'd love to stay in touch!
Honey Gingerbread Cookies
Ingredients
- 1 cup unsalted margarine
- 1 large egg beaten
- ½ cup honey
- 1 tablespoon milk
- 1 teaspoon vanilla extract
- ½ cup brown sugar packed
- 2 teaspoons cinnamon
- ¾- 1 teaspoon ginger
- ¼ teaspoon salt omit if salted margarine is used
- 4 ½ cups all-purpose flour
Decorating
- 2 cups melting chocolate
- ½ cup nonpareil sprinkles
Instructions
- In a small bowl, melt the margarine in the microwave. Cool slightly.
- In a large bowl, mix together the beaten egg, honey, milk, and vanilla.
- In a medium bowl, stir to combine the brown sugar, cinnamon, ginger, and salt. Beat into the egg mixture.
- Slowly mix in the melted margarine.
- Gradually add in the flour, just until the dough is a solid kneading consistency. Knead the dough, adding more flour as needed, to form a soft, slightly sticky dough.
- Wrap the dough in plastic wrap and refrigerate until firm but pliable (about 30 minutes).
- When ready to bake, preheat oven to 350° F. Line a baking sheet with parchment paper.
- Work with one half of the dough and keep the other half refrigerated until needed. Roll out the dough, between two sheets of plastic wrap or parchment paper, to slightly thicker than ¼".
- One cookie at a time, press the cookie stamp/mold into the dough, then use a circle cookie cutter to cut out the design. Move the cookie onto the prepared cookie sheet before repeating for the next cookie. Place cookies at least 1" apart on the cookie sheet.
- When the baking sheet is full, refrigerate for 15 minutes, then bake for 10-12 minutes until the bottom edges turn golden.
- Cool for 10 minutes on the baking sheet before transferring to a wire rack to cool completely.
- FOR OPTIONAL DECORATING WITH CHOCOLATE AND SPRINKLES: Line several rimmed baking sheets with wax paper. The baking sheets need to be rimmed to contain the excess sprinkles that do not stick to the cookies.
- In a bowl wider than the cookies, melt the chocolate in the microwave at 50% power for one minute. Stir. Continue to microwave for ten second intervals until all of the chocolate is melted.
- Place a cookie on to the chocolate to coat the bottom. Remove the cookie using 2 forks or a spatula, and place on the prepared lined baking sheet. Immediately sprinkle nonpareils onto the melted chocolate on the sides of the cookie.
- When about 6 cookies have been completed, put the baking sheet into the refrigerator for 10-15 minutes to set the melted chocolate.
- Store in an airtight container at room temperature. Separate layers of cookies with wax paper. The flavor of these cookies improve with age for at least 2 weeks.
Notes
Nutrition
First published December 16, 2015. Last updated October 9, 2024. Updated for additional information and better reader experience.


Cecily Krehbiel
Simply delicious! My first attempt at using my cookie stamps was with this recipe. It worked out very well. Thank you! I especially loved that honey was the main sweetener since my stamps are honeybee themed.
Wendy Sondov
I am so glad you loved these cookies! These cookies were my first cookie stamp recipe too. 🙂 I have to warn you. Cookie stamps are so much fun and the cookies are so pretty, that it is pretty easy to become a cookie stamp fanatic! I highly recommend the "Baking with Molds" book (she has a second one now too) and you have to take a look at cookiemold.com I have met the gentleman who makes the molds, and he is a true artisan. The molds are surprisingly affordable. Happy baking!
Katie
These are delicious! Mellow flavor for a gingerbread, which makes them perfect for the chocolate dip (and I prefer it anyway). Yum!
Wendy Sondov
Hi, Katie. I'm glad you are enjoying these cookies. I agree that the gingerbread flavor is mellow,that's the way I like it too, but can always be increased if someone prefers more spice. Did you use a cookie stamp on yours? I had read that honey in the dough helps keep the dough from sticking and I found that to be true with this recipe.
D
Did anyone actually try making these cookies, they do not have much flavor at all. I threw out the rest of the cookie dough, I did not finish making them, not good at all.
The Monday Box
I'm sorry you didn't like these cookies, but I can assure you that they have been tried and enjoyed by others. This recipe is especially formulated for use with cookie molds or stamps. The consistency of the dough makes it possible to create a raised image without the dough sticking to the mold and without the image disappearing during baking. Rather than throw out dough, I suggest adding more spices if the level of spices is not to your taste. There are 4 teaspoons of spice and flavoring (quite a bit) in the recipe.
Jan Thomas
I could eat these all day! Perfect gifts to make for the holidays! thanks for sharing on our gifts from the kitchen link up for Celebrate 365 Blog Party
Jan
officially too pretty to eat! Thanks for sharing at Celebrate365 Cookie Exchange!
The Monday Box
Thanks so much, Jan! I was so happy with this recipe because this was my first attempt at stamped cookies and they came out lovely, even for a beginner!
Millie
beautiful! These cookies look like you spent a fortune on them and yet so easy to make! love the dove stamp! I am sure everyone that receives these feels the love! Thanks for linking to the Christmas in July hop!
The Monday Box
Thank you, Millie! I was so happy with the way my first time efforts turned out. The stamp maker does beautiful work, and his stamps make beautiful cookies!
Rebekah | Kitchen Gidget
I finally received your cookies! The post office sent them back for some reason...that's military mail for you. However, even after 4 WEEKS the cookies were still completely in tact, FRESH and delicious (and absolutely gorgeous)! Thank you so much and consider me a loyal Monday Box fan!
The Monday Box
Oh, Rebekah! I am sooo sorry your cookies took so long to get to you!! I have some experience with military mail, and though I think it is a true miracle that they are able to find so many troops and their families all over the globe, I also know that every military package I send, I cross my fingers that the package gets there (eventually) and that it finds its recipient well (MOST important!). As I am sure you are all too aware, not every cookie is edible after a month. I am beyond delighted that these were still yummy. 🙂 I hope you had a wonderful Christmas and send you wishes for a sweet and peace-filled New Year! I look forward to enjoying your mouth watering recipes on Kitchen Gidget!
Amy
Great recipe. I bought a tractor cookie cutter for my little boys 2nd birthday and was struggling to find a biscuit that would keep the shape and details of the tractor and also not crumble up after baking, but this worked just right!
I used 8oz of hard margarine and then I added the 4 cups of flour and then just 1spoon at a time untill I was happy with the consistency.
Wish I could add my photo of them!
Wendy Sondov
Hi, Amy. I am so glad this recipe worked so well for your son's tractor cookies! I would LOVE to see them and share the photo in my Instagram/Facebook stories. If you want to send the photo to my email (wendy@themondaybox.com) I could share it. If you have an Instagram account and want to include that info., I will tag you in the post. 🙂 Happy birthday to your little one! Thank you for commenting to share your success!
Reeni
These are exquisite Wendy! They would certainly be the first to catch my eye on a cookie platter! I'd almost hate to eat them. Your recipients are so lucky. I have a few stamps that I bought on a whim but have never used them. . . I definitely need to change that! The flavors sound delicious too!
The Monday Box
Thanks, Reeni! I have had 6 or more cookie stamps of various kinds sitting in my cookie cutter drawer forever. I never used them because I thought it would be complicated. Then I saw a lady make springerle cookies, bought a great book, and got started down the road to cookie stamp and mold addiction! 🙂 Its easy, much easier than royal icing decorating, and I love the results. Give your stamp a try!
Chris Scheuer
These cookies are most definitely a work of art Wendy! I imagine anyone who had the pleasure of opening up a box of these would be delighted! Love, love, love your beautiful mold too!
The Monday Box
Thank you, Chris! I am new to cookie stamps and molds but the beautiful results have me addicted already! You have to check out the website for the wood carver who made the mold at cookiemolds.com . Coincidentally, Sue Moran at View From Great Island just did a beautiful post all about him!
Tricia @ Saving room for dessert
You are an artist Wendy - these cookies look picture perfect! I bet your recipients were thrilled! I love the sound of this dough - pinning for next year! So pretty - Happy holidays!
CakePants
Wow, these are stunning! I love how you made these even fancier by dipping them in chocolate and sprinkles. I've never made stamped cookies, but now I want to give it a try!
The Monday Box
Thanks, Mara! Stamped cookies only take one extra step more than cut-out cookies, and the results are so pretty. Really, they could take less time than cut-out cookies because extra decorating isn't really needed. I am just prone to chocolate dipping. 🙂
Saltandserenity
Such pretty cookies Wendy. They look perfect. I love the idea of using a fluted cutter. It just takes the cookies to the next level.
I participated in the Food Blogger Cookie swap a few years ago. I just ran out of time this year.
I have a few cookie stamps but you have me thinking I might need a few more!!
The Monday Box
Thanks, Cindy! They are only perfect in the" home-made crafty" sense, but I am now hooked and am sure I will be getting more cookie molding practice. My son got me a gorgeous laser cut rolling pin for my birthday (from Etsy from Poland!) and that will be my next stamping experiment! I think I may be having too much fun. 🙂
Ilana
Your cookies are beautiful! I've never made stamped/molded cookies. You have inspired me to try it. I'm going to keep repeating, "You do not need a cookie stamp collection" to myself and see if I can convince myself of that.
The Monday Box
Thanks, Ilana! I hope you will try stamped/molded cookies, because they are really not hard at all (with the right recipe) and the results are so pretty. I should have started your "no cookie stamp collection" mantra a few weeks ago. It may be too late for me! 😉
Stephanie | Worth Whisking
Wendy, these cookies look pretty and delicious! I have not used cookie stamps before, but your post has inspired me to try! 🙂 So glad we were able to connect via the Cookie Swap!
The Monday Box
Thank you, Stephanie! The photo of your delicious Rum Balls shows one rum ball missing from the package because it was already eaten before I could get my camera! I hope you will try cookie stamps. There are so many different recipes that can be used with them!
Monica
These cookies are sensational, Wendy! So eye-catching and what a beautiful mold that is. I am totally intrigued. It looks like a very elegant way to create a decorated cookie. And I do not know how you managed to dip the cookies so perfectly up and around the groves of the cookie! The use of a fluted cutter was an excellent idea...I love how it looks. Just beautiful and a treat to receive in the mail, for sure.
The Monday Box
Thanks so much, Monica! I was so pleased with this first effort! I love the look of molded/stamped cookies, but always thought it would be hard. Its not hard at all and just one step more than a cut-out cookie.The chocolate was mostly easy. I just put the cookie on top of the melted chocolate, pressed it into the chocolate just slightly, then slipped the prongs of two forks under the cookie to lift it onto the wax paper. A few fell back in or got chocolate dripped on the top, but we ate the evidence.;)