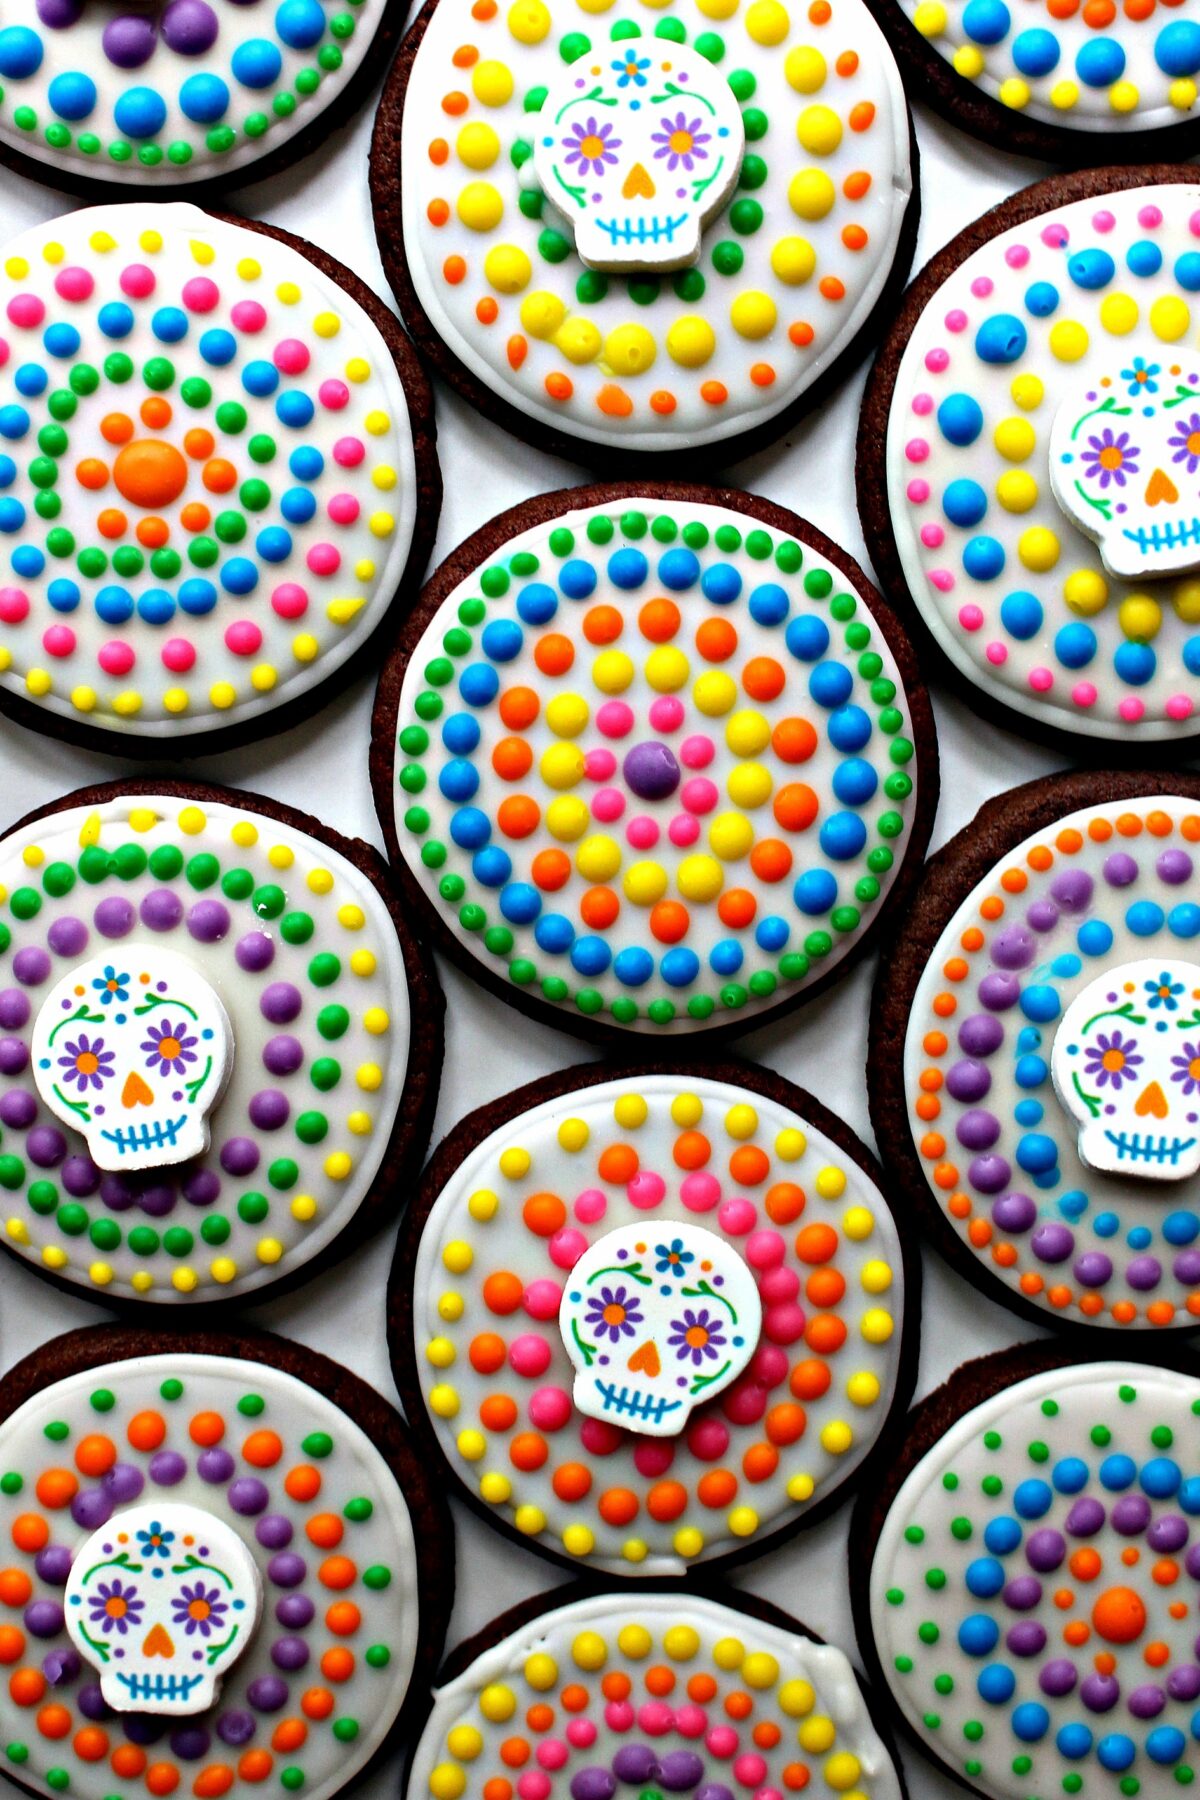
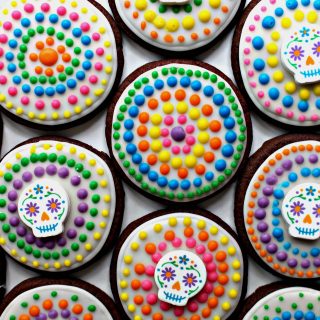
The swirls of colorful dots on Dia de los Muertos Sugar Cookies are inspired by the festive, cut-paper banners that decorate the holiday alters in Mexico. This easy to create cookie is a delicious addition to a Day of the Dead celebration.
Why you'll love this recipe
Dia de los Muertos (Day of the Dead), celebrated on November 2nd, is a holiday with many traditions that honor the spirits of our ancestors. Some of those traditions are both colorful and sweet!
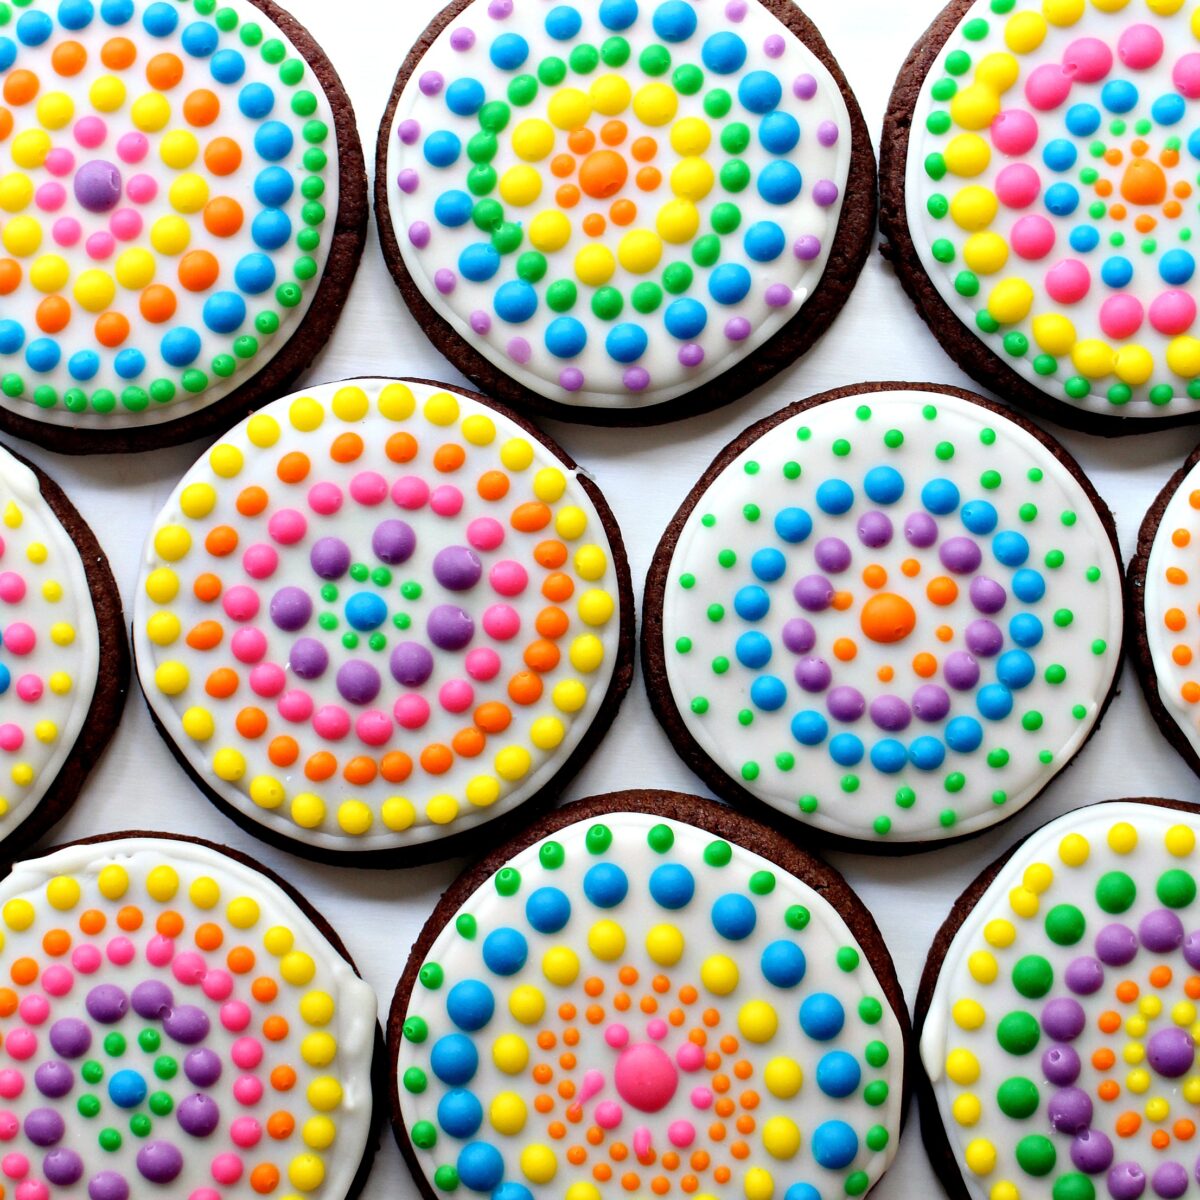
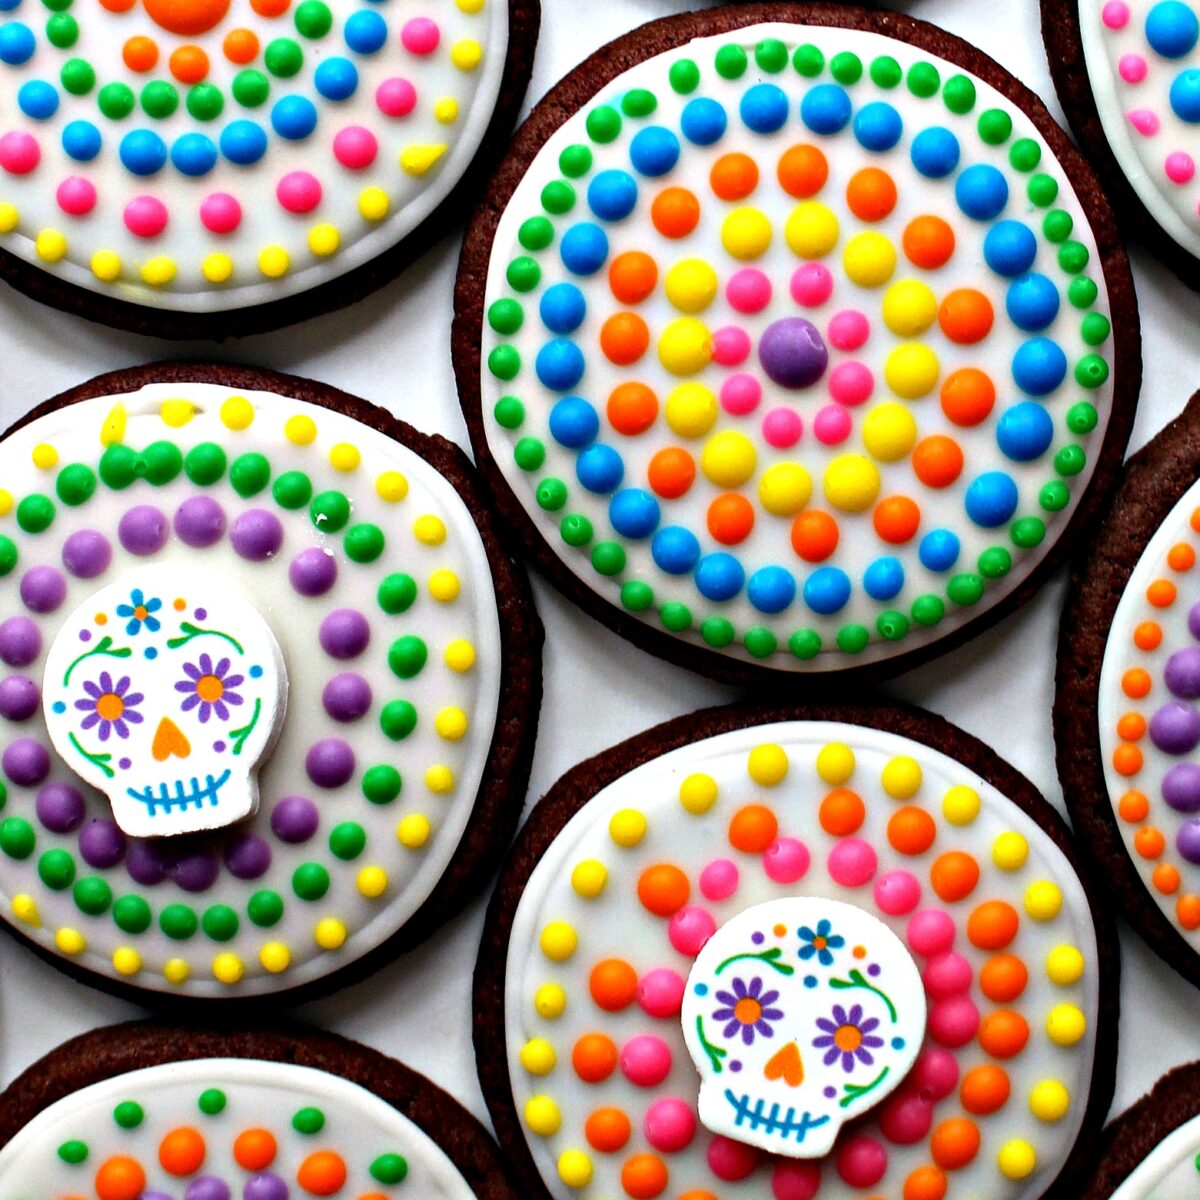
The vibrant colors of Dia de los Muertos decorations swirl around these festive cookies. The design is both easy to make and eye catching.
Chocolate cookies are topped first with white glaze icing, then with brightly colored icing dots. No special tools are required.
Whether these cookies are shared in person or in a Day of the Dead Theme Care Package, they are sure to add sweetness to the day and become a holiday tradition!
If you prefer vanilla sugar cookies, make your Dia de Los Muertos cookies with this recipe for Cut Out Vanilla Sugar Cookies (with no chill option).
Instructions
This is an overview of the instructions. The full instructions are in the recipe card below.
- Combine the ingredients to form the sugar cookie dough.
- To chill, form the dough into a disc and wrap well in plastic wrap. Refrigerate for 2 hours to 3 days.
- When ready to bake, use a rolling pin to roll out the dough on a lightly floured surface to slightly less than ½" thick.
- Cut out 2 ½" circles and transfer to a parchment paper lined cookie sheet about 1" apart. Bake cookies at 375 degrees F for 7-8 minutes. Remove from the oven and cool completely on a wire cooling rack before icing.
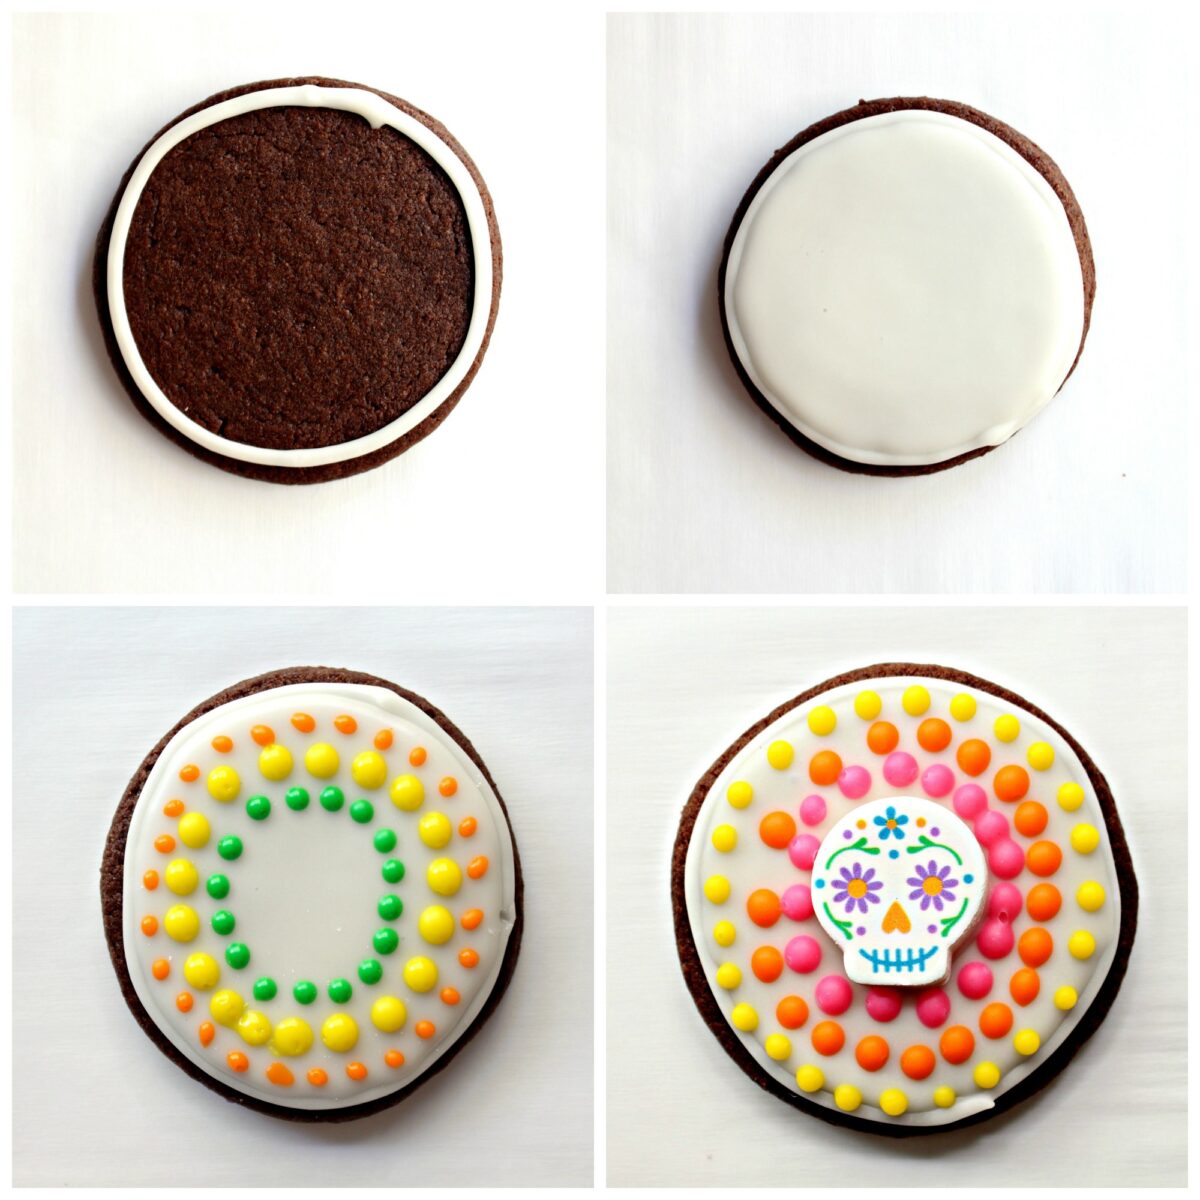
- In the bowl of your stand mixer, combine ½ of the icing ingredients and mix until smooth. This outlining and flooding icing should be the consistency of white glue. Spoon the icing into a piping bag fitted with a small round tip (such as Wilton #3) or or plastic bag with a tiny corner cut off.
- Pipe the icing, outlining the top of the cookie, then fill in the outline. Allow the surface to set until dry to the touch (at least 2 hours).
- When ready to continue decorating, in the bowl of an electric mixer, combine the remaining ingredients and mix until smooth. This icing should be a little thicker and less runny than the first batch.
- Divide the icing in equal portions into 6 bowls and color with a few drops of food coloring gels. Then spoon the colored icing into separate piping bags or plastic bags fitted with a very small piping tip (Wilton #1), or very small corner cut from the tip of the bag.
- Pipe circles of different color dots onto the white surface. If using pre-made skull shape decorations at the center of the cookie, only pipe three circles of dots, leaving the center empty. Allow the dots to set for a few hours before attaching the decorations with a dab of icing as glue.
Storage
Store Dia de los Muertos Sugar Cookies at room temperature in an airtight container, with wax paper between layers, for up to 2 weeks.
Would you like to save this?
For shipping, place each cookie individually in a self-sealing plastic bag. Then pack the bagged cookies snugly either in an airtight plastic storage container or stacked in a freezer weight ziplock bag.
Tips
- Always air dry iced sugar cookies overnight to allow the icing to harden before packing.
- For vibrant colors, use food coloring gel. Americolor gels create bright color with just a few drops.
- Self sealing, cellophane cookie bags keep individual cookies separated and fresh for longer. Cookie sized bags are available on Amazon.
Related recipes
Looking for a great care package idea? Check out this Day of the Dead Theme Care Package with recipes and decorating crafts.
Pabassinas are chewy, iced raisin nut cookies with delicious citrus and anis flavor. A delicious Mexican holiday treat.
Apple Cider Stamped Cookies are perfect Day of the Dead cookies when you use calavera skull cookie cutters with this spiced apple dough.
Polvorones are thick, bakery style, Mexican sugar cookies in bright colors and citrus flavors. This sugar cookie recipe is a Mexican tradition!
Ready to bake? Join the free membership group to get new recipes and a newsletter delivered to your inbox! You can also stay in touch on Facebook, Pinterest, and Instagram. I'd love to stay in touch!
Día de los Muertos Cookies
Ingredients
Cookie dough
- 1 cup unsalted butter room temperature
- ¼ cup shortening
- 1 ½ cups granulated sugar
- 2 large eggs
- 1 teaspoon vanilla extract
- ½ teaspoon salt
- ¾ teaspoon baking powder
- ⅔ cup baking cocoa powder
- 3 cups all purpose flour 3 ½ cups if using the dough immediately without chilling
Icing (made in 2 separate batches)
- 8 cups confectioners' sugar
- 6 tablespoons milk
- 6 tablespoons light corn syrup
- 2-3 drops food coloring gel 6 different colors
Instructions
Cookies
- In the bowl of an electric mixer, cream butter and sugar just until combined.
- Mix in eggs and vanilla. Then mix in salt, baking powder and cocoa.
- Gradually add the flour, 1 cup at a time. If making the cookies right away, use 3 ½ cups of flour. If refrigerating the cookie dough for use in several hours or several days, use only 3 cups of flour.
- To chill, form dough into a disc and wrap well in plastic wrap. Refrigerate for 2 hours to 3 days.
- When ready to bake, heat oven to 375 degrees F. Line a baking sheet with parchment paper.
- Roll out the dough on a lightly floured surface to slightly less than ½" thick.
- Cut out 2 ½" circles and transfer to the prepared baking sheet about 1" apart. Bake for 7-8 minutes.
- Remove from the oven and cool completely on a wire rack before icing.
Icing
- In the bowl of an electric mixer, combine 4 cups of confectioners' sugar, 3 tablespoons of milk, and 3 tablespoons of corn syrup. Mix until smooth. The icing should be the consistency of white glue. Add more milk in tiny increments if needed to thin the icing to the desired consistency.
- Spoon the icing into a piping bag fitted with a small round tip (such as Wilton #3) or a plastic bag with a tiny corner cut off.
- Pipe the icing, outlining the outer edge cookie, then fill in the outline. Allow the surface to set until dry to the touch (at least 2 hours).
- When ready to continue decorating, in the bowl of an electric mixer, combine the remaining 4 cups of confectioners' sugar, 3 tablespoons of milk, and 3 tablespoons of corn syrup. Mix until smooth. This icing should be a little thicker, and less runny than the first batch.
- Divide the icing in equal portions into 6 bowls and color with a few drops of food color gels. Then spoon the colored icing into separate piping bags fitted with a very small round piping tip (Wilton #1), or plastic bags with a very small corner cut from the tip of the bag.
- Pipe concentric circles of dots onto the white surface. If using pre-made decorations at the center of the cookie, only pipe three circles of dots, leaving the center empty. Allow the dots to set for a few hours before attaching the decorations with a dab of icing as glue.
- Air dry iced sugar cookies overnight to allow the icing to harden before storing or packing. Store in an airtight container at room temperature for up to 2 weeks.
Notes
- Always air dry iced sugar cookies overnight to allow the icing to harden before packing.
- For vibrant colors, use food coloring gel. Americolor gels create bright color with just a few drops.
- Self sealing, cellophane cookie bags keep individual cookies separated and fresh for longer. Cookie sized bags are available on Amazon.
- Stack individually wrapped cookies (using cellophane cookie bags or plastic wrap) in an airtight container or freezer weight ziplock bag.
- Pad the box carefully to ensure no movement within the box during shipping.
Nutrition
First Published: October 29, 2016. Last Updated: October 24, 2022. Updated for additional information, improved photos, and better reader experience.


Lauren
These are super cute. My sister loves sugar skulls and I may need to make some of these for a care package for her.
The Monday Box
Thank you, Lauren! What a lucky sister! Themed care packages are fun to make and receive. 🙂
Emily
These are so vibrant & fun! Thanks for sharing with Merry Monday.
The Monday Box
Thank you, Emily! They were fun to make. 🙂
Kat (The Baking Explorer)
Your cookies are so colourful and neatly piped. You've put so much effort into this care package as always!
The Monday Box
Thank you, Kat! It turns out that dots are easy! 🙂 A wee bit monotonous, but easy!
Petra @ CrumblesAndKale
What a beautiful looking bunch of cookies! I love all the bright colors, they really pop!
The Monday Box
Thank you, Petra! I love the colors too!
Miz Helen
Hi Wendy,
These cookies are just beautiful, and a true work of art. Some Soilder is very special to get this box! Hope you have a great week and thanks so much for sharing with Full Plate Thursday.
Miz Helen
The Monday Box
Thank you, Miz Helen! It is always an honor to bake for the military. I try to put extra effort and love into anything I bake for our service members. Also smiles. If I smile while making the cookies, I hope that translates to smiles while the cookies are eaten. 🙂
April J Harris
What beautiful - and delicious - cookies! Thank you so much for sharing them with us at Hearth and Soul.
The Monday Box
Thank you, April! The best part of creating is sharing! 🙂
Hena Tayeb
those sugar cookies are beautiful.. love the colors
The Monday Box
Thanks, Hena!
Edye
These cookies are so pretty! Great job 🙂
The Monday Box
Thank you, Edye. They were fun to make!
Lokness @ The Missing Lokness
The circle sugar cookies are done so beautifully, Wendy! The colors are vibrant and the dots are perfectly rounded. I am sure that all the other soldiers are jealous of your solider, because your soldier always get the prettiest cookies. 🙂
I am thinking to make some cookies with royal icing this Christmas. I haven't done any royal icing fore. I will have to learn from you. Do you think corn syrup icing is easier to make than royal icing? Thanks!
The Monday Box
Thanks, Lokness! I always include several dozen cookies in my care packages because soldiers always share. No jealousy and more smiles! 🙂 Good luck with the royal icing. There is a learning curve to creating and working with royal icing, but its quite doable. Corn syrup icing is a lot easier and tastes better, but can't be used for all of the different techniques that are used with royal icing.
Erica Schmidt
Beautiful post! Love the sugar cookies, pinning for later!
The Monday Box
Thanks, Erica! I love the colors and cheerfulness of these cookies. The cookie itself is really tasty too! 🙂
Saltandserenity
I find those concentric circles mesmerizing! So pretty. At first I thought they were little candies, they looked so perfect.
Love the skull stress ball. So funny.
The Monday Box
Thanks, Cindy! No special talent here. The dots easily stay more or less the same size as you get used to using the same pressure for each one. Though it was repetitive, the circles are very calming to create.
Ashley
I LOVE the way these cookies came out Wendy! They are so pretty yet also perfectly spooky! And all those colors ... I love that!
The Monday Box
Thanks, Ashley! Dia de los Muertos really does take something spooky and makes it a colorful, heartfelt celebration. I'm glad my cookies could do the same. 🙂
Rony Jahid
These are very funny , adorable, colorful Halloween. You really done creative recipe. Thank you for these cute recipe.
The Monday Box
Thank you, Rony. They are fun and easy to make. 🙂
Gina
Absolutely stunning! Every aspect is so thoughtful and beautiful. Your solider will most certainly feel the love that went into this. And I hope that he and his buddies have as much fun with the bat gliders and skeleton paratroopers as mine did 🙂
The Monday Box
Thanks, Gina! I certainly hope you are correct and Soldier L knows he is important to me. That's the whole point, right? Thank you so much for the gliders and paratroopers idea! I too hope that they bring as much joy as your package brought to your troops! The video you received was fabulous! Warm and fuzzy feedback!
Tricia @ Saving room for dessert
These are so fun and absolutely beautiful. The colors and care with which you decorated these lovely cookies is amazing. I had to come and grab a PIN! Have a lovely weekend.
The Monday Box
Thank you, Tricia, for always being so kind! I always hope the soldiers who receive the cookies will taste the care that went into making them. 🙂 Thanks for pinning and I hope you have a lovely weekend too! 🙂