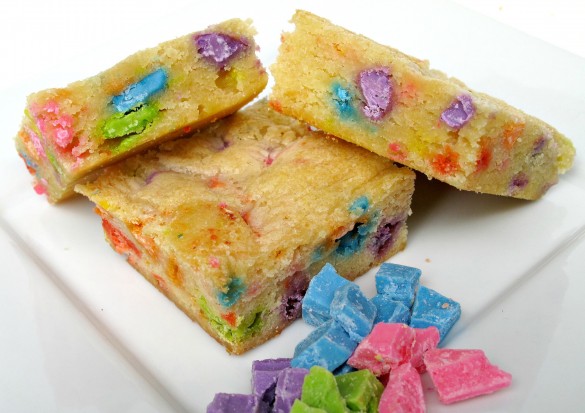
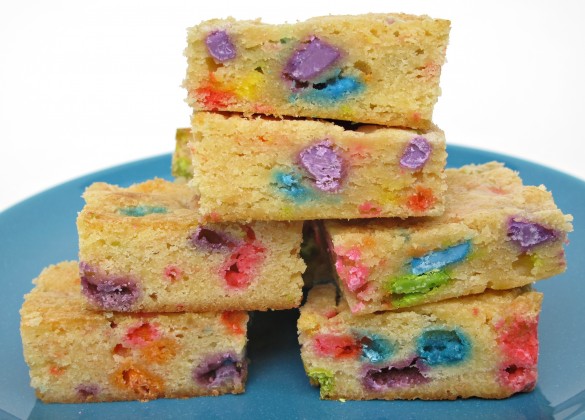
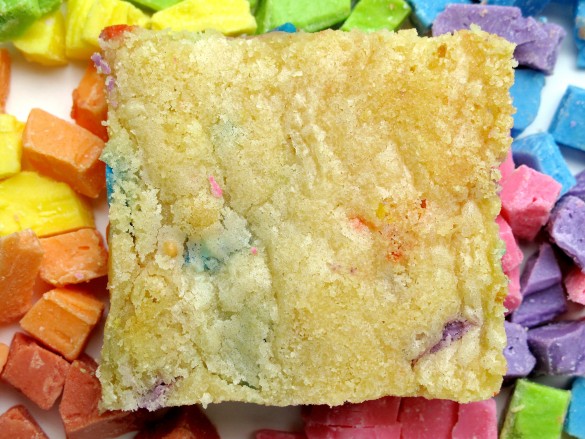
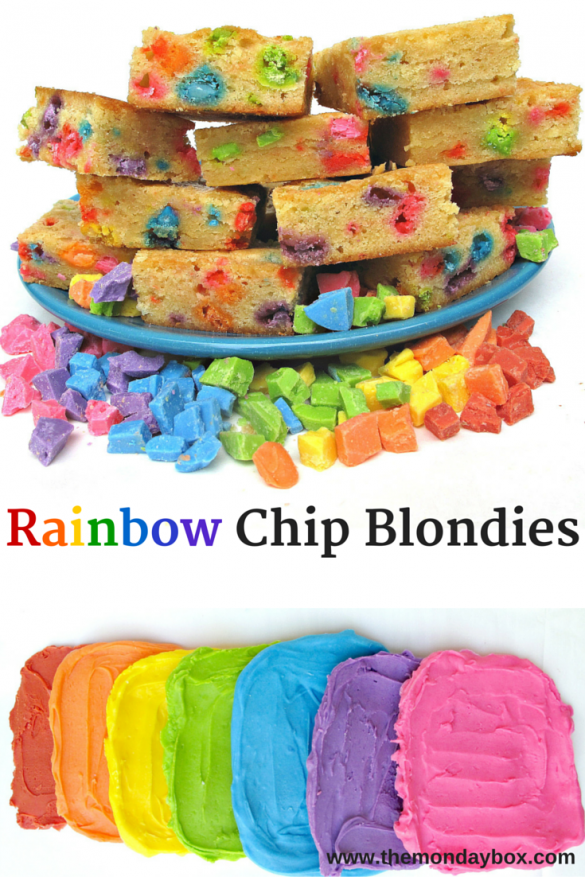
It's raining again in St. Louis. The colors outside are muted. The ground is wet and my puppy's paws are muddy. With no rainbow in sight, I decided to bake one. I baked Rainbow Chip Blondies!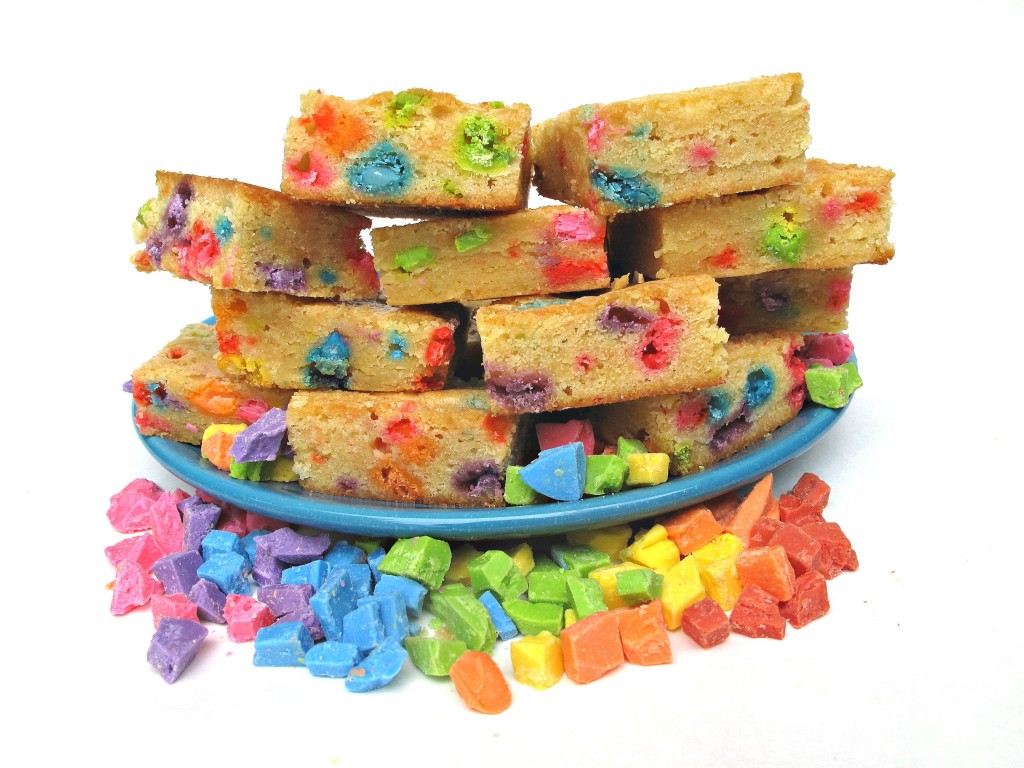
I promise that after this recipe I will give homemade colored chips a rest. Ever since I discovered that I could color white chocolate chips, they have been popping up as an ingredient in all of my recipes. Is there a difference between excited and obsessed? First, I made my own pink chips. Then, I used melted green chips to make a swirly topping for brownie bites. Today, I give you a recipe for a rainbow.
Would you like to save this?
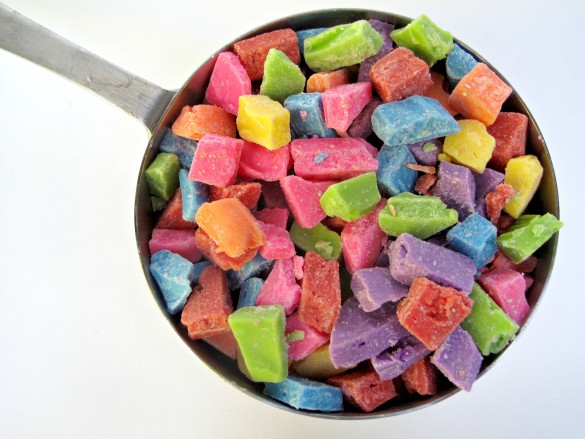
I wanted to dress up these golden blondies, but keep them desert safe. With frosting out of the question and add-ins limited, my thoughts went to chocolate chips, not your standard brown chocolate chips, but oodles of brightly colored white chocolate gems. I worried that not everyone has the time or the interest to pipe out their own colored chips, especially since I was thinking of chips in a variety of colors. That's when I came up with the idea of using brightly colored chocolate chunks instead.
Technically, these blondies should be called Rainbow Chunks Blondies, but everyone would wonder what a rainbow chunk was. Rainbow Chips are readily understood and sound more appealing. Creating colorful chocolate chunks is MUCH easier and quicker to make than piping individual chips. Once the chunks are baked into a bar or cookie, their original shape is unimportant.
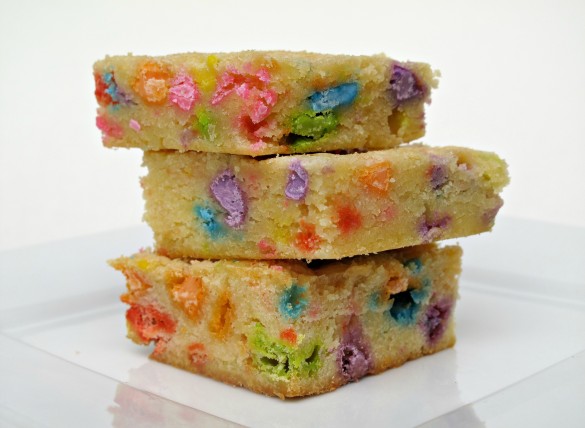
Rainbow Chip Blondies
Ingredients
Blondies
- 8 ounces baking bars white chocolate broken into chunks
- ½ cup butter or vegetable shortening
- 2 large eggs
- ⅓ cup granulated sugar
- 1 tablespoon vanilla extract
- 1 ¼ cup all-purpose flour
- ½ teaspoon salt
- 1 cup rainbow chips see directions for making rainbow chips
Rainbow Chips
- ½ cup white chocolate chips for each color
- Food coloring gel
- ***Desert safe adaptations: For desert safe baking use vegetable shortening.
Instructions
Rainbow Chips
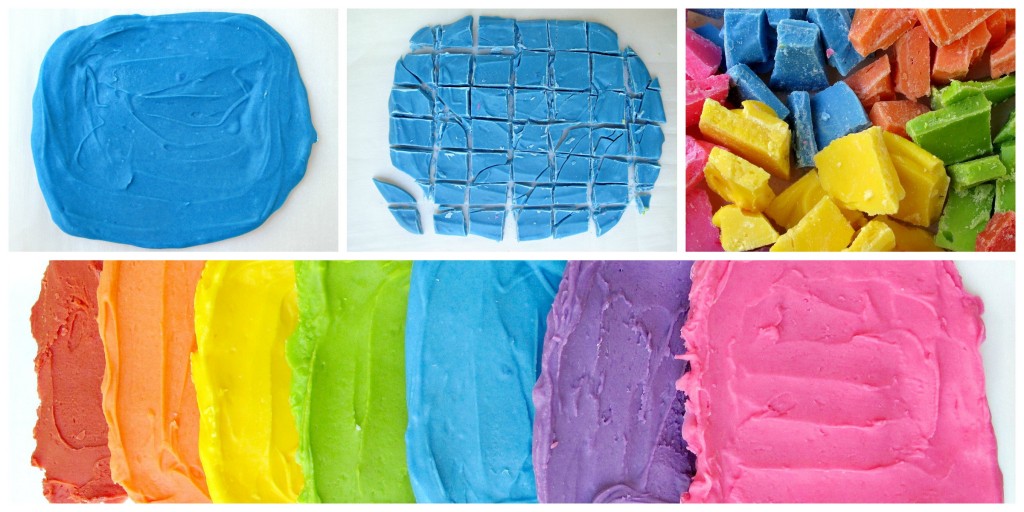
- In a small bowl, microwave ½ cup of white chocolate chips until just melted (about 1 minute on medium power).
- Add 2-3 drops of food coloring gel and mix.
- On a sheet of waxed paper or parchment, spread the colored chocolate, about ¼” thick , into a small rectangle about the size of a notecard (3”x5”) .
- Freeze or refrigerate the colored chocolate until firm, about 15 minutes.
- Chop into chips.
- Store in ziplock bags at room temperature or refrigerate until ready to use.
Blondies
- Preheat oven to 350 degrees F. Butter or spray cooking oil onto 9”x9” brownie pan.
- Place chocolate and butter/shortening in medium sized microwave safe bowl. Heat in microwave 1 minute. Stir. If not completely melted, return to microwave for 10 second intervals, stirring between heating, until completely melted and combined.
- In bowl of electric mixer, beat eggs until foamy (about 3 minutes).
- Mix in sugar, vanilla, and melted chocolate.
- Add flour and salt and stir until incorporated.
- Stir in rainbow chips.
- Spread batter evenly into prepared pan.
- Bake for 25 minutes, or until golden and toothpick inserted in center comes out clean. If mailing internationally, undercook by about 1 minute. (The extra moisture from undercooking will help keep the blondies soft while shipping)
- Cool for 15-20 minutes in pan, then remove from pan to complete cooling on a wire rack.
- Blondies can be stored in airtight container at room temperature for at least 2 weeks.
Notes
- For 9”x9” pan blondies, wrap entire square of blondies (removed from pan or in disposable foil pan) in two layers of plastic wrap and insert into gallon zip lock bag.
- For individual cut blondies, wrap each blondie in plastic wrap then place in an airtight container or zip lock bag.
Nutrition
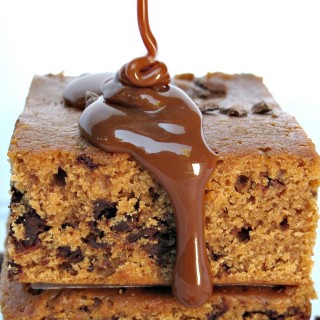
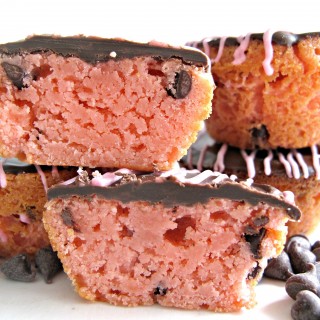
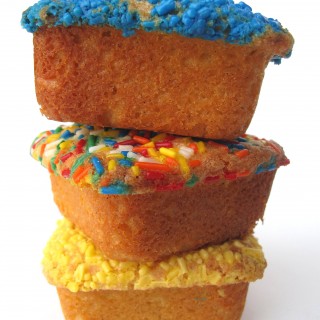
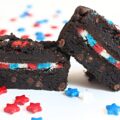
Blondies can be made in so many mouthwatering flavors! Click on the photo for some favorites!


Erlene
I love the idea of adding coloring to white chocolate to make rainbow chips. Perfect for St. Patrick's Day. Pinned and featuring this on MM.
Helen at the Lazy Gastronome
What a fun cookie! Thanks for sharing at the What's for Dinner party! Hope the rest of your week is fabulous!
Miz Helen
I love your Rainbow Chip Blondies! Thanks so much for sharing your awesome post with us at Full Plate Thursday. Hope you have a great St. Patrick’s Day and come back to see us real soon!
Miz Helen
a spirit of simplicity
Oh my!! These look so sweet. I don't even eat sugar but I may have to make these to give as a gift to my grandson! I'm visiting from the Hearth and Soul link up.
April J Harris
I didn't know you could make rainbow chips like this, Wendy! Love these fun blondies. Sharing on the Hearth and Soul Facebook page later today. Thank you so much for being a part of the Hearth and Soul Link Party!
Quinn Caudill
Love how you made the chunks. Thanks for sharing with us at Throwback Thursday. Pinned!
The Monday Box
Thanks, Quinn! I like playing with chocolate! I had never made my own chocolate chunks or chips before. It's easy and fun!
Frugal Hausfrau
How fun is this! I hadn't ever thought to color white chocolate and while I'm not a huge additive fan I don't think I can resist trying this sometime! I think I like the idea of the chunks better than the chips anyway! Freeform fun!
Thanks so much for sharing with us on Throwback Thursday! Hope to see you next time!
Mollie
Alli @ Tornadough Alli
I love these!!! They are so colorful, my kids would absolutely adore eating and making these with me. Thank you so much for sharing with us at Throwback Thursday!
Kelly
These look so much fun. I've never heard of making your own coloured choc chips. Will need to give this a go!
The Monday Box
I hope you try it, Kelly. Its very easy. Really, you are supposed to use oil based candy coloring to color chocolate because the water in regular coloring can make the chocolate "seize" (suddenly get all thick and lumpy), but if you quickly spread out the seized chocolate, it works great for chunky chips. 🙂
Kelly
Thanks for the tip. They look like so much fun. Perfect for Easter with all the vivid colours.
Kiran @ KiranTarun.com
So fun and colorful!!
themondaybox
Thanks, Kiran! These were fun to make and fun to eat! The colors make me smile. 🙂